DIY Smart Home Sensors [ESPHome Guide]
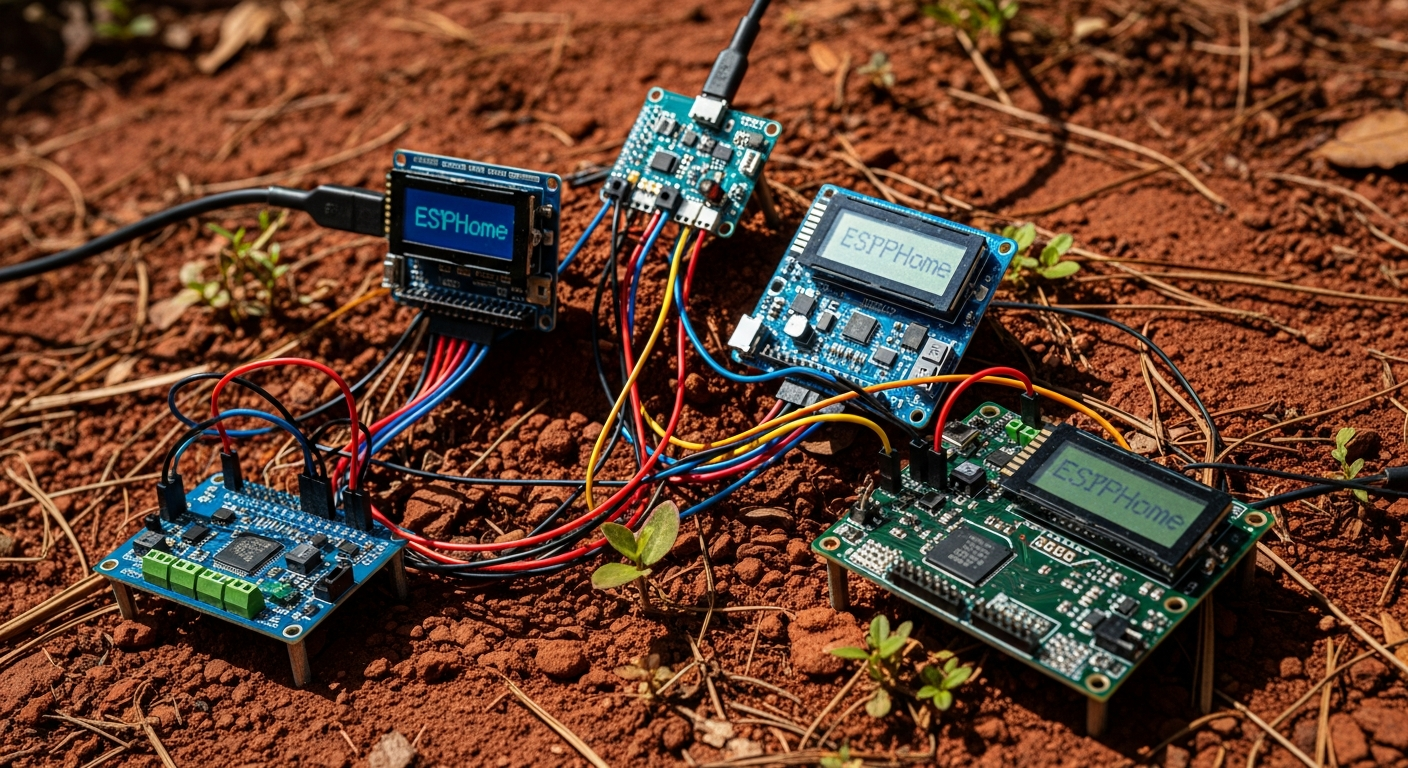
Commercial smart home sensors are often expensive, unreliable black boxes. They fail when the cloud service goes down, their batteries die unexpectedly, and the plastic housings crack after a year in the sun. We’re going to build our own DIY smart home sensors. They will be more robust, fully customizable, and will keep your data on your local network where it belongs.
This is not a project for beginners who have never held a soldering iron. This is a guide for building reliable, long-term hardware that integrates seamlessly with Home Assistant. If you’re looking for more ways to bring tech to your property, check out our 45 Ideas on How to Use Technology On Your Homestead.
Installation Difficulty: Intermediate
Prerequisites: Basic soldering skills, familiarity with editing text files (YAML).
Key Takeaways
- Use ESP32: The ESP32 microcontroller is the superior choice over the ESP8266 due to more GPIO pins and better processing power for a negligible cost increase.
- Choose Robust Sensors: Avoid cheap DHT-series temperature sensors and photoresistors. Use I2C-based sensors like the BME280 (temperature/humidity) and BH1750 (light) for accurate, reliable data.
- Isolate from Heat: Always physically separate your temperature sensor from the heat-generating ESP32 chip to prevent skewed readings.
- Prioritize Wired Power: While battery power is possible, a 5V USB power supply provides the most reliable “set and forget” solution, avoiding the maintenance headache of dead batteries.
- Protect from Elements: Use IP65-rated weatherproof enclosures and gold-plated PCB traces for water leak sensors to combat corrosion from high humidity, a major issue in the US Southeast.
Pros and Cons of DIY Smart Sensors
| Pros | Cons |
|---|---|
| ✅ Massive Cost Savings: Build sensors for 75%+ less than commercial off-the-shelf products. | ❌ Steeper Learning Curve: Requires basic soldering and YAML configuration skills. |
| ✅ Total Customization: Combine any sensors you need into a single, compact unit. | ❌ Initial Time Investment: Assembly and flashing take more time than plugging in a commercial device. |
| ✅ Local Control & Privacy: Data stays on your network, free from cloud outages and privacy concerns. | ❌ Powering Can Be Tricky: Achieving long battery life is a challenge; wired power is more reliable. |
| ✅ Repairable & Sustainable: Easily replace a single failed component instead of throwing away the whole device. | ❌ Requires Troubleshooting: You are your own tech support if things go wrong. |
The Brains: Microcontroller Selection
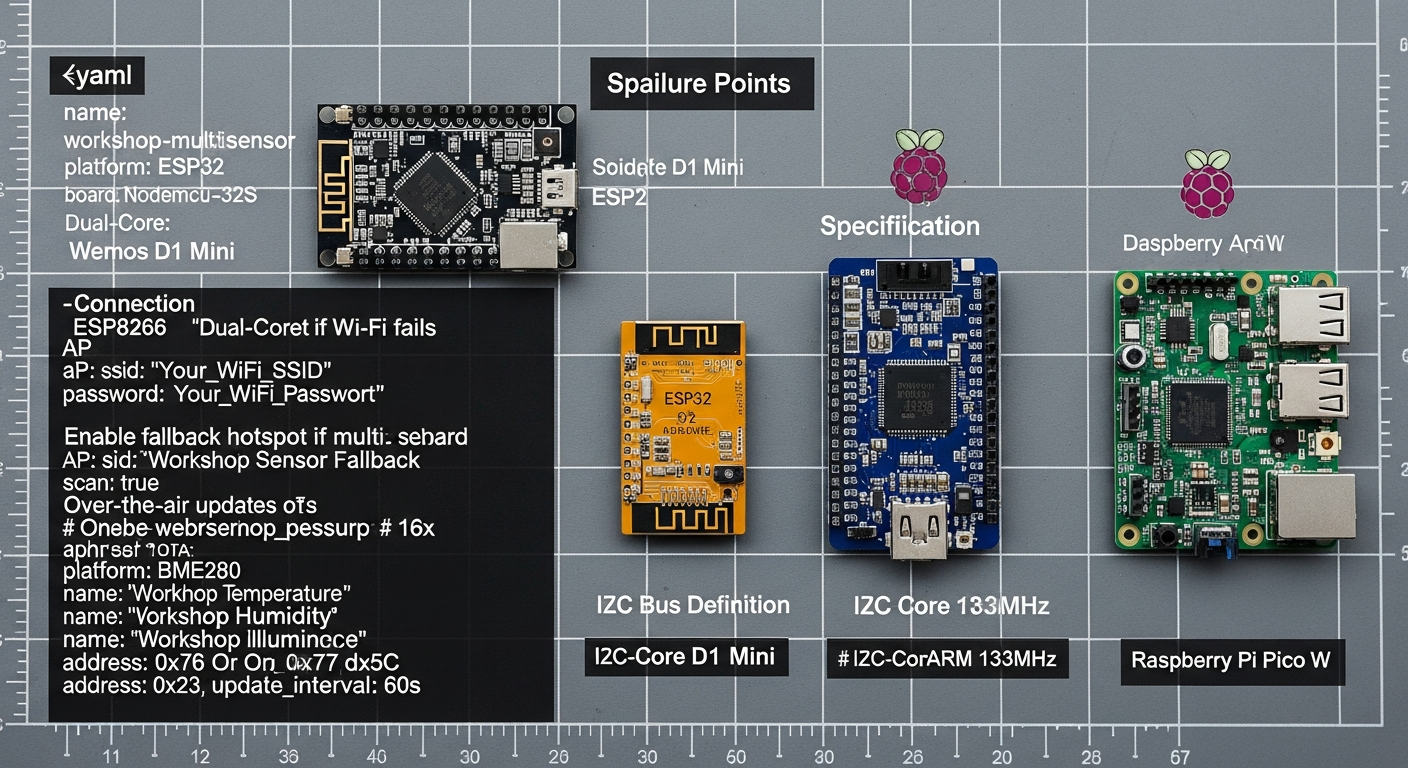
The microcontroller is the core of your sensor. It runs the firmware, reads the sensor data, and communicates over Wi-Fi. Choosing the right one depends on the complexity of your build. The ESP8266 is the old workhorse, but the ESP32 is the clear choice for any new project.
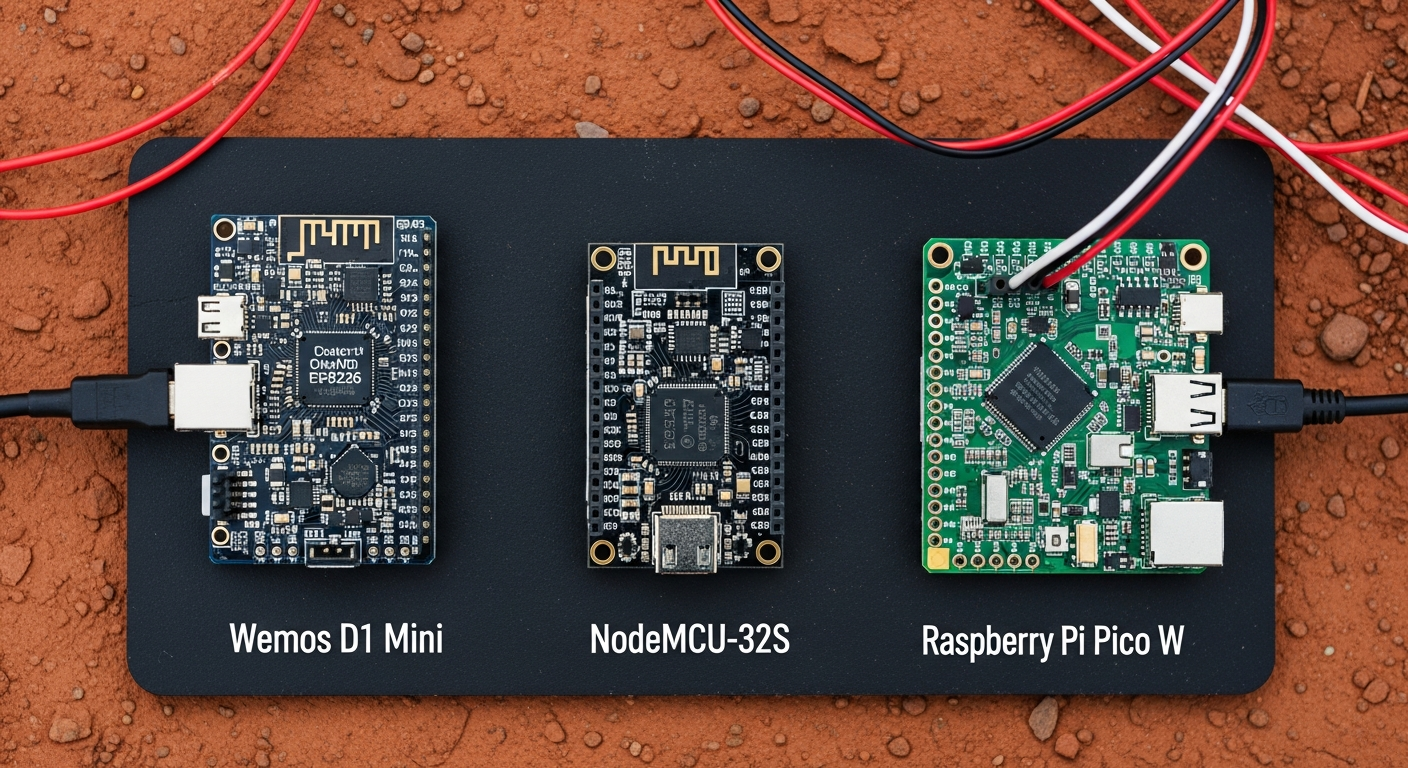
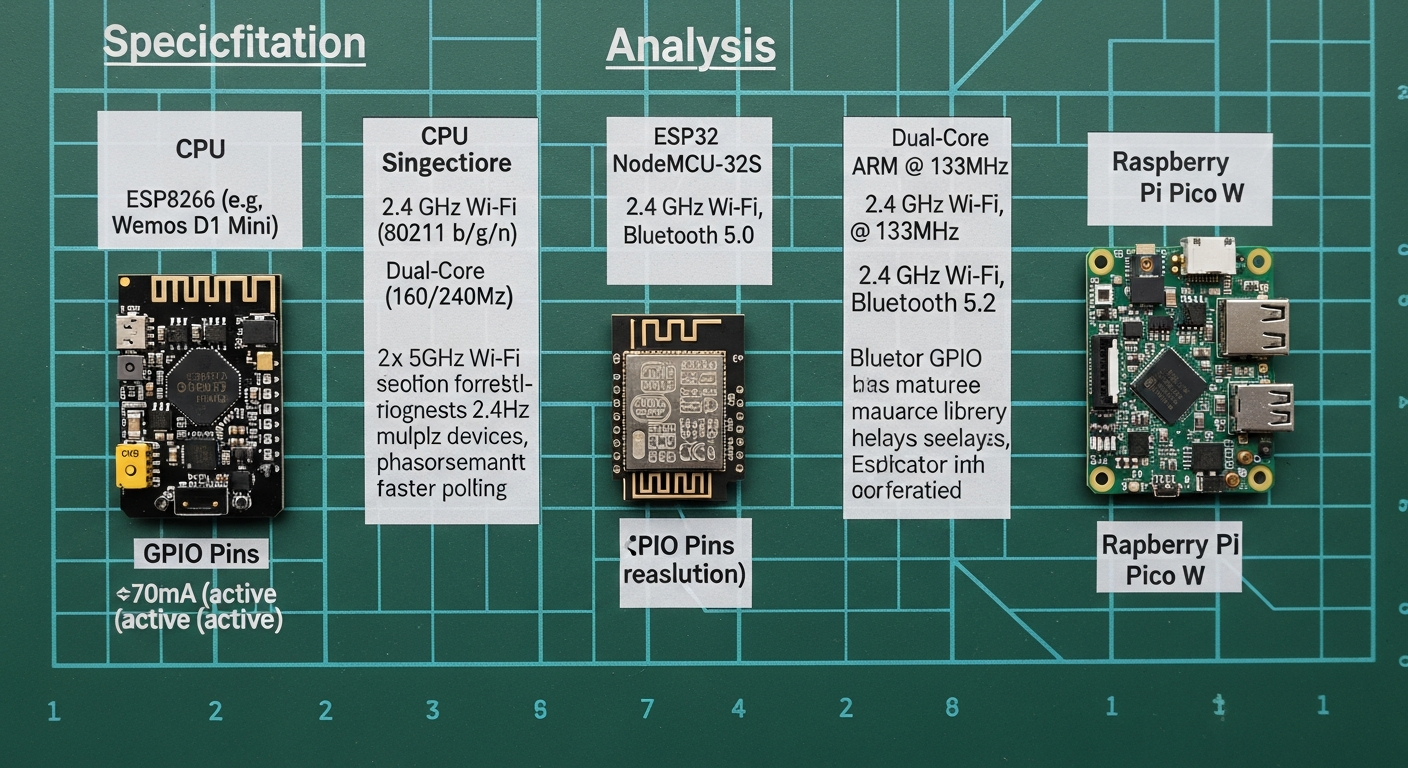
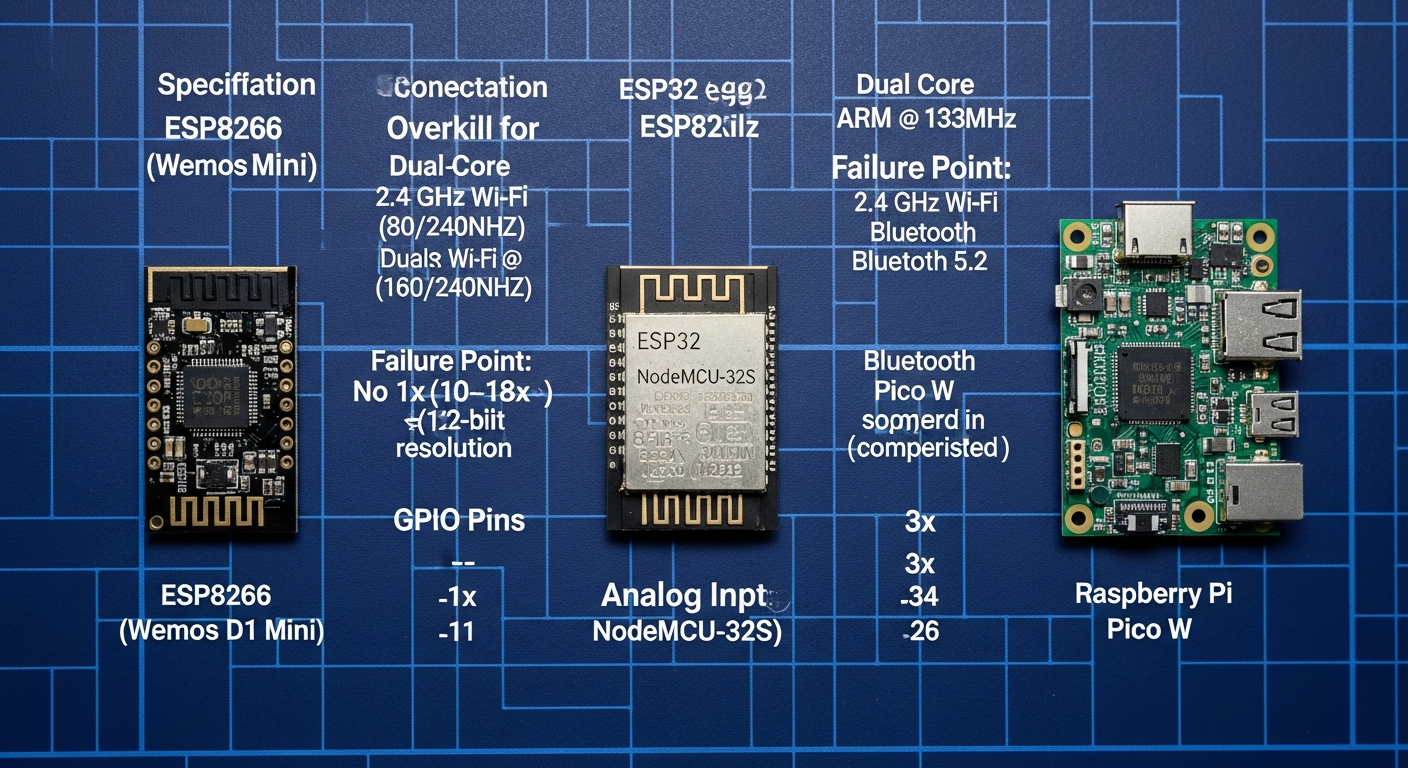
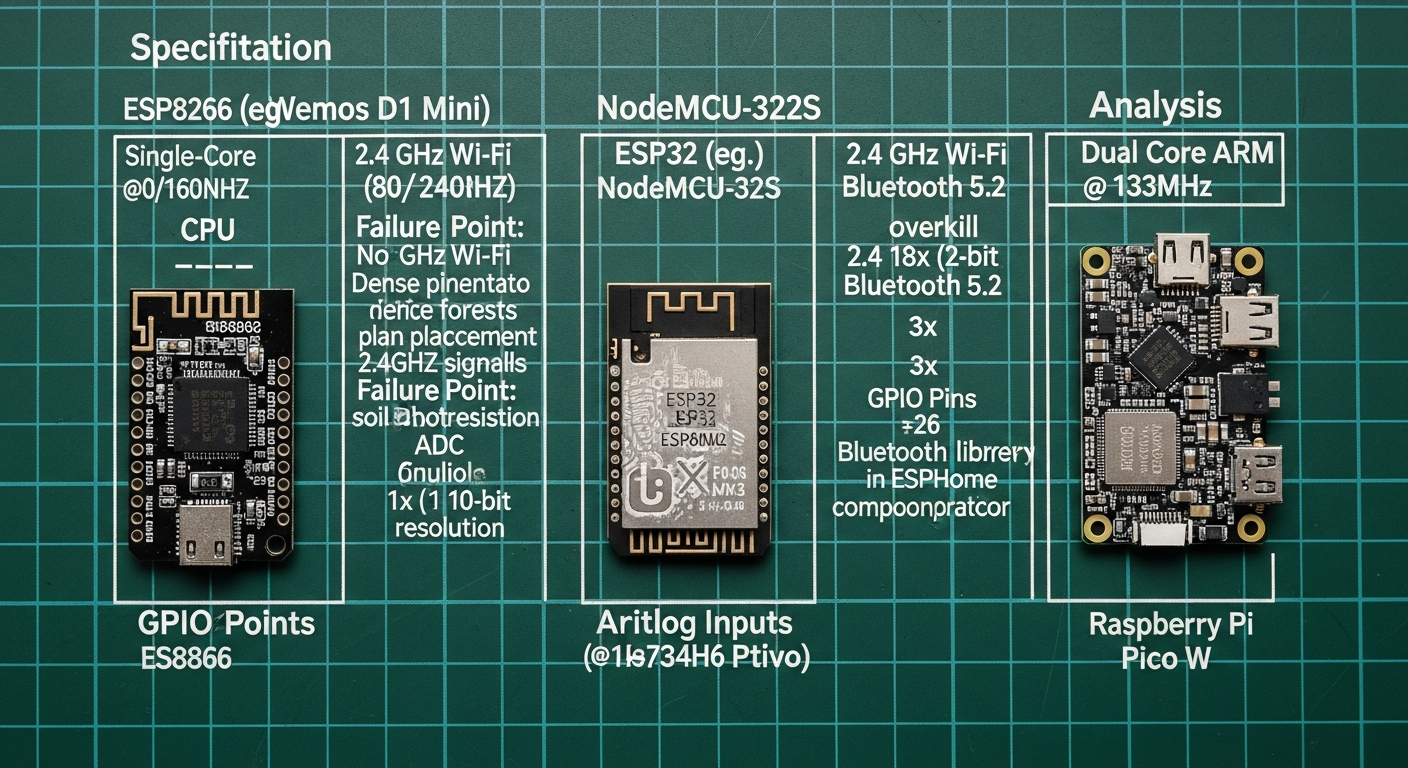
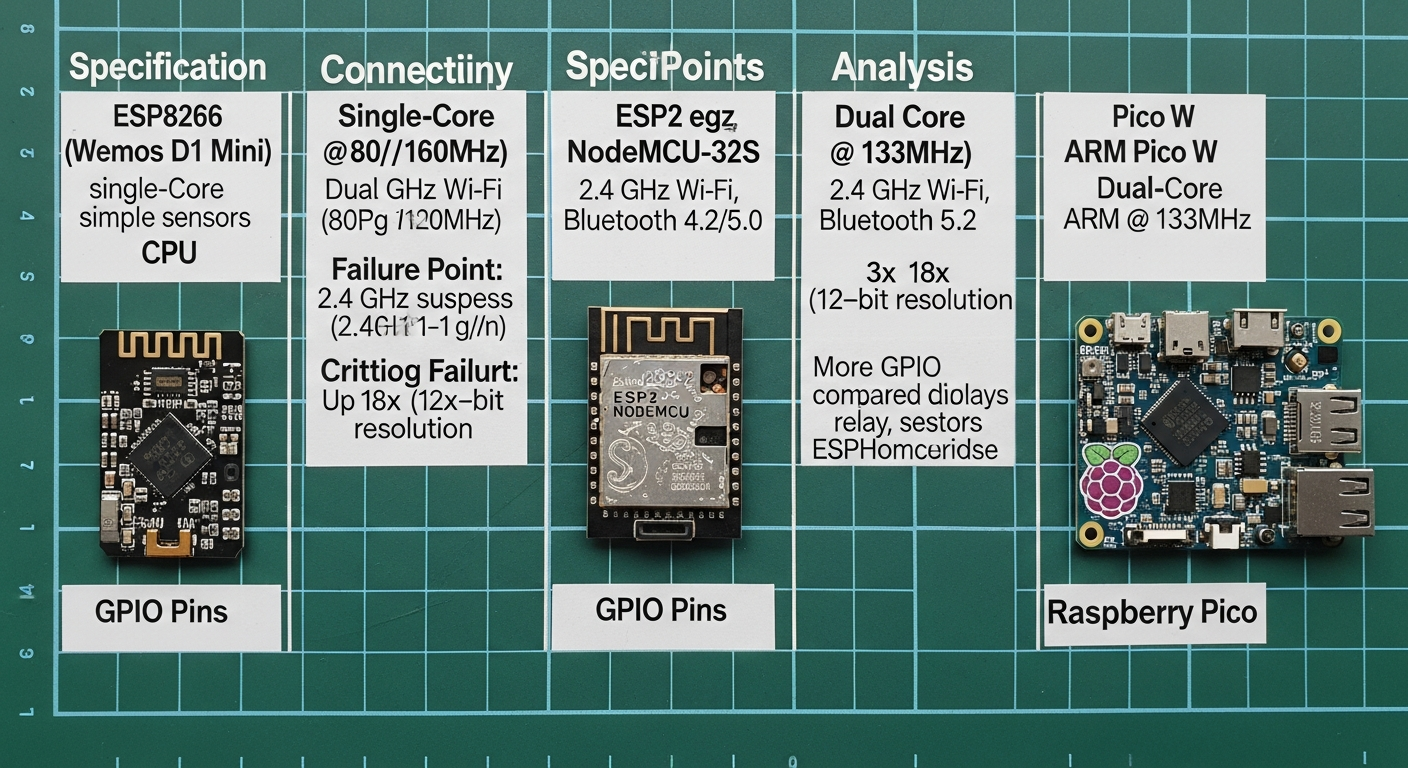
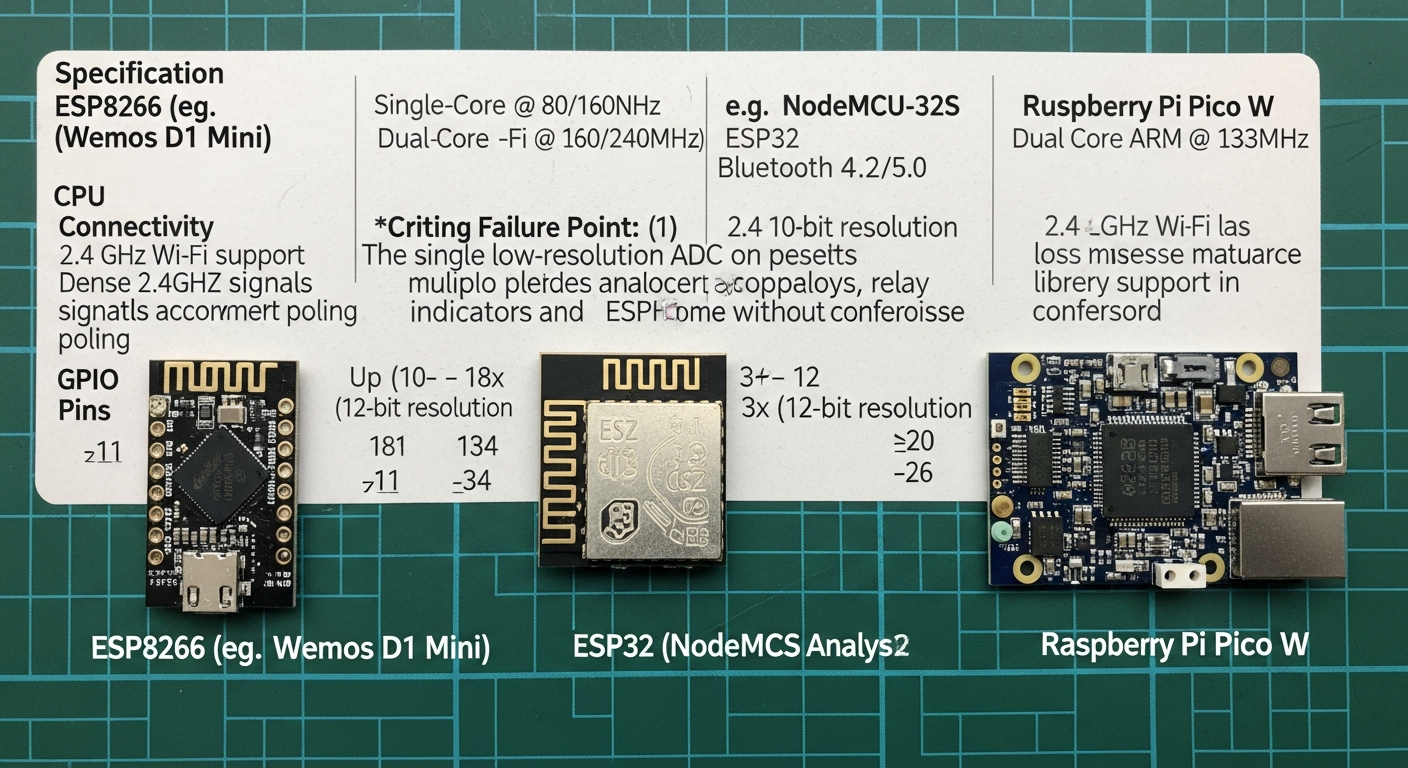
| Specification | ESP8266 (e.g., Wemos D1 Mini) | ESP32 (e.g., NodeMCU-32S) | Raspberry Pi Pico W | Failure Point / Analysis |
|---|---|---|---|---|
| CPU | Single-Core @ 80/160MHz | Dual-Core @ 160/240MHz | Dual-Core ARM @ 133MHz | ESP8266 is sufficient for simple sensors. ESP32 is overkill but useful for multi-sensor devices or faster polling. |
| Connectivity | 2.4 GHz Wi-Fi (802.11 b/g/n) | 2.4 GHz Wi-Fi, Bluetooth 4.2/5.0 | 2.4 GHz Wi-Fi, Bluetooth 5.2 | Failure Point: No 5GHz Wi-Fi support on any. Dense pine forests will attenuate 2.4GHz signals; plan your placement accordingly. Bluetooth on Pico W has less mature library support in ESPHome compared to ESP32. |
| Analog Inputs (ADC) | 1x (10-bit resolution) | Up to 18x (12-bit resolution) | 3x (12-bit resolution) | Critical Failure Point: The single, low-resolution ADC on the ESP8266 is a major limitation. It’s unsuitable for projects needing multiple analog sensors (like soil moisture and a photoresistor). |
| GPIO Pins | ~11 | ~34 | ~26 | More GPIO on the ESP32 allows for more complex devices with multiple sensors, relays, and indicators without compromise. |
| Power Consumption | ~70mA (active), <1mA (deep sleep) | ~80mA (active), <1mA (deep sleep) | ~40mA (active), <1mA (deep sleep) | Failure Point: Achieving deep sleep requires precise code and wiring (connecting GPIO16 to RST on ESP8266). A misconfiguration will drain your batteries in hours, not months. |
| Approx. Cost | $2 – $4 | $4 – $8 | $6 – $10 | The ESP8266 is cheap, but its limitations make the ESP32 a better investment for a few dollars more. |
Verdict: Use the ESP32. The additional cost is negligible for the massive increase in GPIO and processing headroom. It gives you room to expand a project later without starting over.
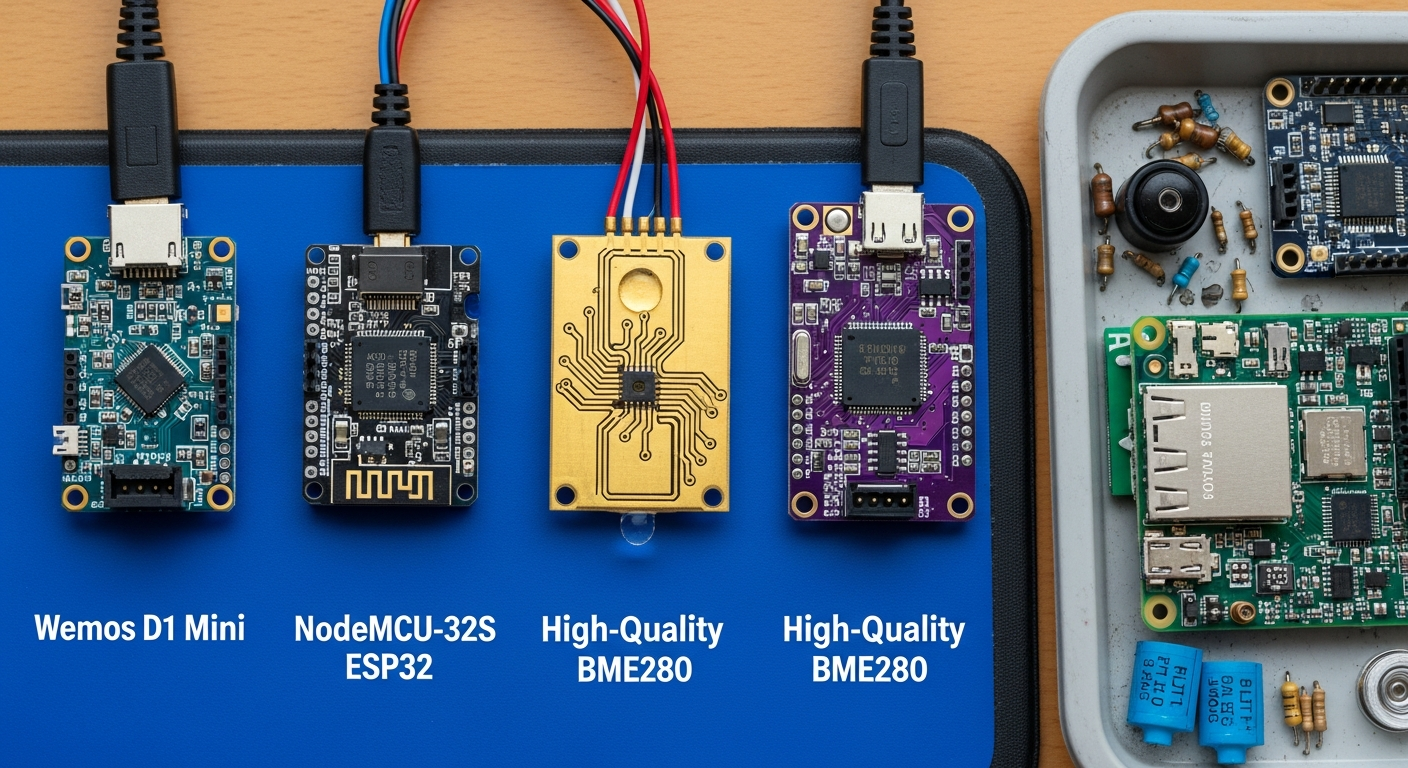
The Senses: Choosing Industrial-Grade Components
The sensor module itself is the most common point of failure. Cheap sensors give noisy, inaccurate data and fail quickly in high-humidity environments. We select components based on their protocol, accuracy, and physical robustness.
| Sensor Type | Common (Failure-Prone) Model | Robust Alternative | Protocol | Key Specification / Failure Point |
|---|---|---|---|---|
| Temp/Humidity | DHT22 (AM2302) | Bosch BME280 | Single-Wire (DHT) / I2C (BME) | DHT22 Failure: Accuracy ±0.5°C, ±2%RH. Notorious for failing completely in high humidity. Slow polling rate (0.5 Hz) makes it useless for fast-reacting automation. |
| Motion | HC-SR501 (PIR) | AM312 (PIR) | Digital High/Low | HC-SR501 Failure: Prone to false positives from HVAC vents or sunlight changes. The onboard potentiometers are imprecise and drift over time. |
| Light | Photoresistor | BH1750 | Analog (Photoresistor) / I2C (BH1750) | Photoresistor Failure: Gives a relative resistance value, not a calibrated Lux reading. Highly inconsistent between units and with temperature changes. |
| Water Leak | 2-Pin Probe | Gold-Plated PCB Traces | Digital (Binary) | Probe Failure: The simple exposed metal contacts corrode within months when exposed to our humid Georgia air, leading to false alarms or complete failure. |
Analysis:
* Temperature: The BME280 is the standard for a reason. It uses the I2C protocol, which is more reliable than the single-wire protocol of the DHT series. It also provides barometric pressure, useful for weather tracking. Its primary failure mode is user error: placing it too close to the heat-generating ESP32.
* Motion: The AM312 is a smaller, more stable PIR sensor. It has fewer false positives than the HC-SR501, making it far more reliable for security or lighting automation. Its fixed settings are a benefit, not a drawback—it just works.
* Light: A photoresistor is a toy. The BH1750 provides calibrated illuminance in Lux. This means your automations can trigger at a consistent, measurable light level (e.g., “turn on porch lights when ambient light drops below 20 Lux”), not some arbitrary analog value.
* Water Leak: Do not use simple metal probes. A PCB with gold-plated, interdigitated traces, like those found on Hackaday project builds, offers a large surface area and is functionally immune to the corrosion that plagues simpler designs.
Installation Blueprint: Building a DIY Multi-Sensor
We will build a single, robust unit that monitors temperature, humidity, pressure, and light level. This process is similar in spirit to other advanced projects, like building your own DIY solar system.
Compatibility Check:
* Home Assistant: ESPHome is a first-party, native integration with Home Assistant. It is the most seamless way to bring custom hardware into your system.
* Starlink/Connectivity: These devices run on your local Wi-Fi. They do not require an internet connection to function or report data to Home Assistant, making them immune to internet outages. For advanced network setups, see our Home Assistant IoT VLAN Guide.
Step 1: Physical Assembly
- Solder Headers: Solder header pins onto your ESP32, BME280, and BH1750 modules if they don’t already have them. Use a proper soldering iron temperature (around 350°C / 660°F) and quality solder.
- Connect Power: Connect the 3.3V pin on the ESP32 to the VCC/VIN pins on both the BME280 and BH1750. Connect the GND pin on the ESP32 to the GND pins on both sensor modules.
- Connect I2C Bus: The I2C protocol allows multiple devices to share the same two data pins.
- Connect the SDA pin (GPIO 21 on most ESP32s) to the SDA pin on the BME280 and the BH1750.
- Connect the SCL pin (GPIO 22 on most ESP32s) to the SCL pin on the BME280 and the BH1750.
- Heat Isolation: Do not mount the BME280 directly next to the ESP32. The ESP32 generates heat that will skew your temperature readings by +2-5°C. Mount the sensor on the opposite side of your project box or use 4-6 inch wires to physically separate it.
Step 2: ESPHome Configuration
Create a new device in your ESPHome dashboard and paste this code into its YAML editor. This configuration defines the hardware and tells the ESP32 how to read it. For detailed information on each component, refer to the official ESPHome sensor documentation.
Step 3: Flashing and Deployment
- Connect the ESP32 to your computer via USB.
- In the ESPHome dashboard, click “Install” and select the “Plug into this computer” option.
- ESPHome will compile the firmware and flash it to the device.
- Once complete, the device will reboot, connect to your Wi-Fi, and appear in Home Assistant’s integrations panel, ready to be added.
Field Hardening & Efficiency ROI
A bare circuit board won’t last. The high humidity and UV exposure in the Southeast requires a proper enclosure.
- Enclosure: Use a weatherproof electrical junction box (IP65 or higher). Do not use standard PLA for 3D-printed cases that will see sun; it will warp and degrade. Use PETG or, preferably, ASA for UV resistance and durability.
- Cabling: Use a proper cable gland to run your power cable into the box to maintain the weatherproof seal.
- Mounting: Use stainless steel screws. Anything else will rust.
Efficiency ROI
Building your own isn’t just about saving money upfront; it’s about reducing long-term maintenance.
| Metric | Commercial Sensors (3x) | DIY Multi-Sensor | Analysis |
|---|---|---|---|
| Upfront Cost | $20 (Temp) + $15 (Motion) + $15 (Light) = $50 | $6 (ESP32) + $4 (BME280) + $2 (BH1750) = $12 | The DIY sensor is 76% cheaper for superior, integrated components. |
| Failure Rate | 1-2 years (battery, corrosion, cloud failure) | 5+ years (component-level failure) | A failed commercial sensor is e-waste. A failed DIY sensor module costs $2-4 to replace. |
| Hours Saved | High. Time spent troubleshooting offline devices, replacing batteries, and dealing with false alarms. | Low. “Set and forget” reliability means you spend your time using the data, not fixing the sensor. |
Troubleshooting: Common Failure Points
1. Why are my temperature readings too high?
Your BME280 sensor is too close to the ESP32 microcontroller. The ESP32 generates a significant amount of heat during operation. You must physically separate the sensor from the main board using wires, placing it in a different part of the enclosure to get accurate ambient readings. The Georgia heat already makes thermal management difficult; don’t add self-heating to the problem.
2. Why does my PIR motion sensor trigger randomly?
You are likely using an HC-SR501. It is highly susceptible to infrared changes from HVAC systems kicking on, or even shifting sunlight. Switch to a smaller, more stable AM312 module. If you must use the HC-SR501, try to aim it away from windows and air vents and lower its sensitivity using the onboard potentiometer.
3. How do I get long battery life?
You probably won’t. Achieving true deep-sleep on ESPHome requires careful code and specific board wiring (e.g., connecting GPIO16 to the RST pin on an ESP8266). Even then, Wi-Fi connections are power-intensive. For reliable, high-frequency data, a hardwired 5V USB power supply is the superior engineering solution. Batteries are a maintenance liability, especially when they die in the summer heat.
4. My DIY water leak sensor failed after a few months. Why?
You used simple exposed wires or tinned probes. Our high humidity causes rapid galvanic corrosion on dissimilar metals. The only reliable solution is a purpose-made PCB sensor with gold-plated, interdigitated traces. Gold is inert and will not corrode, ensuring the sensor works when you need it.
5. Why does my sensor keep going offline?
This is almost always a Wi-Fi or power issue. 2.4GHz Wi-Fi does not penetrate dense materials (or stands of pine trees) well. Check your signal strength. If the signal is strong, your power supply may be insufficient. A cheap USB adapter providing unstable voltage can cause the ESP32 to reboot randomly. Use a quality power adapter from a reputable brand like Anker or Ugreen, rated for at least 1 Amp.