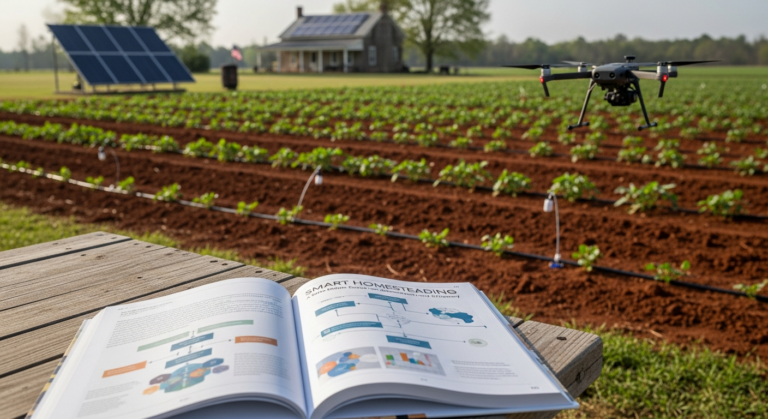
Best Home Assistant Sensors [2025 Review]
You need reliable data for your automations. A smart home that isn’t smart is just a pile of expensive electronics. Choosing the wrong sensor protocol is the number one failure point I see in the field, leading to failed automations, dead batteries, and wasted money. If you’re looking for the best Home Assistant sensors, you’ve come to the right place. This guide breaks down the hardware and the logic for the three main sensor types so you can build a system that is robust and efficient.
Key Takeaways
- Zigbee is the Workhorse: For most indoor needs (temp, humidity, motion), Zigbee offers cheap, reliable, and 100% local control.
- LoRa is the Long-Hauler: For long-range applications like mailboxes or remote sheds where Wi-Fi/Zigbee can’t reach, LoRa is unbeatable, but often requires a cloud connection.
- mmWave is the Specialist: For true presence detection that knows you’re in a room even when you’re still, mmWave radar is the ultimate tool, but it’s complex and expensive.
- Local Control is King: Prioritize sensors that don’t rely on a company’s cloud server. An internet outage shouldn’t break your home’s core functions.
The Core Problem: It’s Not the Sensor, It’s the Signal
Before you buy a single sensor, you must decide on the communication protocol. This choice dictates range, reliability, battery life, and—most importantly—whether your system works when the internet goes down. Your primary filter should be Local Control vs. Cloud Dependency. A sensor that relies on a company’s server to function is a liability, not an asset. For more ideas on integrating technology into your life, see our list of 45 Ideas on How to Use Technology On Homestead.
- Zigbee/Z-Wave: The gold standard for local control. They create a self-healing mesh network inside your home. Low power, reliable, and secure.
- Wi-Fi: Noisy, power-hungry, and often cloud-dependent. I avoid Wi-Fi sensors unless absolutely necessary for a specific feature, and even then, I’m skeptical.
- LoRa (Long Range): The specialist for distance. It uses a sub-gigahertz frequency that punches through obstacles like our dense Georgia pine forests, but often comes with a cloud-based catch. The LoRa Alliance provides deep technical specifications on how this technology works.
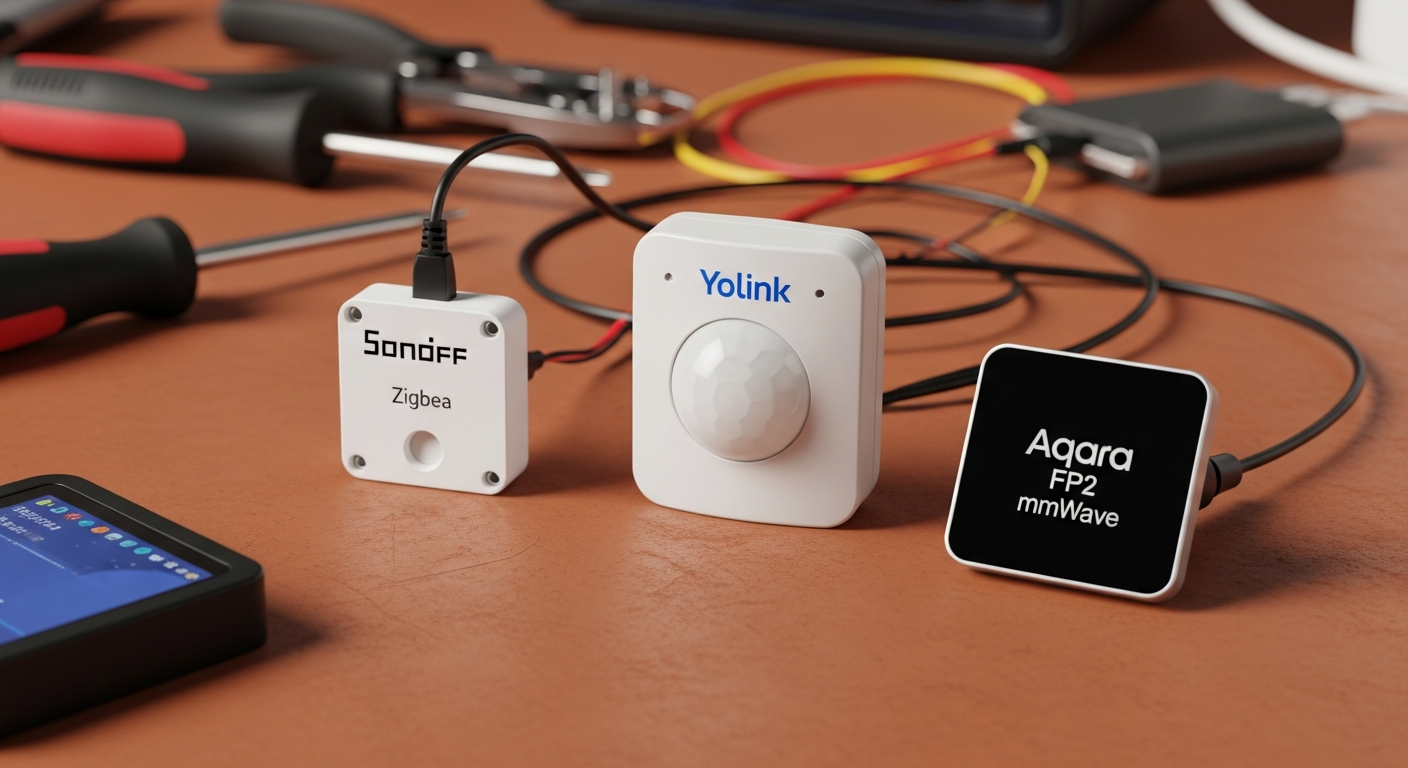
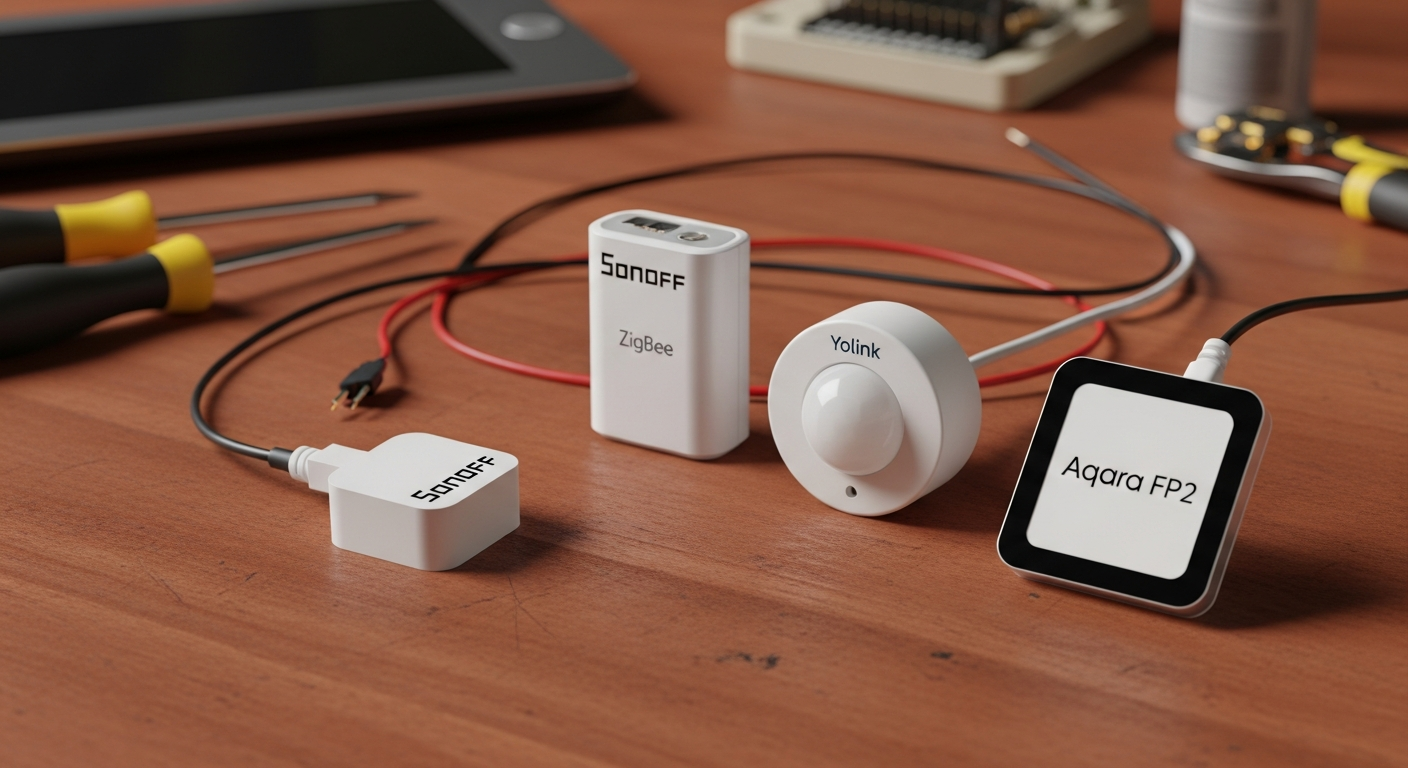
We’ll focus on the three archetypes that cover 99% of use cases: the cheap and reliable Zigbee sensor, the long-range LoRa sensor, and the high-fidelity mmWave presence detector.
The Workhorse: Zigbee for General-Purpose Sensing
For 80% of indoor tasks—temperature, humidity, door/window contact, basic motion—Zigbee is the correct tool for the job. It’s the definition of reliable and forms the backbone of the best Home Assistant sensor networks.
Why Zigbee is the Default Choice
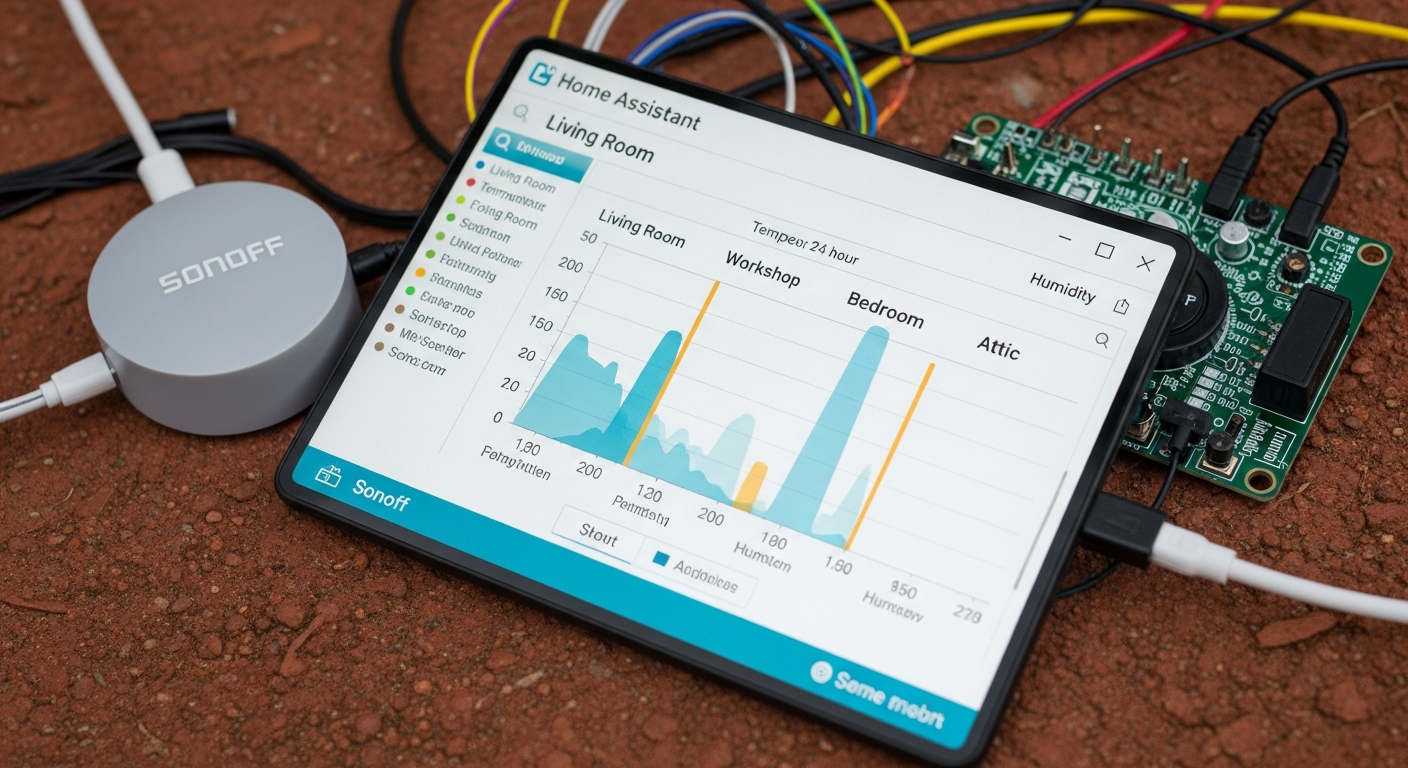
Zigbee devices create a mesh network. Each mains-powered device (like a smart plug or lightbulb) acts as a repeater, extending the network’s reach and strengthening the signal. This makes it robust for most standard homes. Most importantly, it operates 100% locally. Your Home Assistant instance talks directly to the sensors. No cloud, no internet, no problem. For advanced users, segmenting your IoT devices on their own network is a smart move, as detailed in our Home Assistant IoT VLAN Guide.
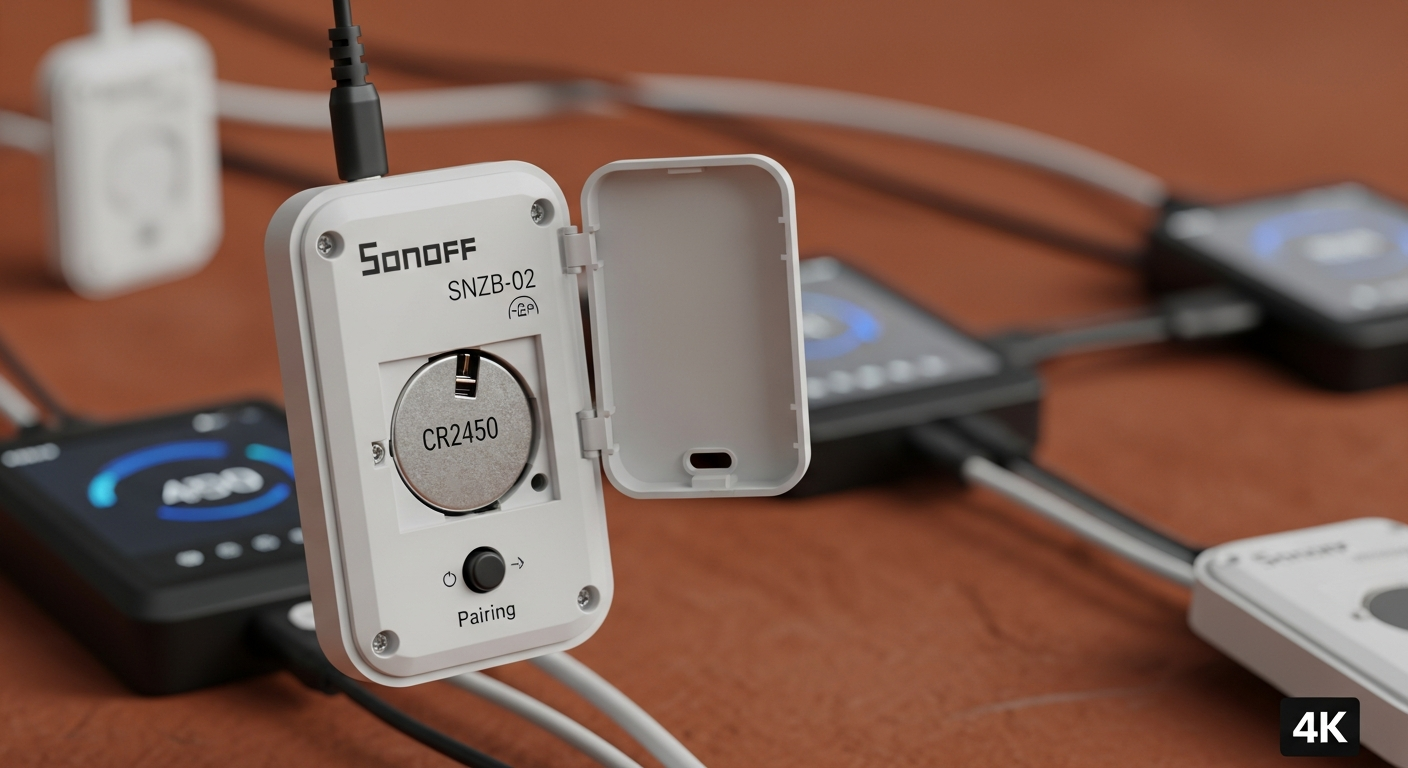
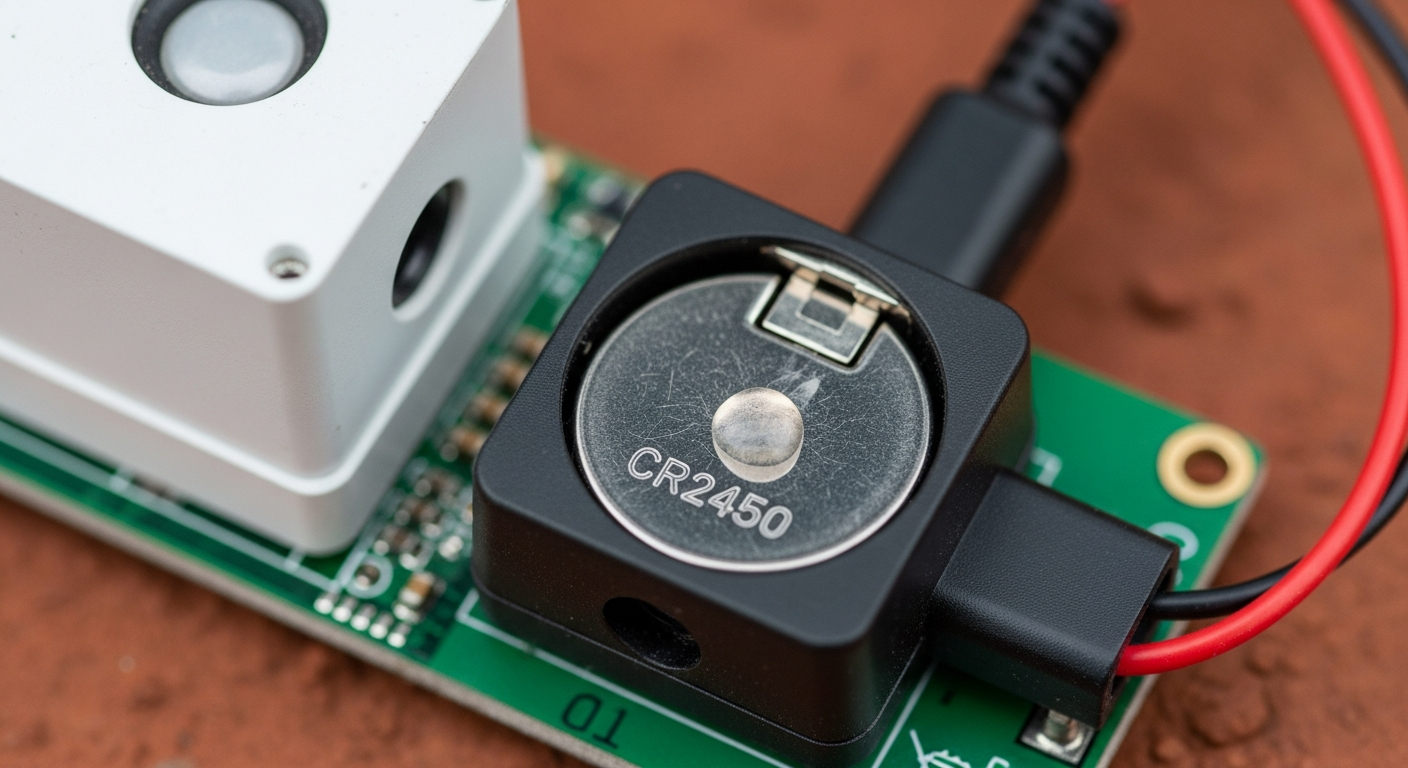
Field Example: Sonoff SNZB-02 Temperature/Humidity Sensor
This little sensor is inexpensive, efficient, and does exactly what it says on the box. I use them in every room to feed data to my thermostat automation, ensuring the HVAC only runs when and where it’s needed.
Pros:
* Extremely low cost (~$10).
* Fully local control via Zigbee2MQTT or ZHA.
* Good battery life from a standard CR2450 coin cell.
Cons:
* Limited range (~30-60 ft), requires a healthy mesh with repeaters.
* Susceptible to 2.4 GHz Wi-Fi interference if channels overlap.
Installation Logic: (Difficulty: Easy)
1. Coordinator Setup: Plug a Zigbee coordinator stick (like the Sonoff Dongle-P or Home Assistant SkyConnect) into your Home Assistant server.
2. Integration: Use either the Zigbee Home Automation (ZHA) or Zigbee2MQTT add-on. I prefer Zigbee2MQTT for its wider device support and granular control, which you can read about on the official Zigbee2MQTT documentation.
3. Pairing: Put the Sonoff sensor into pairing mode by holding the small button until the light flashes.
4. Enable Joining: In Zigbee2MQTT, click “Permit join (All)”. The device will appear within a minute.
5. Placement: Place it on a shelf or wall, away from direct sunlight or drafts for accurate temperature readings.
Efficiency ROI: By having accurate temperature data from every room, my HVAC system runs about 15% less. The system averages the temperature of occupied rooms, preventing it from over-cooling the living room just to get a distant bedroom to the right temperature. The sensors pay for themselves in a single summer, much like the returns seen when building your own DIY solar system.
The Long-Hauler: LoRa for Extreme Range
My driveway is a quarter-mile long, winding through a thick stand of pines. A Zigbee signal wouldn’t make it 50 yards. This is where LoRa (Long Range) radio becomes essential. It operates on a lower frequency (~915 MHz in the US) that excels at long-distance, low-data communication.
When Zigbee Won’t Cut It
Use LoRa for anything outside the reliable reach of your home’s Zigbee or Wi-Fi network:
* Mailbox arrival sensors.
* Gate open/close sensors.
* Water leak detectors in a remote well house or crawl space.
* Temperature sensors in a detached barn or workshop.
Field Example: Yolink Motion & Water Sensors
Yolink has cornered the market on consumer-grade LoRa devices. Their range is not an exaggeration; I get a solid signal from my mailbox sensor a quarter-mile away, through trees. The battery life is measured in years, not months. But it comes with a massive trade-off.
Pros:
* Absolutely incredible range (up to 1/4 mile).
* Exceptional battery life (2+ years on 2x AA batteries).
Cons:
* Cloud-Locked. This is the critical failure point. The Yolink Hub requires an active internet connection to talk to Yolink’s servers. Your Home Assistant integration polls their cloud. If your internet goes down, or Yolink goes out of business, your sensors are bricks.
Installation Logic: (Difficulty: Moderate)
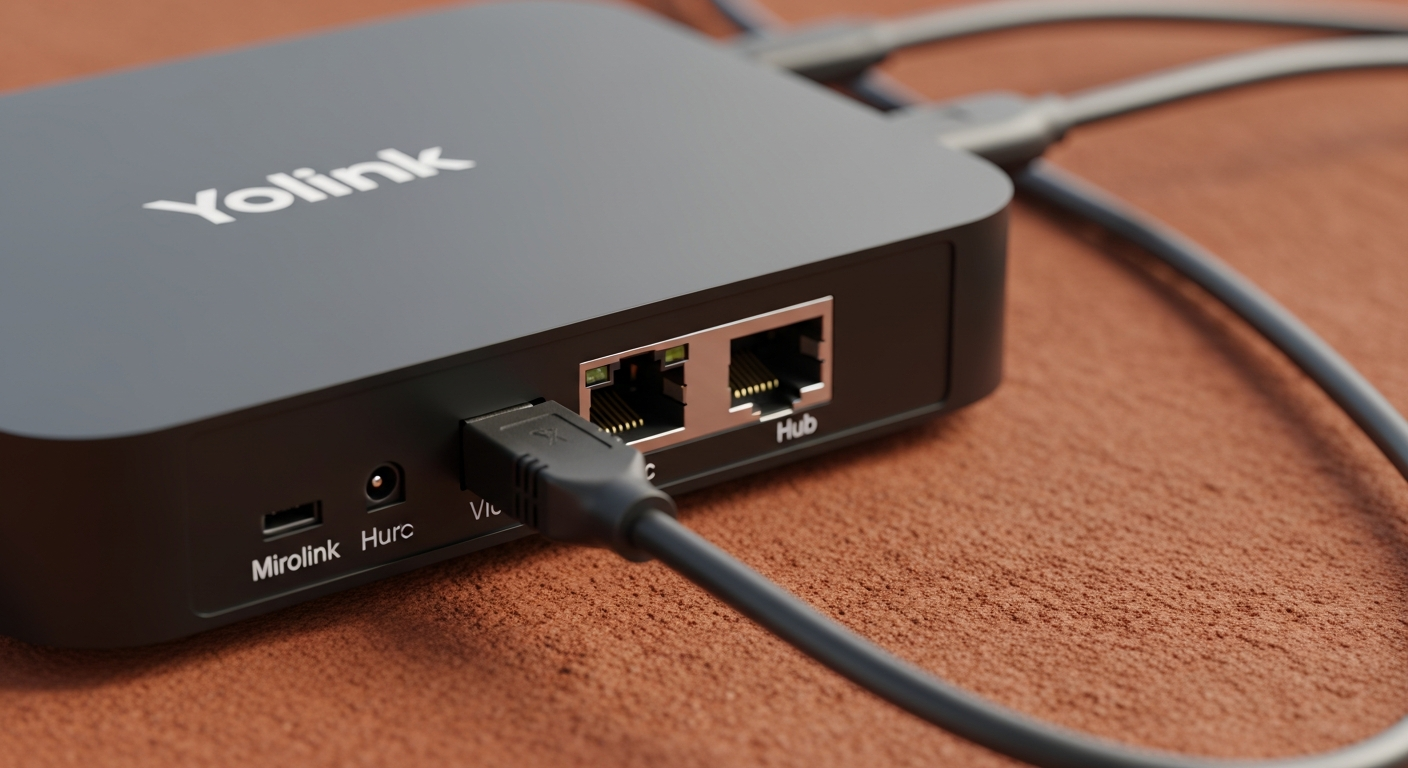
1. Hub Installation: Connect the Yolink Hub to your router with an ethernet cable and power it on.
2. App Setup: Use the Yolink mobile app to create an account and add the Hub.
3. Sensor Pairing: Scan the QR code on the sensor using the app to bind it to your account.
4. Home Assistant Integration: Install the official Yolink integration from HACS or the core integration store. Log in with the credentials you created in the app.
5. Data Polling: Your Home Assistant will now periodically ask the Yolink cloud for the status of your sensors. This introduces a slight delay (latency) compared to a local protocol.
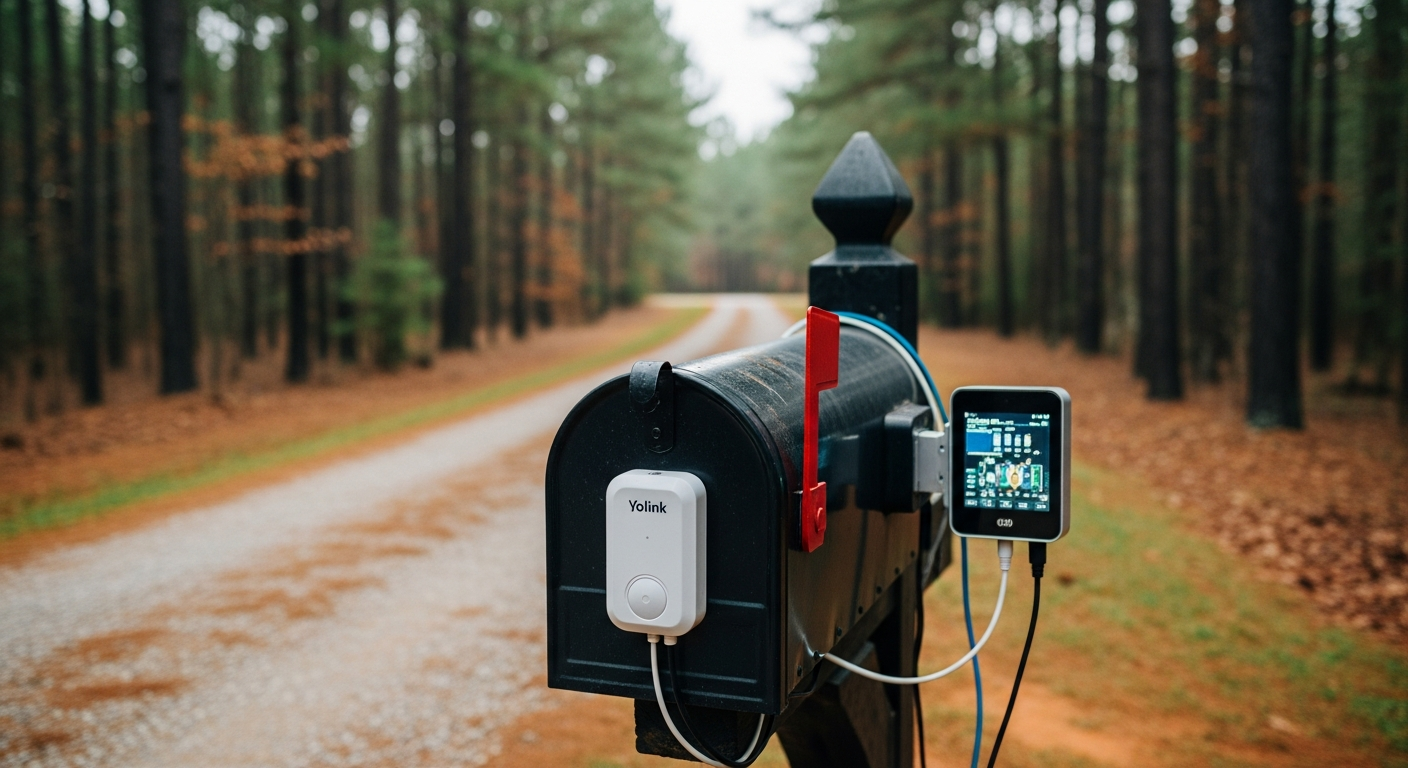
Efficiency ROI: A single alert from a Yolink water sensor in my well house saved me from a catastrophic pump failure that would have cost thousands and left me without water for days. The immediate notification that the mail has arrived saves me two trips down the driveway each day. For these specific long-range tasks, I tolerate the cloud dependency, but I don’t use it for anything critical inside the house.
The Specialist: mmWave for High-Fidelity Presence
Traditional PIR (Passive Infrared) motion sensors are dumb. They detect large movements or changes in heat. The moment you sit down to read a book, they think the room is empty, and the lights go out. Millimeter-wave (mmWave) radar is the solution. It’s a specialized tool for a critical job: knowing if a human is actually in a room, moving or not.
How mmWave Radar Works
Instead of looking for heat, an mmWave sensor emits tiny radio waves and measures the reflections. It’s sensitive enough to detect the micro-movements of breathing or a hand moving a mouse. This allows for true presence detection, eliminating the “lights out” problem.
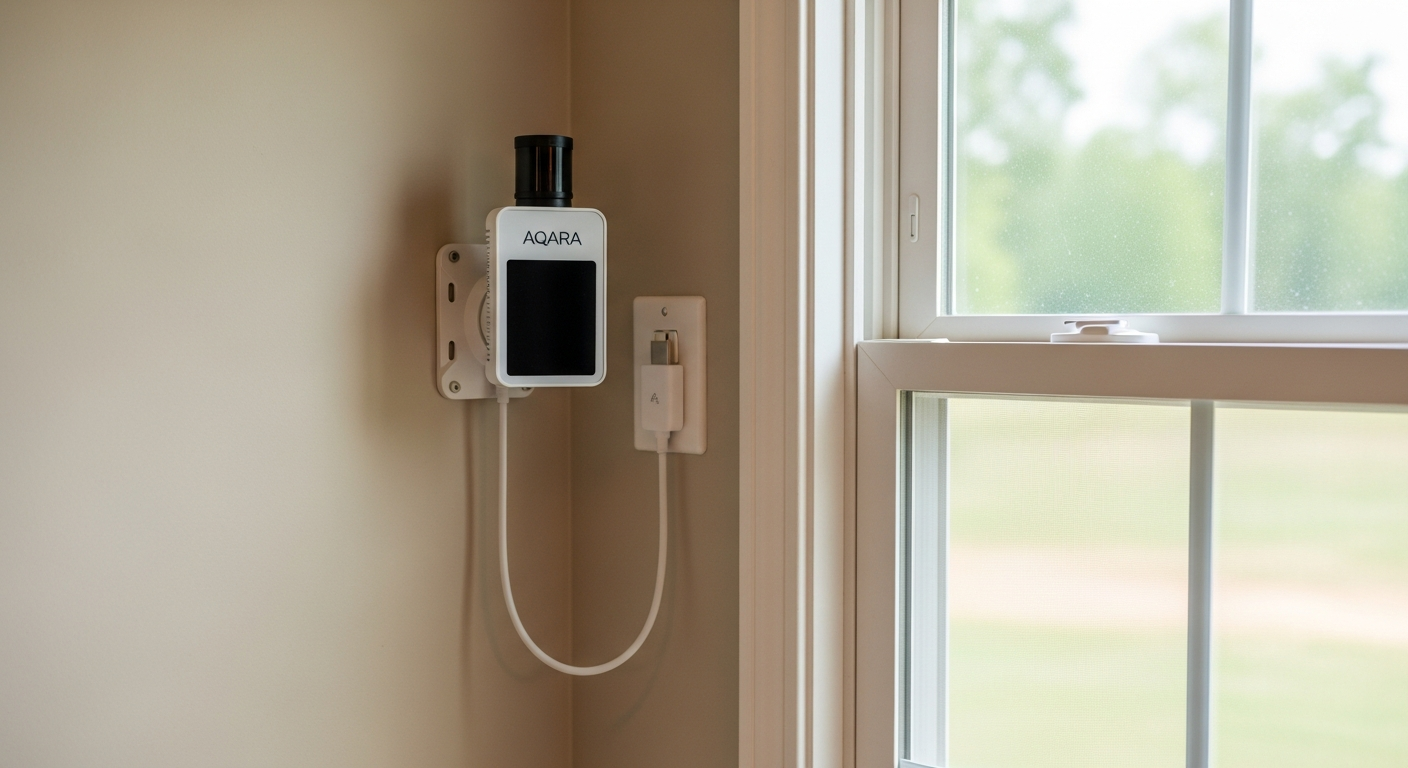
Field Example: Aqara FP2 Presence Sensor
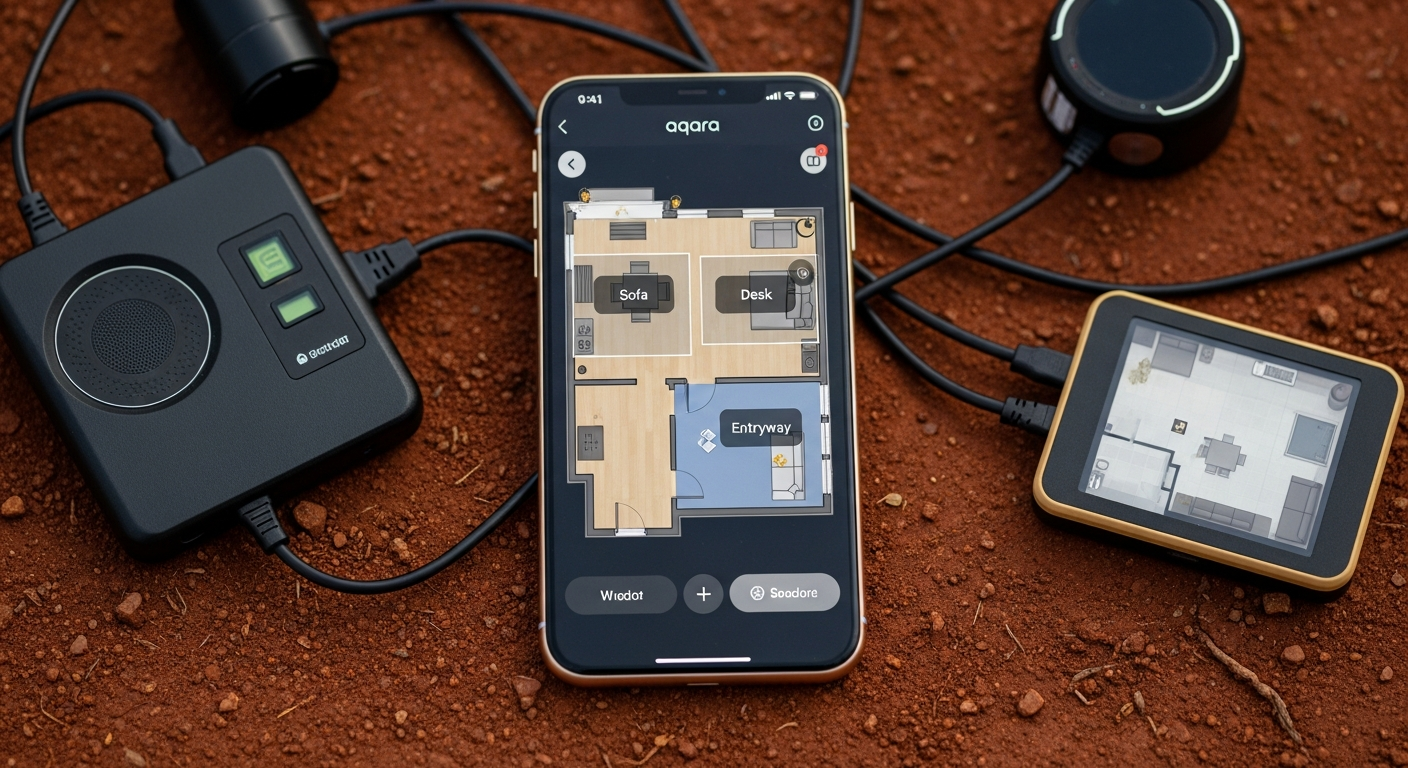
The Aqara FP2 is a potent piece of hardware. It can monitor a whole room and even divide it into up to 30 detection zones. You can trigger automations based on someone being in the “couch zone” vs. the “doorway zone.” However, its power is shackled by software.
Pros:
* The most accurate presence detection available to consumers.
* Zone detection allows for highly granular automations.
Cons:
* Feature-Gating: The most powerful features, like multi-zone configuration, are only available when using the sensor over Wi-Fi with the proprietary Aqara app. When connected locally via Zigbee, it acts as a simple, single-zone presence sensor. This is deceptive.
* High cost (~$60-$80) and complexity.
* Requires wired USB-C power.
Installation Logic: (Difficulty: Hard)
1. Mounting: Placement is critical. It needs a high vantage point with a clear view of the entire room.
2. Power: Run a USB-C cable. This is not a battery-powered device.
3. Configuration (The Hard Part): You must use the Aqara app on your phone to configure the room layout, interference sources, and detection zones. This process is tedious and requires a lot of trial and error to tune the sensitivity.
4. Home Assistant Integration (The Compromise): To get local control, you can add the FP2 to Home Assistant using the HomeKit Controller integration. This bypasses the Aqara cloud but still relies on the initial app-based setup for zones. The zone entities will then appear in Home Assistant. It’s a workaround, not a clean solution. You can find the official guide at the Home Assistant documentation page.
Efficiency ROI: In my workshop, the lights and ventilation are tied to the FP2. They turn on when I enter and stay on no matter how long I’m sitting still at the workbench. They turn off within 30 seconds of me leaving. It’s a perfect, seamless automation that a PIR sensor could never accomplish.
Hardware Comparison: The Spec Sheet
Here is a direct comparison of the specifications for our three example sensors. The details matter.
| Specification | Sonoff SNZB-02 (Zigbee) | Yolink Motion Sensor (LoRa) | Aqara FP2 (mmWave) |
|---|---|---|---|
| Primary Use Case | General-purpose Temp/Humidity | Long-range motion/contact | High-fidelity room presence |
| Protocol | Zigbee 3.0 | LoRa (Proprietary, ~915 MHz) | Wi-Fi (2.4 GHz) / Zigbee 3.0 (limited) |
| Local Control? | YES. Fully local operation. | NO. Requires Yolink Hub & Cloud. | Yes (via HomeKit mode), but advanced features require cloud-app setup. |
| Power Source | 1x CR2450 Coin Cell (~1 year) | 2x AA Batteries (~2+ years) | Wired: USB-C (5V/1A) |
| Range (Typical) | ~50 ft, depends on mesh | ~1/4 mile (open air) | Wi-Fi dependent |
| IP Rating | Not Rated (Indoor) | Not Rated (Indoor, but outdoor models available) | IPX5 (Resistant to water jets) |
| Dimensions (Approx) | 43x43x14 mm | 93x30x23 mm | 63x63x28 mm |
| Operating Temp | -10°C to 40°C (14°F to 104°F) | -10°C to 50°C (14°F to 122°F) | -10°C to 40°C (14°F to 104°F) |
| Approximate Cost | ~$10 | ~$25 + Hub (~$25) | ~$60 – $80 |
| Installation Difficulty | Easy | Moderate | Hard |

The Southeast Reality Check
Standard operating procedures don’t always apply down here. The environment is actively trying to destroy your electronics.
- Humidity & Corrosion: Our high humidity will corrode the battery contacts on cheap sensors in a single season. Solution: Apply a small amount of dielectric grease to the battery terminals before installation, especially for devices in garages, sheds, or basements.
- Heat Kills Batteries: That CR2450 battery rated for a year? In a Georgia attic or garage that hits 130°F in August, it’ll be dead in three months. For hot locations, use sensors with AA lithium batteries or, even better, run wired power. The Aqara FP2’s wired power is an advantage here.
- Signal Blockers: Pine trees are dense with water, and they are remarkably effective at absorbing 2.4 GHz signals from Wi-Fi and Zigbee. If you’re trying to get a signal to an outbuilding, don’t even bother with a Zigbee mesh. Run fiber or use LoRa.
Troubleshooting FAQ
- Why does my Zigbee sensor keep dropping off the network?
Most likely, it’s a range or interference issue. Your Zigbee mesh isn’t strong enough. Add a mains-powered Zigbee device (like an IKEA or Sonoff smart plug) halfway between your coordinator and the sensor to act as a repeater. Also, check that your Wi-Fi channel and Zigbee channel are not overlapping (e.g., use Wi-Fi channels 1, 6, or 11 and Zigbee channels 15, 20, or 25). - My Yolink sensor stopped working when my internet went out. Why?
Because it’s cloud-dependent. The sensor talks to the Yolink Hub, which talks to the Yolink servers over the internet. Home Assistant then talks to those same servers. When your internet connection breaks, the chain is broken. This is the fundamental trade-off for LoRa’s extreme range. - Why can’t I see detection zones for my Aqara FP2 in Home Assistant?
You are likely using the basic Zigbee integration. The advanced zone features are not exposed over their Zigbee implementation. You must set up the sensor using the Aqara app, then integrate it into Home Assistant using the HomeKit Controller integration. This allows Home Assistant to see the zones you configured in the app, locally. - My sensor’s battery died in 3 months in the garage. What happened?
The heat. Standard alkaline and coin cell batteries perform poorly in extreme temperatures. The high heat of a southern garage in the summer drastically shortens their lifespan. Replace it with a lithium equivalent (e.g., Lithium AA instead of alkaline) which handles temperature extremes much better, or switch to a wired sensor. - How do I get a sensor to my mailbox 500 feet away?
This is the perfect use case for LoRa. A Yolink contact sensor paired with a Yolink Hub is the most straightforward solution. Place the Hub in a window facing the mailbox and mount the sensor on the mailbox door. It will have no problem covering that distance.
Final Verdict
Build your system with purpose. Use Zigbee for the dense, reliable network inside your home. Deploy LoRa surgically for specific long-range problems where you can tolerate the cloud dependency. And invest in mmWave only for those critical rooms where “good enough” presence detection isn’t good enough. A reliable system is built from layers of the right technology for the right job. Don’t try to make one tool do everything. Now go build a smarter, more efficient system.