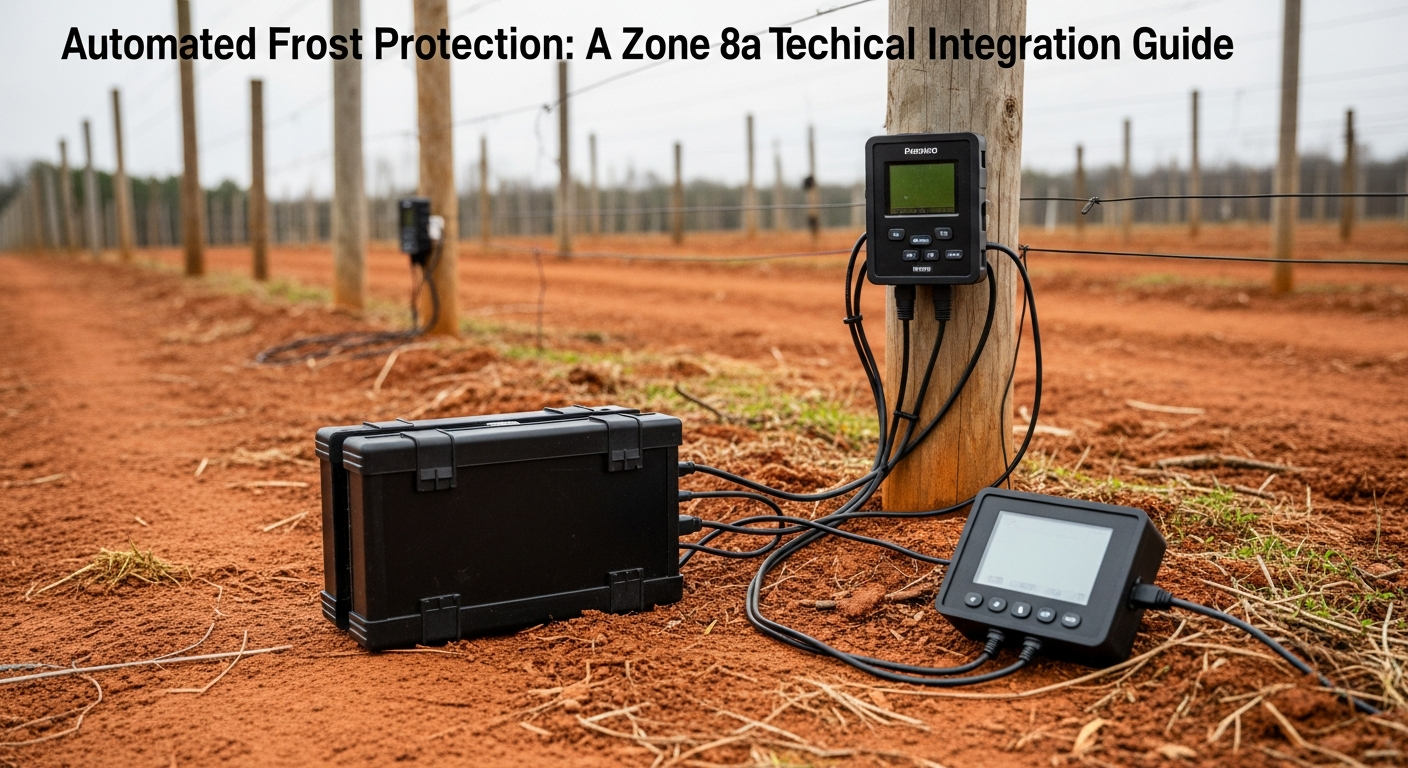
Automated Frost Protection: A Zone 8a Technical Integration Guide
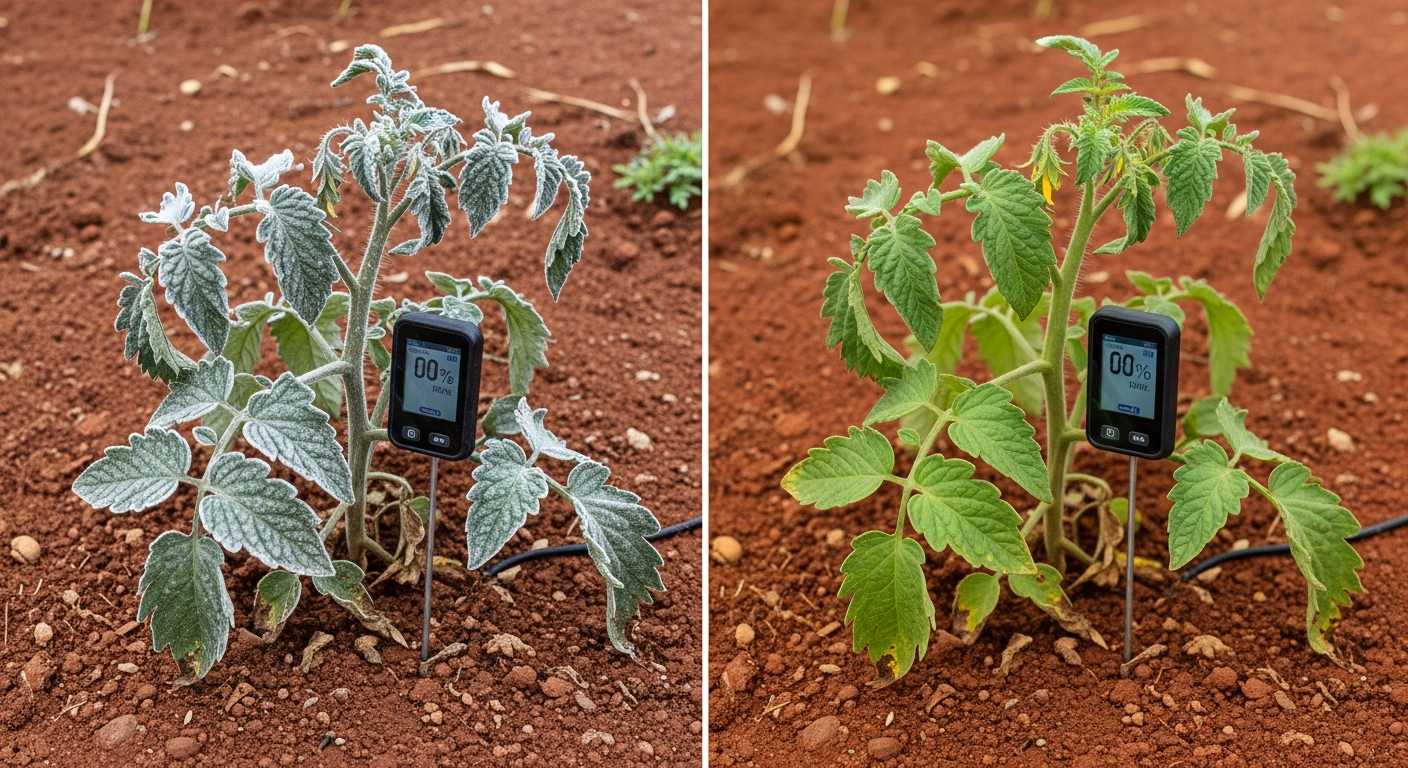
Manual frost protection—running out at 10 PM to throw blankets over plants—is inefficient and unreliable. A late frost in Zone 8a can wipe out a season’s worth of work. The professional solution is an automated, sensor-driven mitigation system. This guide details the integration of a low-voltage system that actively monitors soil and air temperature, triggering protective measures without manual intervention. We’re moving from guesswork to data-driven crop security.
Key Takeaways
- Precision Activation: The system activates based on real-time temperature data (e.g., at 34°F / 1.1°C), not weather forecasts, preventing crop loss from unexpected temperature drops.
- Labor Elimination: This system saves an average of 10-15 minutes of labor per event, per 100 sq ft of garden space. Over a season with 5-10 frost risk nights, this translates to significant time savings.
- Component Durability: We specify IP67-rated sensors and NEMA 4X enclosures to combat the corrosive high humidity of the Southeast.
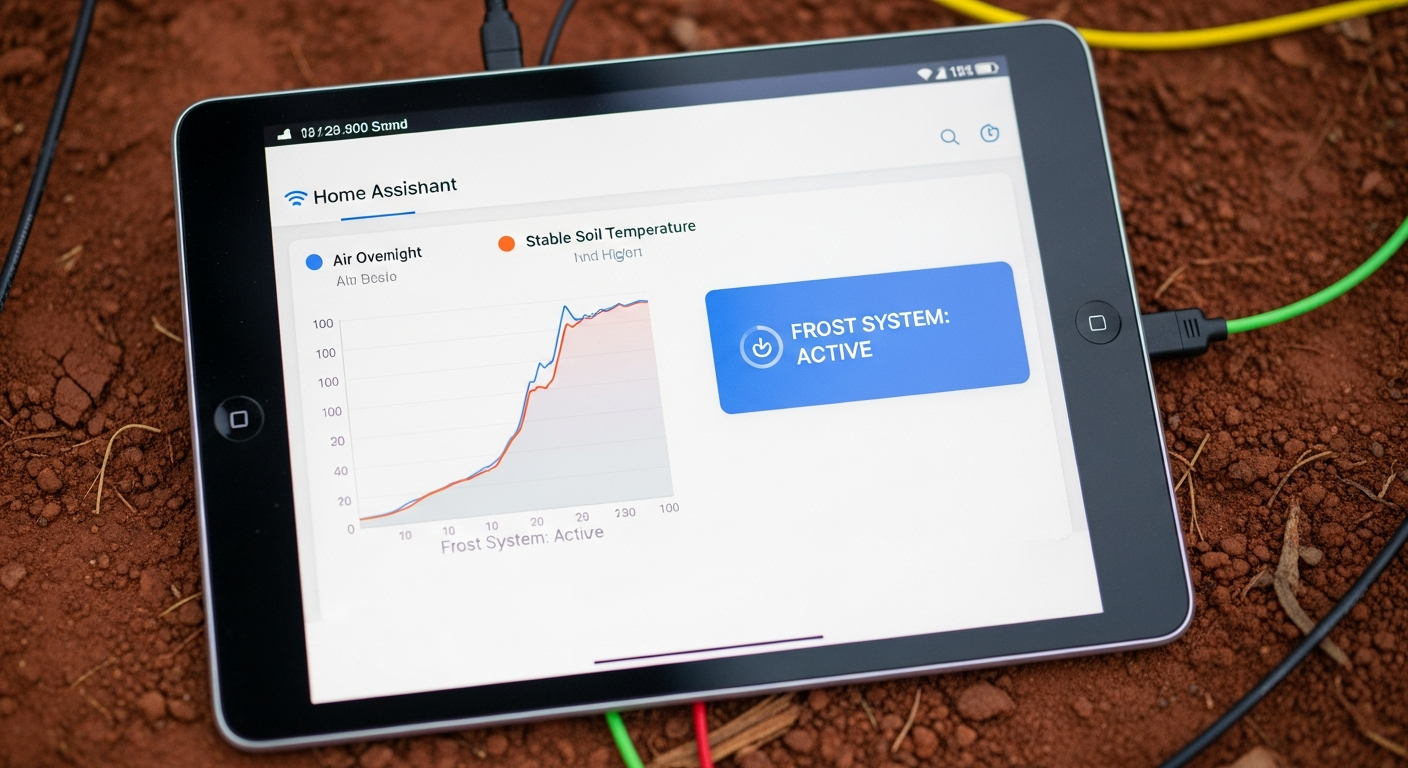
- Data-Driven Farming: Integrated with platforms like Home Assistant, this system provides valuable temperature logs to refine your planting and harvesting schedules year over year.
The Problem: Zone 8a’s Unpredictable Frost
In the Southeast, a warm February can be followed by a hard frost in late March. This volatility makes manual methods a high-stakes gamble. Furthermore, our regional challenges are specific:
- High Humidity: Leads to rapid corrosion of exposed terminals and component failure in non-rated electronics.
- Dense Pine Forests: Can severely degrade Wi-Fi signals, making remote monitoring and control a challenge.
- Red Clay Soil: This soil is dense and can be difficult to work with for sensor placement. When dry, it also presents challenges for achieving a low-resistance electrical ground.
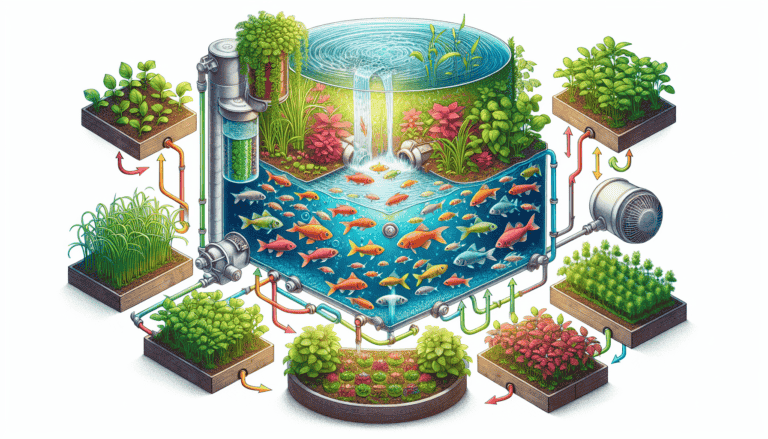
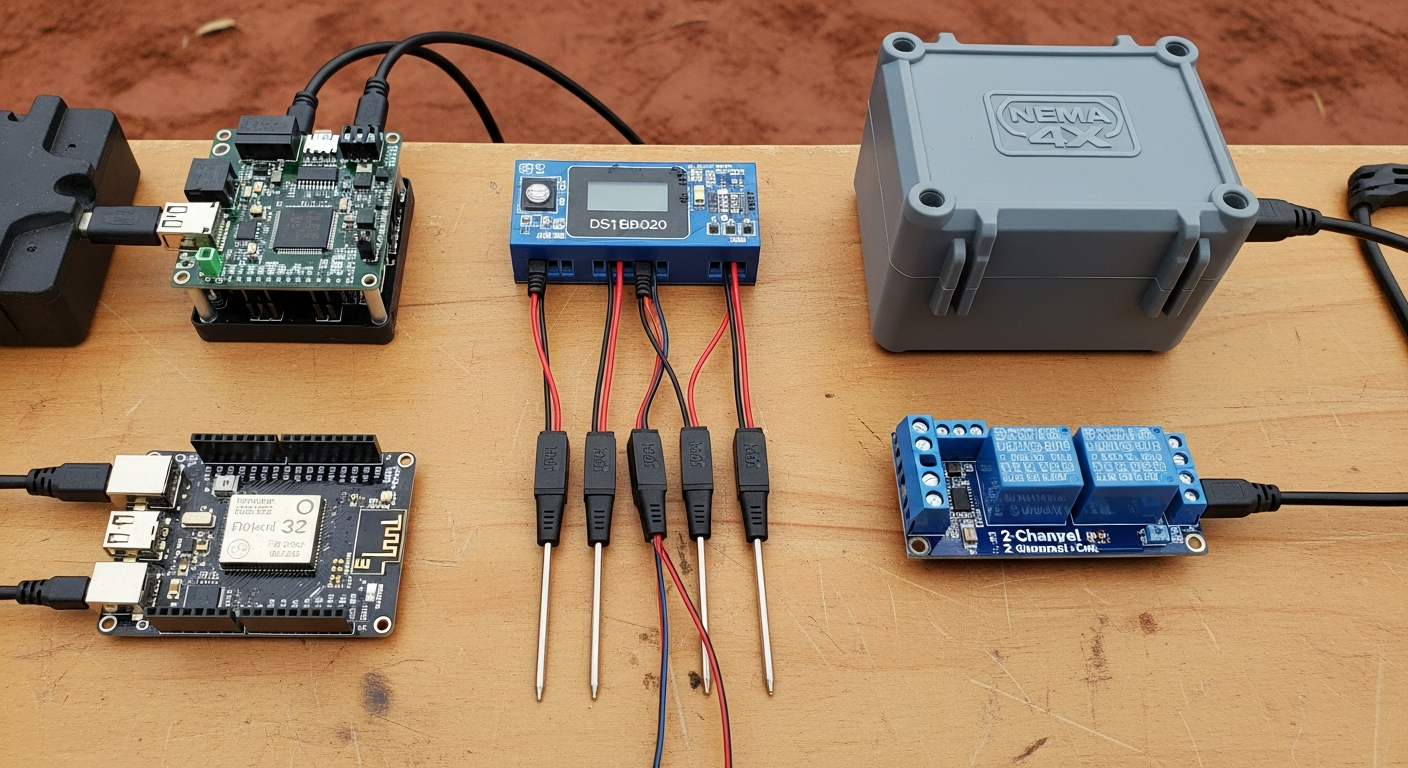
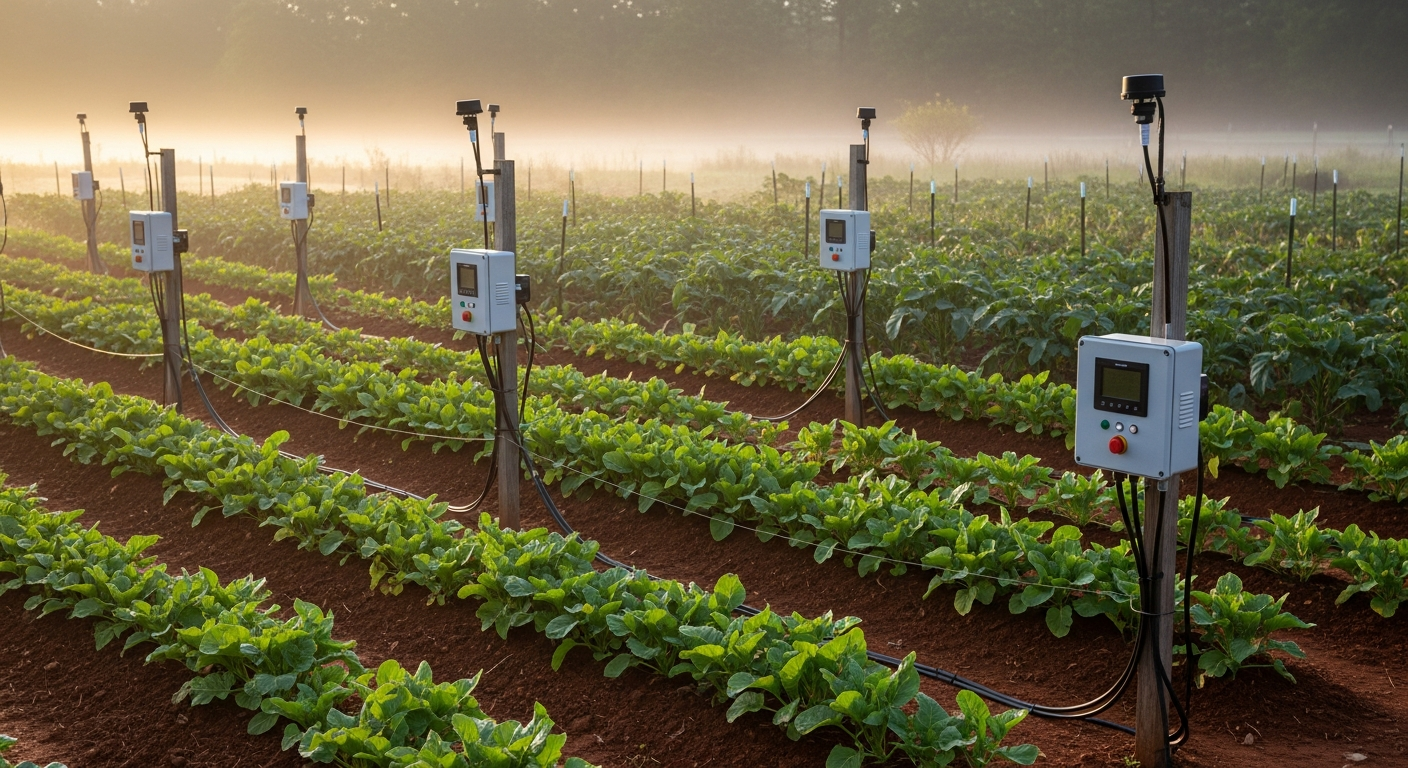
System Architecture: The Core Components
This is a modular system. We’ll focus on a setup using a microcontroller, waterproof sensors, and a relay to control either low-voltage heating cables or a sprinkler valve. The goal is reliability and low power consumption.
| Component | Specification | Power Draw | Connectivity | Notes |
|---|---|---|---|---|
| Controller | ESP32-WROOM-32 Dev Board | ~150mA @ 5V (active) | WiFi / Bluetooth | Low cost, powerful, and excellent community support. |
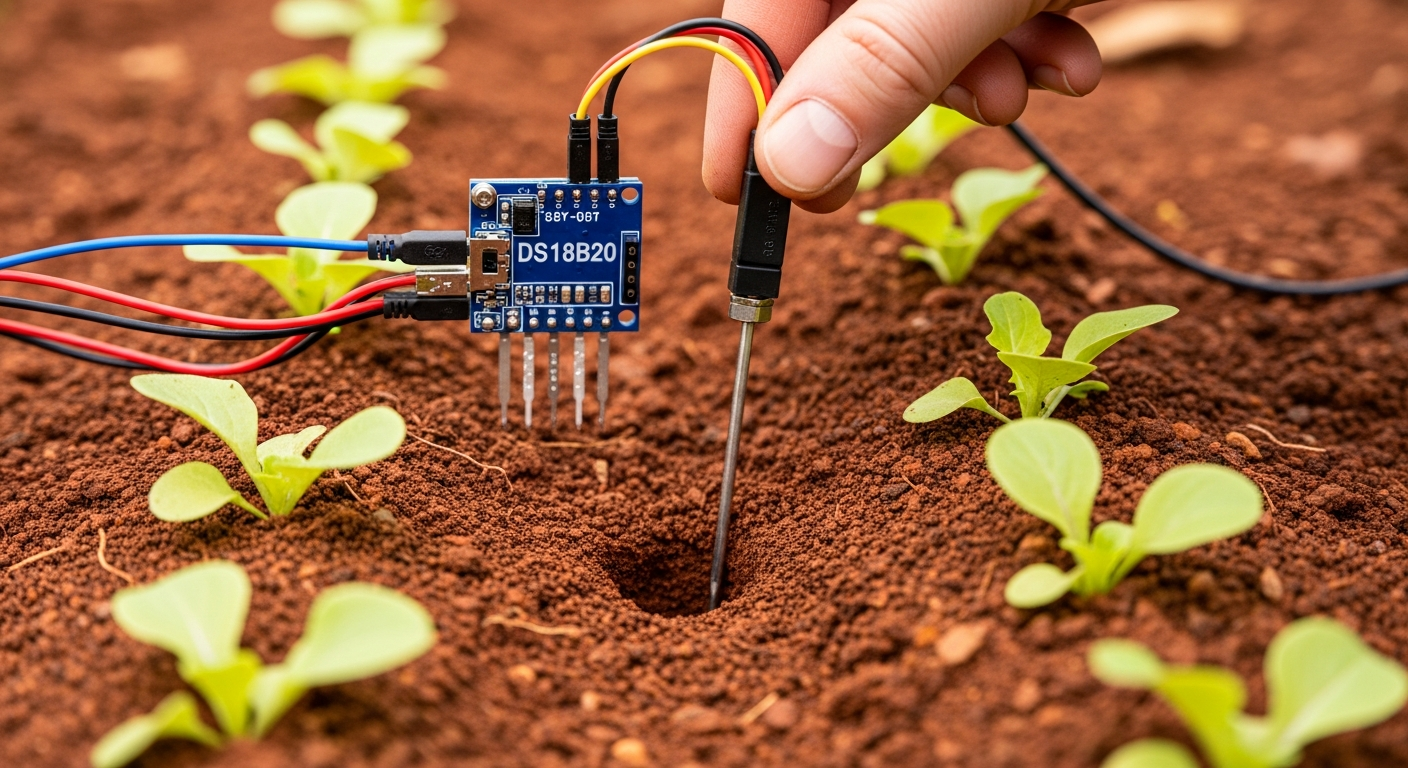
| Sensor | DS18B20 Waterproof Temperature Probe (x3) | < 5mA @ 3.3V/5V | 1-Wire Protocol | IP67 rating is non-negotiable for our humid environment. |
| Actuator (Relay) | 2-Channel 5V Relay Module | ~75mA per channel | GPIO | Provides electrical isolation between the MCU and the load. |
| Power Supply | 120V AC to 5V DC 2A USB Power Adapter | 10W Max | N/A | Use a reputable brand. Power fluctuations can cause MCU instability. |
| Enclosure | NEMA 4X Polycarbonate Junction Box | N/A | N/A | Critical for protecting the controller from humidity and UV damage. |
Installation Logic & Wiring
Installation Difficulty: 3/5 (Requires basic soldering and command-line flashing)
Compatibility Check:
* Home Assistant: Excellent. The ESP32 can be flashed with ESPHome for seamless, code-free integration.
* Starlink/Rural Internet: Standard WiFi may not reach the garden. If signal is an issue, consider a LoRa-based system for long-range, low-bandwidth communication. This requires a LoRa gateway connected to your main network.
Wiring Diagram
The logic is straightforward: the ESP32 reads data from the DS18B20 sensor. If the temperature drops below our threshold, it sends a HIGH signal to the relay module, closing the circuit and activating our heating element or water valve.
mermaid
graph TD
A[DS18B20 Temp Sensor] — 1-Wire Data –> B{ESP32 Controller};
B — Logic Check: Temp < 34°F –> C[5V Relay Module];
D[12V DC Power Source] –> C;
C — Switched Power –> E[Heating Cable / Solenoid Valve];
F[5V Power Supply] –> B;
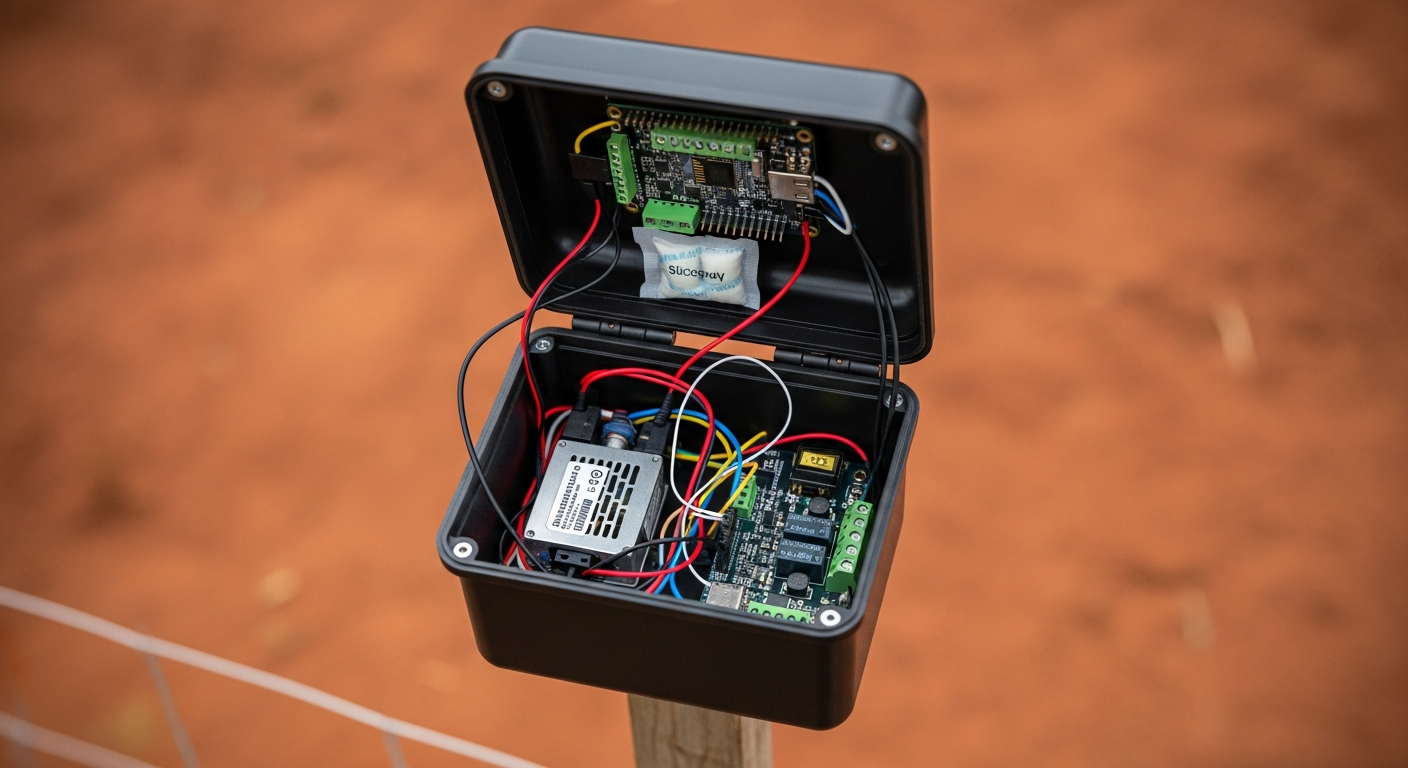
Physical Installation
- Controller Housing: Mount the NEMA 4X enclosure on a post at least 2 feet off the ground to prevent splash-up. Drill holes for wiring using waterproof cable glands to maintain the seal.
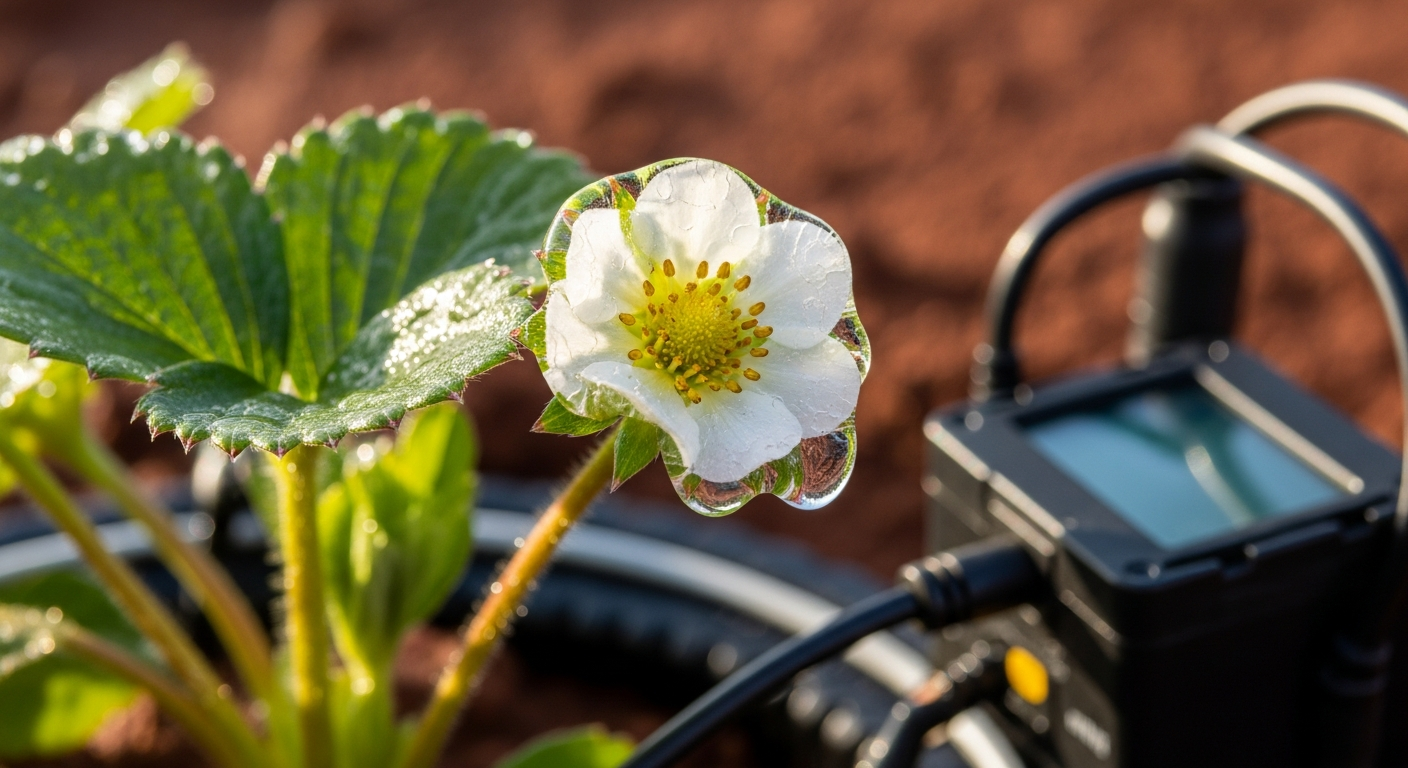
- Sensor Placement: For red clay, use a 1/2″ auger bit to drill a pilot hole 4-6 inches deep. Place one sensor at this depth to monitor root-zone temperature. Place a second sensor just below the soil surface, and a third to monitor ambient air temperature, shaded from direct sun.
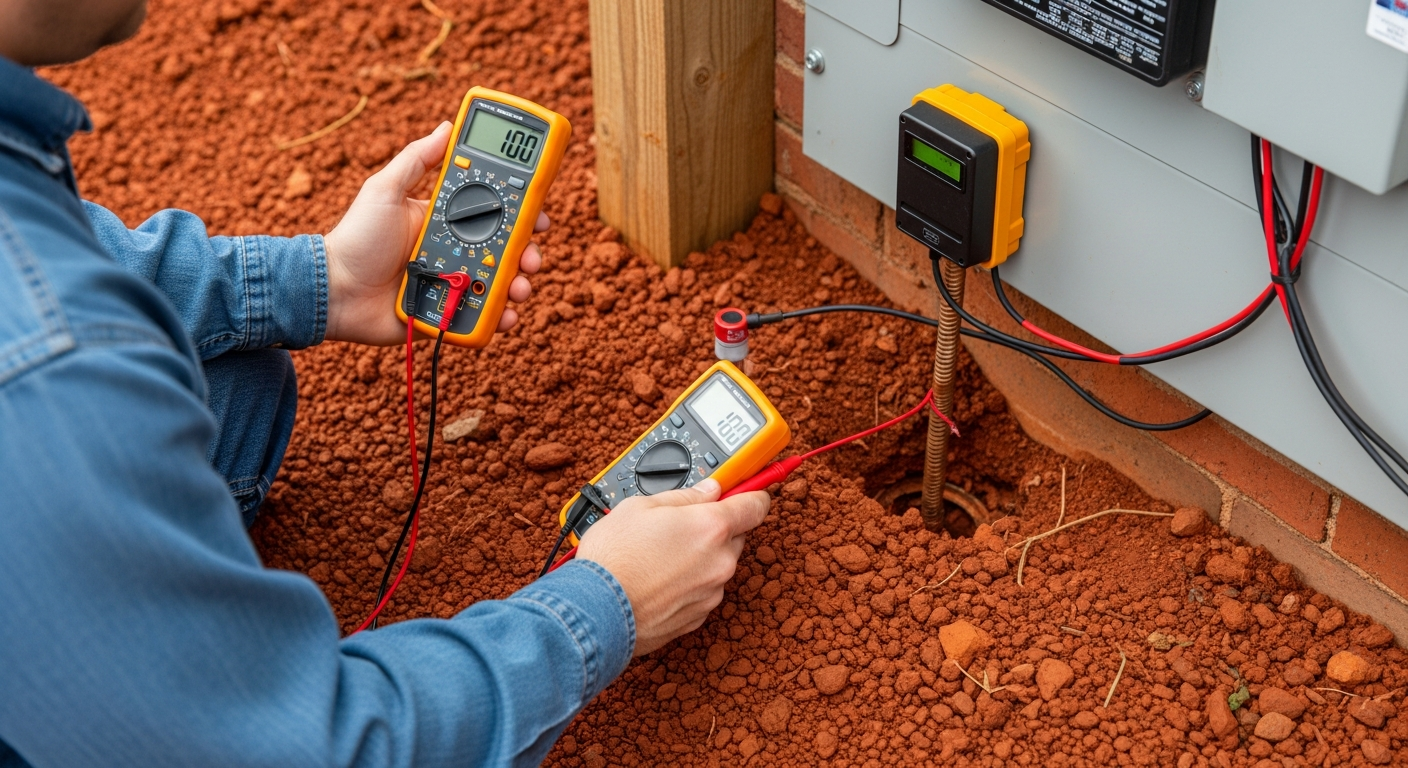
- Grounding: For any 120V AC components, proper grounding is critical in red clay. Drive an 8-foot copper-clad ground rod. To improve conductivity, you can use a bentonite slurry in the hole around the rod.
Efficiency ROI: The Payback Calculation
Let’s analyze the two primary actuator methods:
Method 1: Low-Voltage Heating Cables
* Pros: Water-efficient, targeted heat application.
* Cons: Higher energy consumption, cost per linear foot.
Method 2: Sprinkler System (Phase Change)
* Pros: Covers a large area, extremely effective due to the latent heat of fusion (as water freezes, it releases energy, keeping the plant surface at or near 32°F).
* Cons: Uses significant water, can cause damage if ice load becomes too heavy.
ROI Calculation (Example: 100 sq ft raised bed)
* System Cost: ~$75 (ESP32, sensors, relay, enclosure, wiring).
* Actuator Cost: ~$100 (50ft of 12V heating cable + power supply).
* Total Initial Cost: ~$175.
* Labor Saved: 10 frost nights x 15 min/night = 2.5 hours saved per season.
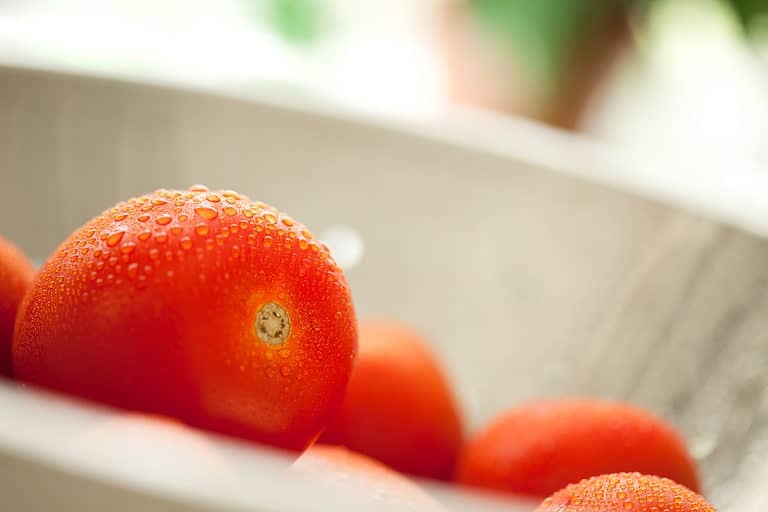
* Crop Value Saved: A single-night loss of mature tomato or pepper plants can easily exceed $200.
* Payback Period: The system often pays for itself by preventing a single frost event.
Conclusion: Build for Resilience, Not Reaction
Shifting from a reactive (blankets) to a proactive (automated) frost mitigation strategy is fundamental to the Smart Homestead. This system not only saves crops and labor but provides invaluable environmental data. By investing in industrial-grade components and sound installation logic, you build a resilient system that withstands the specific challenges of the Southeast, ensuring your hard work in the garden pays off at harvest.
FAQ
-
My garden Wi-Fi is unreliable due to pine trees. What are my options?
This is a common issue. The best solution is to move away from Wi-Fi for your field sensors. Implement a LoRa (Long Range) transmitter on your ESP32 and a LoRa gateway connected to your router. This provides miles of range, easily penetrating dense foliage. -
How do I prevent the electronics from corroding in 90% humidity?
First, use a NEMA 4X or IP67-rated enclosure. Second, use waterproof cable glands for all wire entries. Third, for maximum protection of the PCB itself, apply a layer of silicone conformal coating over the board and solder joints, avoiding the pin headers and ports. -
Can I power this system with a solar setup?
Absolutely. The ESP32 and sensors have very low idle power draw. A 20W solar panel paired with a small 12V 7Ah battery and a charge controller is more than sufficient to run the control system 24/7. You will need a larger battery/panel array if you intend to power 12V heating cables. -
Using sprinklers seems counterintuitive. Won’t the ice kill the plants?
No, as long as the water is applied continuously until the ambient air temperature is above freezing. The magic is in physics: as water freezes on the plant, it releases latent heat, keeping the plant tissue at 32°F (0°C), which is above the temperature at which most plant cells freeze and burst. -
What’s the best way to flash the ESP32 for this project?
For maximum integration and ease of use, we recommend ESPHome. It’s a tool that reads a simple YAML configuration file and creates custom firmware. It integrates directly with Home Assistant, requires no custom coding, and allows for Over-The-Air (OTA) updates, so you don’t have to physically access the controller to make changes.