Home Assistant IoT VLAN Guide [2026 Setup]
You wouldn’t leave the keys to your workshop just lying on the front porch. Yet, most people connect dozens of untrusted, foreign-made IoT devices directly to their main home network. This guide provides the engineering blueprint to fix that by segmenting your network with VLANs, specifically for a Home Assistant IoT VLAN setup. We’ll build a robust, reliable system that isolates potential threats without breaking the automations you depend on.
This isn’t a simple plug-and-play job. It requires proper hardware and a methodical approach. Get it wrong, and you’ll spend weeks troubleshooting why your devices have gone dark. Get it right, and you’ll have a network that’s more secure and far more resilient.
Key Takeaways
- Isolate Threats: A dedicated IoT VLAN prevents a compromised smart device from accessing your primary network, computers, and personal data.
- Hardware is Key: You need a prosumer-grade router and managed switch that support 802.1Q VLAN tagging and stateful firewall rules.
- Solve Discovery with mDNS: The biggest hurdle is cross-VLAN device discovery. You must enable an mDNS reflector/repeater on your router for Home Assistant to see devices on the IoT VLAN.
- Firewall Rules are Critical: The specific order and statefulness of your firewall rules determine success. The “Established/Related” rule is non-negotiable for allowing return traffic.
Why Isolate? The Principle of Least Privilege
The goal is simple: stop untrusted devices from talking to things they have no business talking to. That cheap Wi-Fi plug doesn’t need access to your file server, and your security camera shouldn’t be able to scan your personal laptops for vulnerabilities.
By creating a separate Virtual LAN (VLAN) for your IoT gear, you build a digital fence. We will then act as the gatekeeper, using firewall rules to define exactly what traffic, if any, is allowed to pass through that fence. This is a core principle of digital security and is a logical extension of your overall essential emergency preparedness strategy. This prevents a compromised smart bulb from becoming a gateway for an attack on your entire network.
Pros and Cons of VLAN Segmentation
| Pros | Cons |
|---|---|
| ✅ Enhanced Security: Isolates untrusted devices, preventing lateral movement across your network in case of a breach. | ❌ Increased Complexity: Requires a solid understanding of networking principles. Not a beginner-friendly project. |
| ✅ Granular Control: Firewall rules give you precise control over which devices can talk to each other and the internet. | ❌ Higher Upfront Cost: Requires prosumer-grade hardware (managed switch, capable router) which is more expensive than basic consumer gear. |
| ✅ Reduced Network Congestion: Segregating chatty IoT devices can improve performance on your main network. | ❌ Troubleshooting Difficulty: When things go wrong (and they might), pinpointing the issue (mDNS, firewall rule, port profile) can be challenging. |
| ✅ Future-Proofing: A segmented network is a scalable foundation for adding more advanced home technology. | ❌ Potential Incompatibility: Some cloud-dependent devices may not function correctly without internet access or special firewall exceptions. |
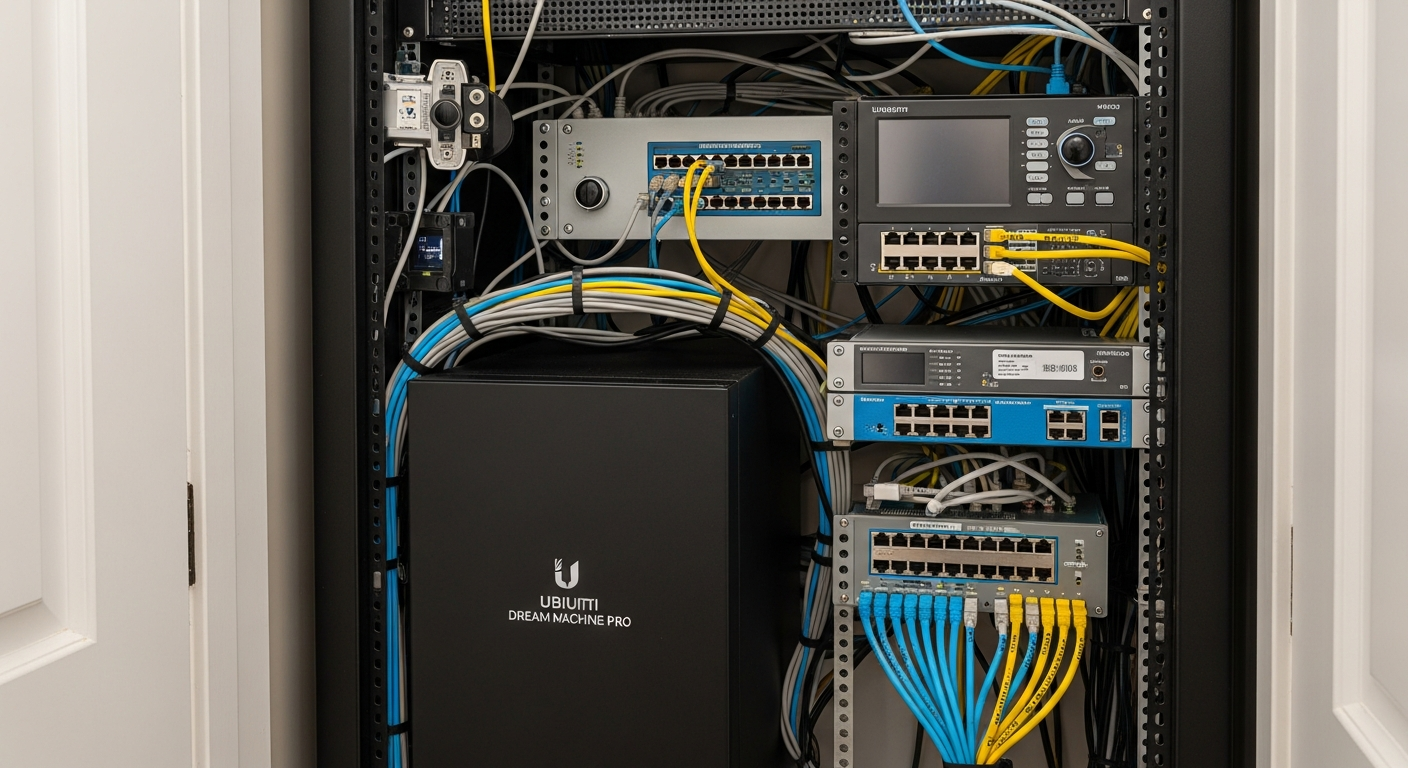
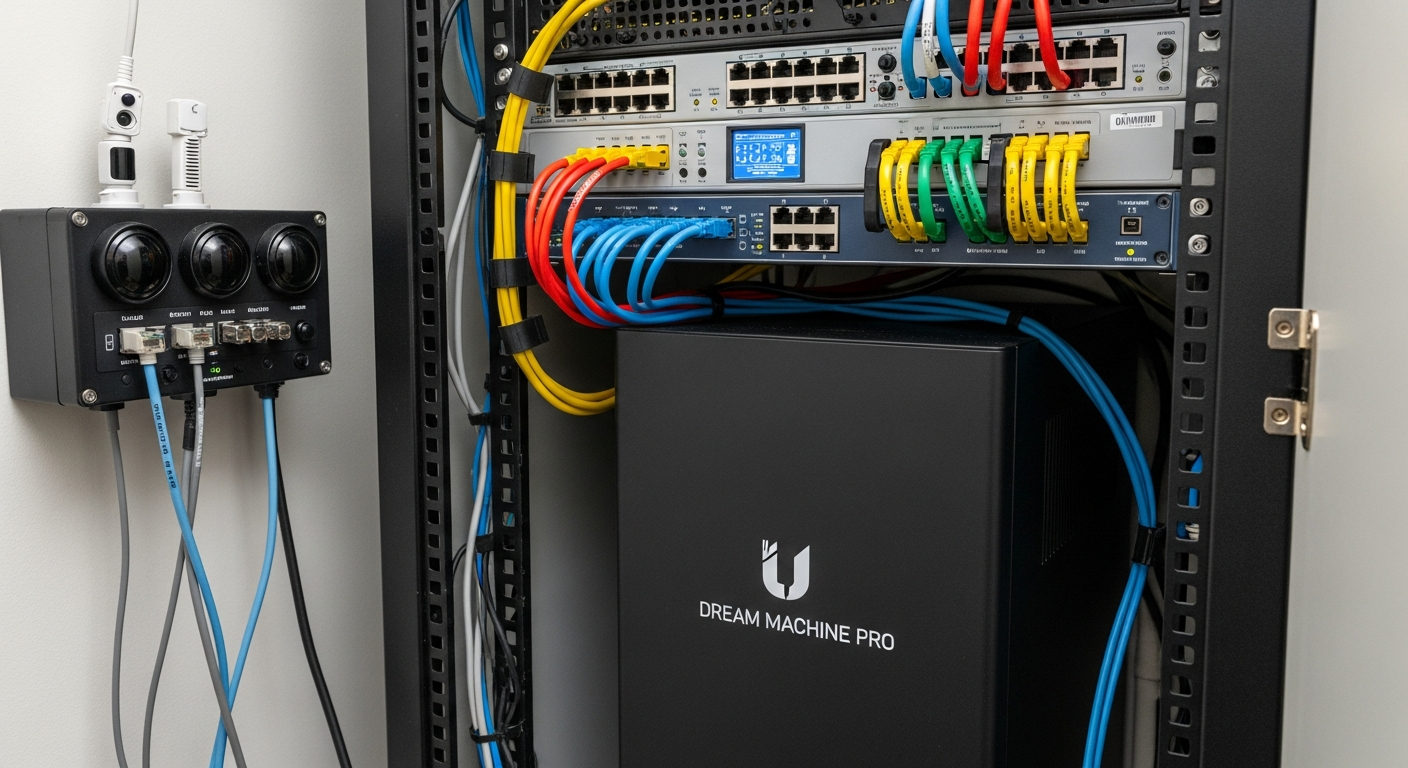
The Hardware Foundation: Choosing Your Tools
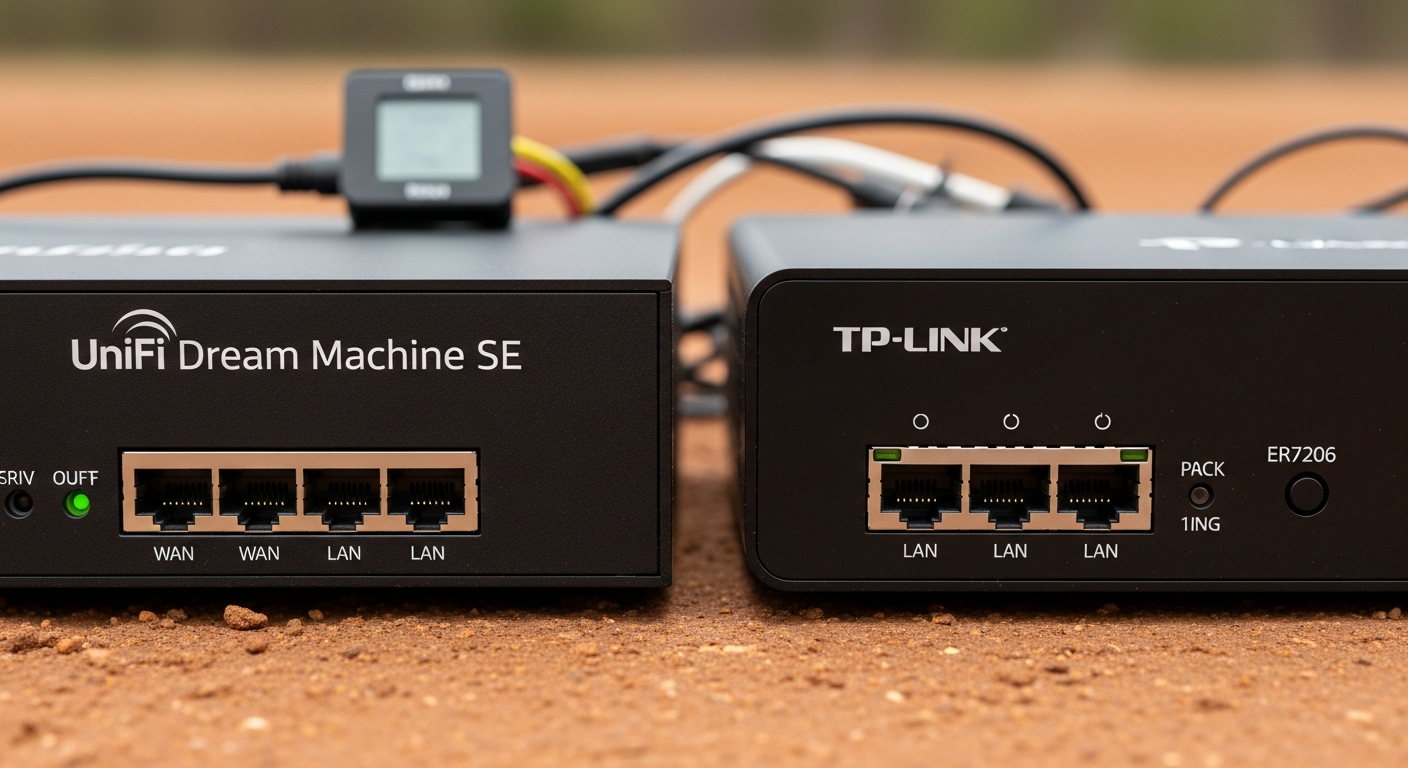
You can’t build a solid structure on a weak foundation. Consumer-grade all-in-one routers from your internet provider won’t cut it. You need prosumer or enterprise-grade hardware that supports 802.1Q VLAN tagging and stateful firewall rules. The two most common and reliable ecosystems for this are Ubiquiti’s UniFi line and TP-Link’s Omada series.
Here is a breakdown of the required components. I’ve run both systems. UniFi is more polished, but Omada delivers the same core functionality for less capital outlay. Both are solid choices.
Comparison: UniFi vs. Omada for VLAN Segmentation
| Component / Spec | Ubiquiti UniFi Ecosystem | TP-Link Omada Ecosystem | Technical Notes & Failure Points |
|---|---|---|---|
| Gateway / Firewall | UniFi Dream Machine (UDM-Pro, UDM-SE) | Omada Router (ER605, ER7206) | Required: Must support stateful firewall rules and VLAN tagging. Spec: Look for firewall throughput >1 Gbps. Failure Point: The built-in mDNS reflector may not be enabled by default. |
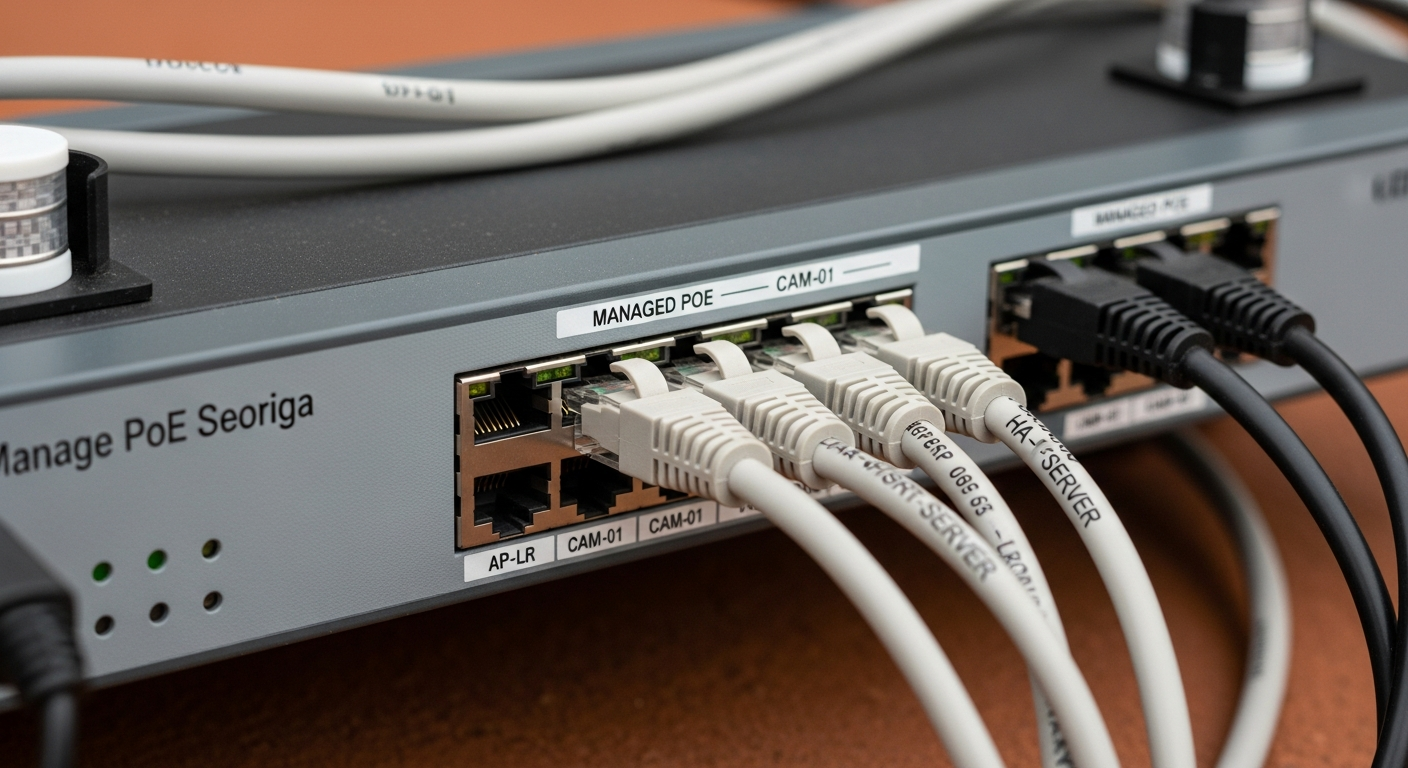
| Managed Switch | UniFi Switch (e.g., USW-Lite-8-PoE) | Omada Switch (e.g., TL-SG2008P) | Required: Layer 2 Managed Switch. Spec: Must support 802.1Q VLAN tagging. PoE (802.3af/at) is essential for powering Access Points. Failure Point: Misconfiguring switch port profiles is the #1 setup error. |
| Wireless Access Point | UniFi AP (e.g., U6-Lite, U6-LR) | Omada AP (e.g., EAP610, EAP650) | Required: Must support multiple SSIDs mapped to different VLANs. Spec: Wi-Fi 6 (802.11ax) is the current standard. Failure Point: “Client Isolation” must be disabled for local IoT communication. |
| Controller | UniFi Network Application (runs on UDM, Cloud Key, or self-hosted) | Omada Software/Hardware Controller (OC200, OC300, or self-hosted) | Required: For centralized management and configuration. Failure Point: Controller updates can sometimes change network behavior; always read release notes. |
| Approx. Entry Cost | ~\$600 (UDM-Pro, U6-Lite, USW-Lite-8-PoE) | ~\$350 (ER605, EAP610, TL-SG2008P, OC200) | These are baseline estimates. Your cost will scale with the size of your property. Remember, the high humidity of the US Southeast can corrode cheap electronics over time. Invest in hardware rated for the temperature and humidity swings in a garage or attic. |
| Key Software Feature | mDNS Reflector | mDNS Repeater | CRITICAL: This service allows device discovery (Bonjour, mDNS) to work across VLANs. Without it, Home Assistant won’t find most of your devices automatically. |
- Installation Difficulty: Advanced. This is not a beginner project. If you’ve tackled projects like building your own DIY solar system, you have the right mindset, but you still need a solid understanding of IP networking fundamentals. Expect to spend a full day on configuration and testing.
- Compatibility Check: Both UniFi and Omada are fully compatible with Home Assistant. The key is not the hardware brand, but the correct implementation of firewall rules and the mDNS service to allow cross-VLAN communication.
The Blueprint: Network Design and Firewall Logic
Before you touch any settings, you need a plan. Our plan involves three distinct networks:
- MAIN (VLAN 1): Your trusted network. For your computers, phones, and network-attached storage (NAS). This is the default LAN.
- IOT (VLAN 20): The isolated network for all smart plugs, sensors, cameras, and other devices you don’t fully trust.
- GUEST (VLAN 30): An optional but recommended network for visitors. It provides internet access but is completely isolated from both your MAIN and IOT networks.
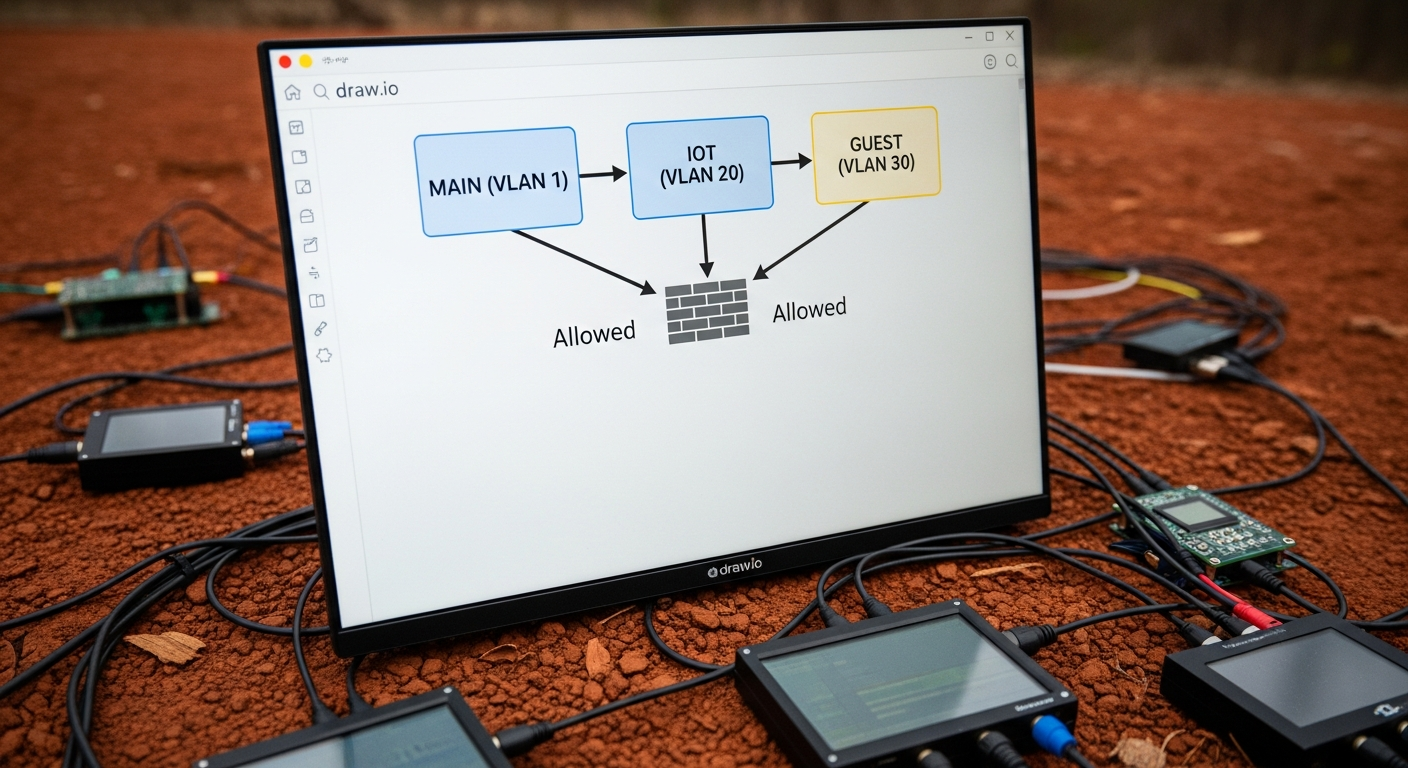
The logic is enforced by the firewall. The rules are processed in order, from top to bottom. The first rule that matches a packet of data is applied. This order is critical.
Firewall Rule Logic Table
| Priority | Action | Source | Destination | Protocol | Purpose (The “Why”) |
|---|---|---|---|---|---|
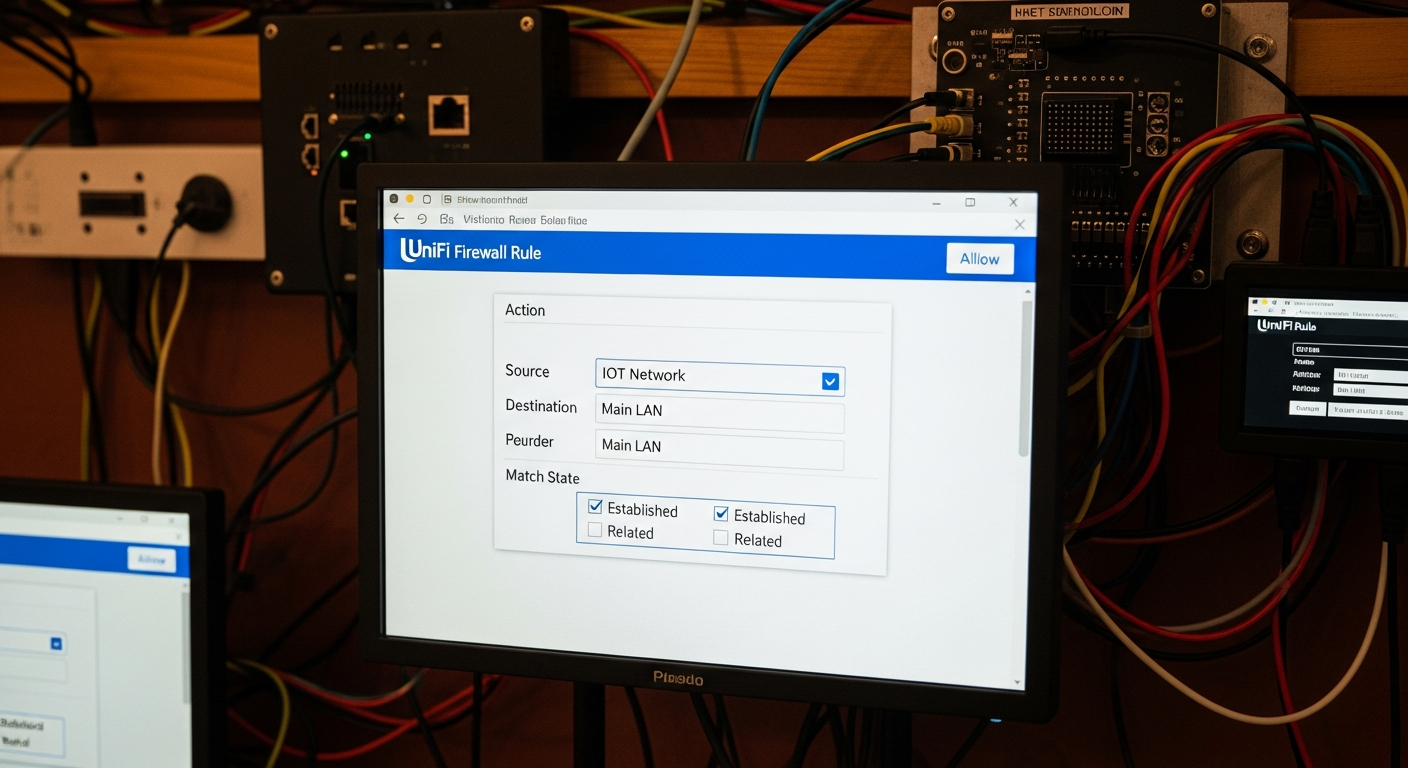
| 1 | Allow | IoT VLAN |
IoT VLAN |
All | Allow all devices within the IoT network to talk to each other. Necessary for things like a light switch controlling a bulb directly. |
| 2 | Allow | Main LAN |
IoT VLAN |
All | Allow your trusted computers and phones to initiate connections to your IoT devices for configuration or direct control. |
| 3 | Allow | IoT VLAN |
Main LAN |
All (State: Established/Related) | THE MOST CRITICAL RULE. This allows IoT devices to respond to connections from the Main LAN. Without it, your requests will go out, but the answers will be blocked, and connections will fail. |
| 4 | Allow | IoT VLAN |
Home Assistant IP |
Specific Ports | If HA is on your Main LAN, you must explicitly allow traffic from the IoT network to it. Be specific (e.g., TCP Port 1883 for MQTT, UDP 5353 for mDNS). |
| 5 | Drop | IoT VLAN |
Main LAN |
All | The Security Rule. Block any new connection attempts from the IoT network to your trusted network. This stops a compromised device from attacking your computers. |
| 6 | Drop | IoT VLAN |
Internet (WAN) |
All | Block all IoT devices from “phoning home” to manufacturer servers. You can add exceptions for specific device IPs that require cloud access to function (e.g., smart speakers). |
The Multicast Problem: mDNS and Device Discovery
Here is where most people fail. Home Assistant, ESPHome, Chromecasts, and many other services use multicast DNS (mDNS) to automatically discover each other on the network. Multicast traffic, by design, does not cross VLAN boundaries.
When you move your ESPHome sensor to the IoT VLAN, Home Assistant (on the Main LAN) can no longer hear its broadcast announcements. The sensor becomes invisible.
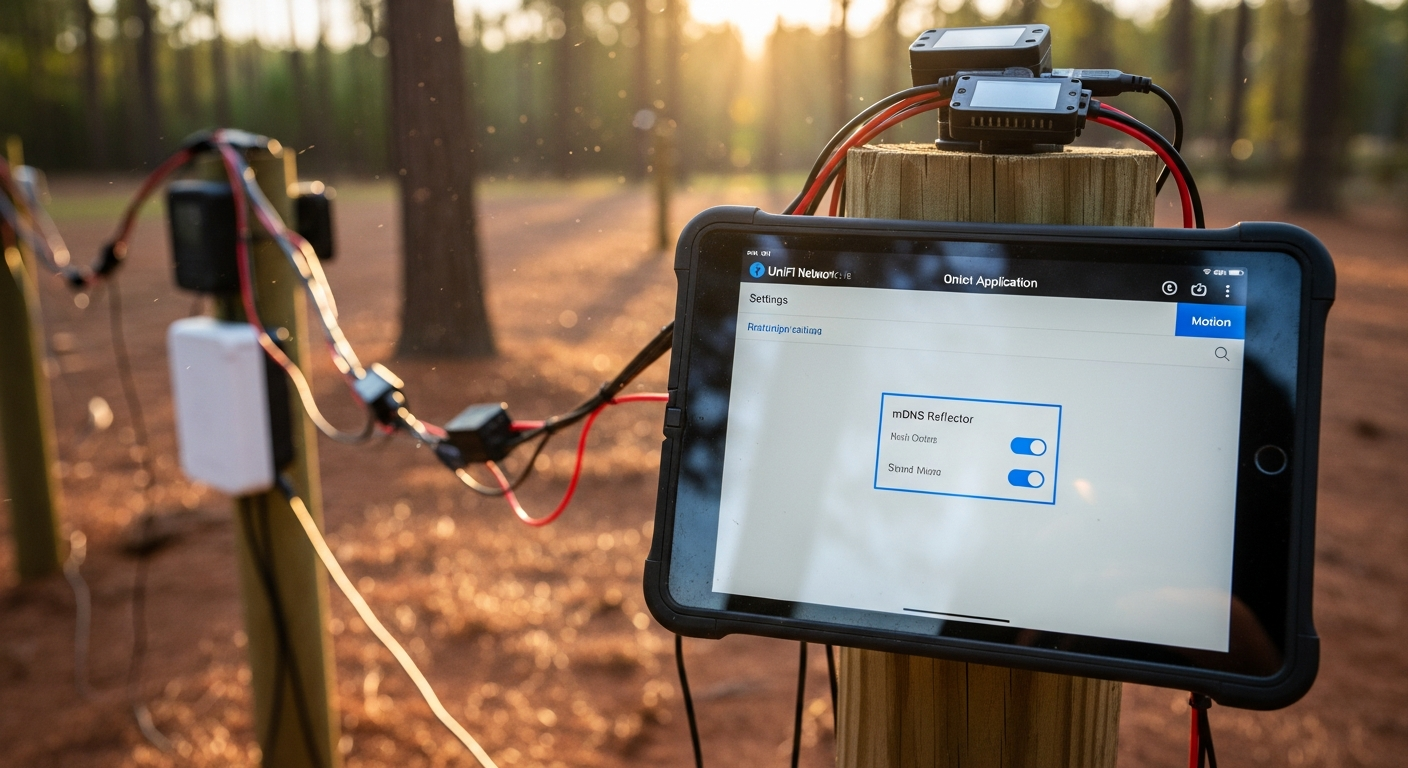
The Solution: An mDNS Reflector (or Repeater). This is a service that runs on your gateway/router. It listens for mDNS broadcasts on one VLAN and re-broadcasts them onto other specified VLANs, effectively bridging the discovery gap. You MUST enable this feature.
Step-by-Step Implementation Guide
This is a generic workflow. The specific button clicks will vary between UniFi and Omada, but the principles are identical.
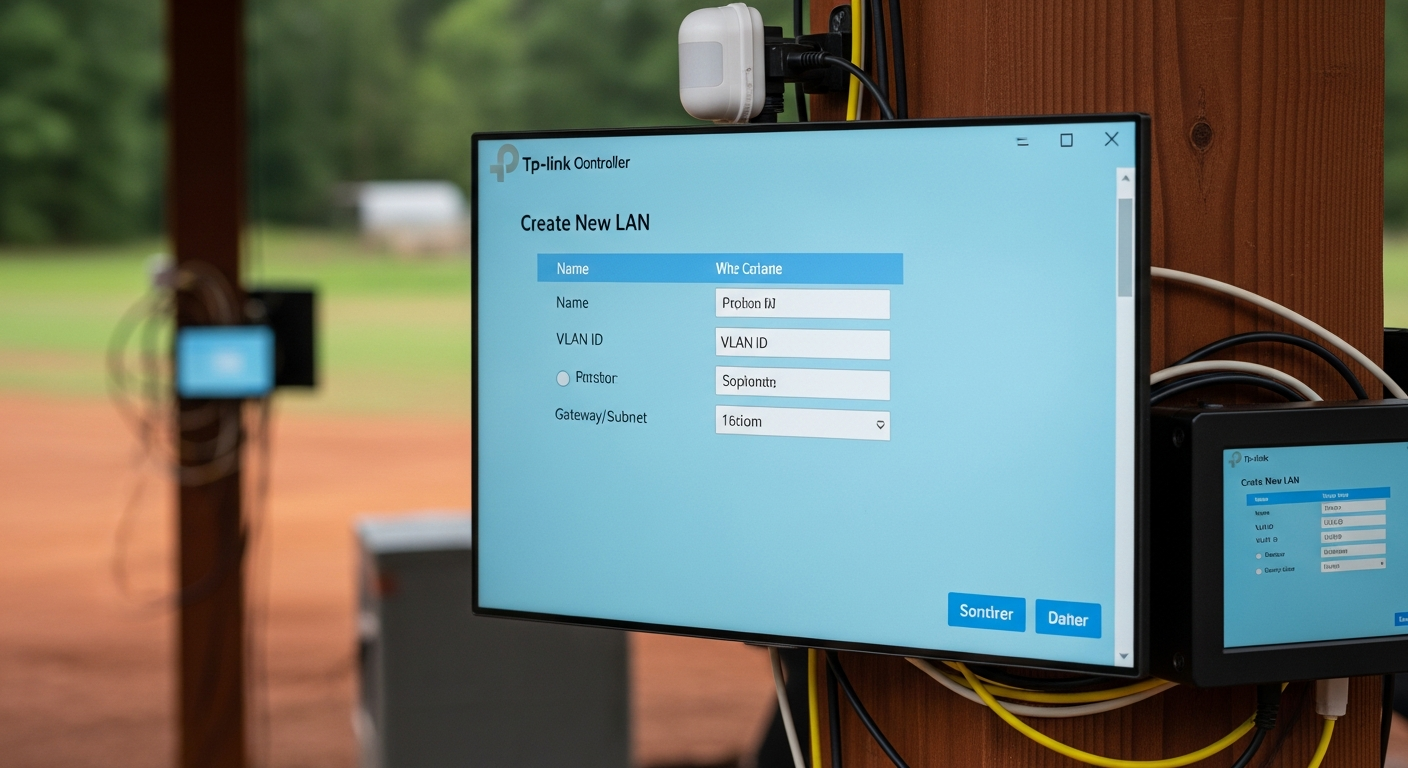
Step 1: Define Your Networks (VLANs)
* In your controller (UniFi/Omada), navigate to Settings -> Networks.
* Create a new network. Name it IOT.
* Assign it a VLAN ID. Let’s use 20.
* Set its IP address range (e.g., 192.168.20.1/24). This should be different from your main network’s range.
Step 2: Create Your IoT Wireless Network
* Navigate to Settings -> WiFi.
* Create a new wireless network. Name it something obvious, like MyHome_IOT.
* Assign it a strong, unique password.
* Crucially, under the “Network” dropdown, select the IOT (VLAN 20) network you just created. This tags all traffic from this SSID with VLAN 20.
Step 3: Configure Switch Port Profiles
* Your Access Point needs to handle traffic from multiple VLANs (Main and IoT). Its switch port must be configured as a “Trunk” port (in some UIs, this is a profile called “All”). This allows tagged traffic to pass through.
* For a wired IoT device (like a security camera), find the switch port it’s connected to. Assign this port the IOT profile. This forces any device plugged into it onto VLAN 20.
Step 4: Build the Firewall Rules
* Navigate to Settings -> Firewall or Security.
* Methodically create each rule from the table above. Pay extremely close attention to the source, destination, and especially the “State” for Rule #3 (Established/Related). Get this wrong, and nothing will work.
Step 5: Enable the mDNS Reflector
* This setting is usually under Services, Advanced Features, or Network settings.
* Enable the mDNS Reflector/Repeater service. In UniFi, you simply toggle it on. In Omada, you may need to specify which VLANs it should operate on (in our case, Main and IoT).
Step 6: Test and Migrate
* Start with one, non-critical device. Connect it to your new MyHome_IOT Wi-Fi network.
* Check your controller to see if it gets an IP address in the 192.168.20.x range.
* From a computer on your MAIN network, try to ping the device’s new IP address. It should work (thanks to Rule #2).
* Check in Home Assistant to see if the device is still detected and controllable. If not, your mDNS or Established/Related rule is the likely culprit.
* Once confirmed, slowly migrate your other devices.
Efficiency ROI: Risk Mitigation
The return on investment here isn’t measured in hours saved on a daily task. It’s measured in the catastrophic failure you prevent. A single compromised camera or smart plug can lead to days or weeks of cleaning up a network breach, dealing with data theft, or rebuilding systems from scratch. The 4-6 hours you invest in this project is insurance. It’s the peace of mind that comes from knowing your network is built on a solid, defensible engineering principle.
This is just one of many ways to leverage modern engineering on your property. For more inspiration, check out these 45 ideas on how to use technology on the homestead.
Troubleshooting FAQ
1. Why can’t Home Assistant see my ESPHome device after I moved it to the IoT VLAN?
This is almost certainly an mDNS issue. Your Home Assistant instance on the Main LAN can’t hear the discovery broadcasts from the ESPHome device on the IoT VLAN. Solution: Ensure the mDNS Reflector/Repeater service is enabled on your gateway and is configured to reflect between your Main and IoT VLANs.
2. My camera connects, but I can’t view the stream from my phone on the Main LAN.
This is the classic symptom of a missing or incorrect “Established/Related” firewall rule. Your phone (Main LAN) sends a request to the camera (IoT VLAN), but the camera’s response is being dropped by the firewall. Solution: Verify you have a rule that ALLOWS traffic from the IoT VLAN to the Main LAN with the state set to
EstablishedandRelated.
3. I blocked internet access for the IoT VLAN, and now my Google Home/Alexa is a brick. What happened?
Many commercial smart devices, especially voice assistants and some camera brands, are fundamentally dependent on their cloud servers to function. When you cut off their internet access, you cut off their brain. Solution: You must create a specific firewall rule that allows internet access only for the IP address of that specific device, while continuing to block the rest of the IoT VLAN.
4. Why can’t my two smart plugs on the same IoT Wi-Fi network see each other?
Check your wireless access point settings for a feature called “Client Isolation,” “AP Isolation,” or “Guest Policy.” This feature is designed to prevent wireless clients from talking to each other. It’s useful for guest networks but will break device-to-device communication on an IoT network. Solution: Ensure Client Isolation is DISABLED for your IoT SSID.
5. My whole network feels slow after setting this up. What did I do wrong?
Your gateway/router may not have enough processing power to handle the firewall rules at line speed, a condition known as low firewall throughput. Cheaper hardware can bog down when inspecting a high volume of traffic across VLANs. It could also be a misconfigured rule creating a traffic loop. Solution: Double-check your rules for any logical errors. If the rules are correct, you may need to upgrade your gateway to a model with higher specified firewall throughput.