Troubleshooting Tips When Your Tractor Wont Start: A Practical Guide

Struggling with a tractor won’t start issue can disrupt your day and leave you feeling stuck. You need to know what’s wrong and how to fix it without getting bogged down in unnecessary details. This guide cuts straight to the chase, providing step-by-step troubleshooting tips to quickly diagnose common reasons why your tractor won’t start— from checking the battery to inspecting safety switches. Prepare to turn the key on solutions as we dive into the practical ways you can get your tractor up and running again.
Key Takeaways
- Start with checking simple issues like the throttle position, battery health, fuel filter, ignition switch, and spark plug before diving into more complex troubleshooting.
- Review and maintain all safety switches, including seat, PTO, transmission, and brake switches, as they can prevent the tractor from starting if not functioning properly.
- Inspect the electrical system thoroughly, ensure all wiring and fuses are intact, verify alternator and voltage regulator performance, and consider professional help for more serious issues.
Identifying Common Causes of a Non-Starting Tractor

If your tractor is stubbornly refusing to fire up, think of it as a challenge requiring a methodical approach. The initial steps in solving this riddle should be an assessment of the usual suspects. These typical issues that prevent a tractor from starting may involve:
- A throttle lever not set at mid-throttle for start-up
- An exhausted battery
- A blocked fuel filter
- A defective ignition switch
- Issues with the spark plug (gas)
Addressing these primary concerns first can simplify Diagnostic efforts.
Engine oil plays an influential role in getting your tractor started. Its viscosity needs to match what’s recommended for optimal startup performance. Using incorrect viscosity could make cranking the engine more difficult than necessary. Without fresh and clean fuel, you’ll face inevitable difficulties during ignition – bad-smelling or lumpy fuel signals it’s time to drain and refill with uncontaminated gasoline before attempting to restart your machine.
Battery and Connections

To understand why your tractor isn’t starting, a thorough examination of the central component in its electrical system is required – that’s the battery. Here’s what you should do to examine and tidy up the connections on your tractor battery:
- Open up the hood to find where the battery is housed.
- Check for any signs of damage like cracks or leaks on the battery itself, as well as corrosion indicated by white powdery substance or black marks around terminals.
- Check the charge of the battery. Try jump staring the tractor if you hear a crank but it is weak.
- Cracks or leaks in a battery are a serious safety hazard and should be replaced immediately
When it comes time to clean those terminals:
- Begin by detaching both clamps. Negative first then positive.
- Make a mix using baking soda with water into a paste form which will help counteract any corrosion present.
- Use either steel wool or a wire brush for an effective scrub-down on those areas.
- Then gently wash off these surfaces using distilled H2O (water).
- Follow this rinsing action with adequate drying
- Once dry apply petroleum jelly lightly over them for protection against future corrosive build-ups
- When reconnecting everything remember that positives connect before negatives and always put back all protective elements including covers especially if there’s been recent installation of fresh batteries but even so don’t neglect upkeep.
When reassembling, make sure each electrical connector, isn’t just clean, but also tightened properly. This step helps ensure reliability after putting them back together.
Fuel and Air Filters

Having delved into the core of your tractor, let’s now examine what can be considered its respiratory system, the fuel and air filters. These components are vital to your tractor’s efficient functioning. If they become clogged or dirty, you might encounter difficulties with ignition.
To detect potential issues with these filters, observe any drop in power output or operational inconsistency. Start by locating the water separator’s fuel shutoff valve and inspecting the state of the air intake filter. Should you find that either the fuel filter is blocked or that there is evident damage such as oil contamination, rips, or cracks on the air intake filter – these serve as unmistakable indicators of a problem. Drain the water from the water separator. Replace the filters on a regular basis. Addressing these concerns through replacement of a clogged fuel filter and cleaning or substituting a damaged air intake filter will revitalize your tractor’s performance.
If your tractor has been sitting for a while, you may have a build up of water in the fuel system or bad gas. While this should not be the first thing you try, it may be worthwhile draining the tank and adding fresh fuel in it.
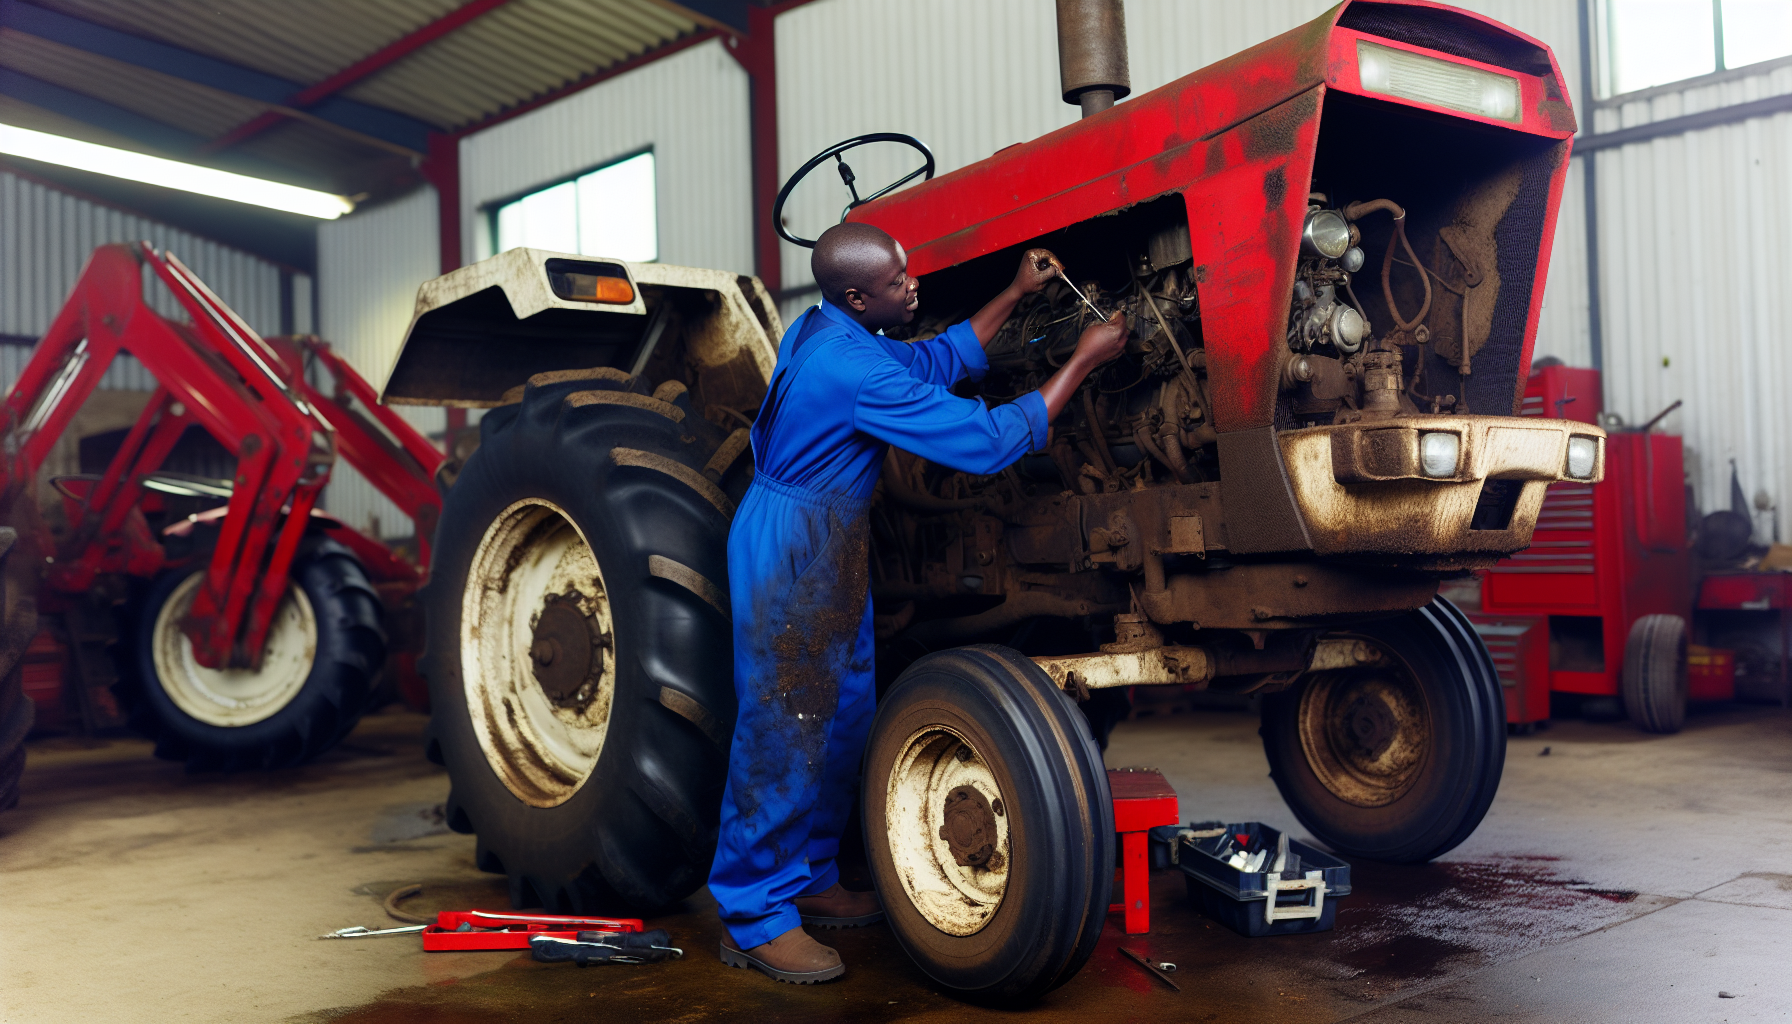
Engine and Starter Issues
After ensuring the throttle lever, engine oil viscosity, fuel quality, battery condition, and filters are all in order, your tractor refuses to start, you need to probe into the engine and starter systems.
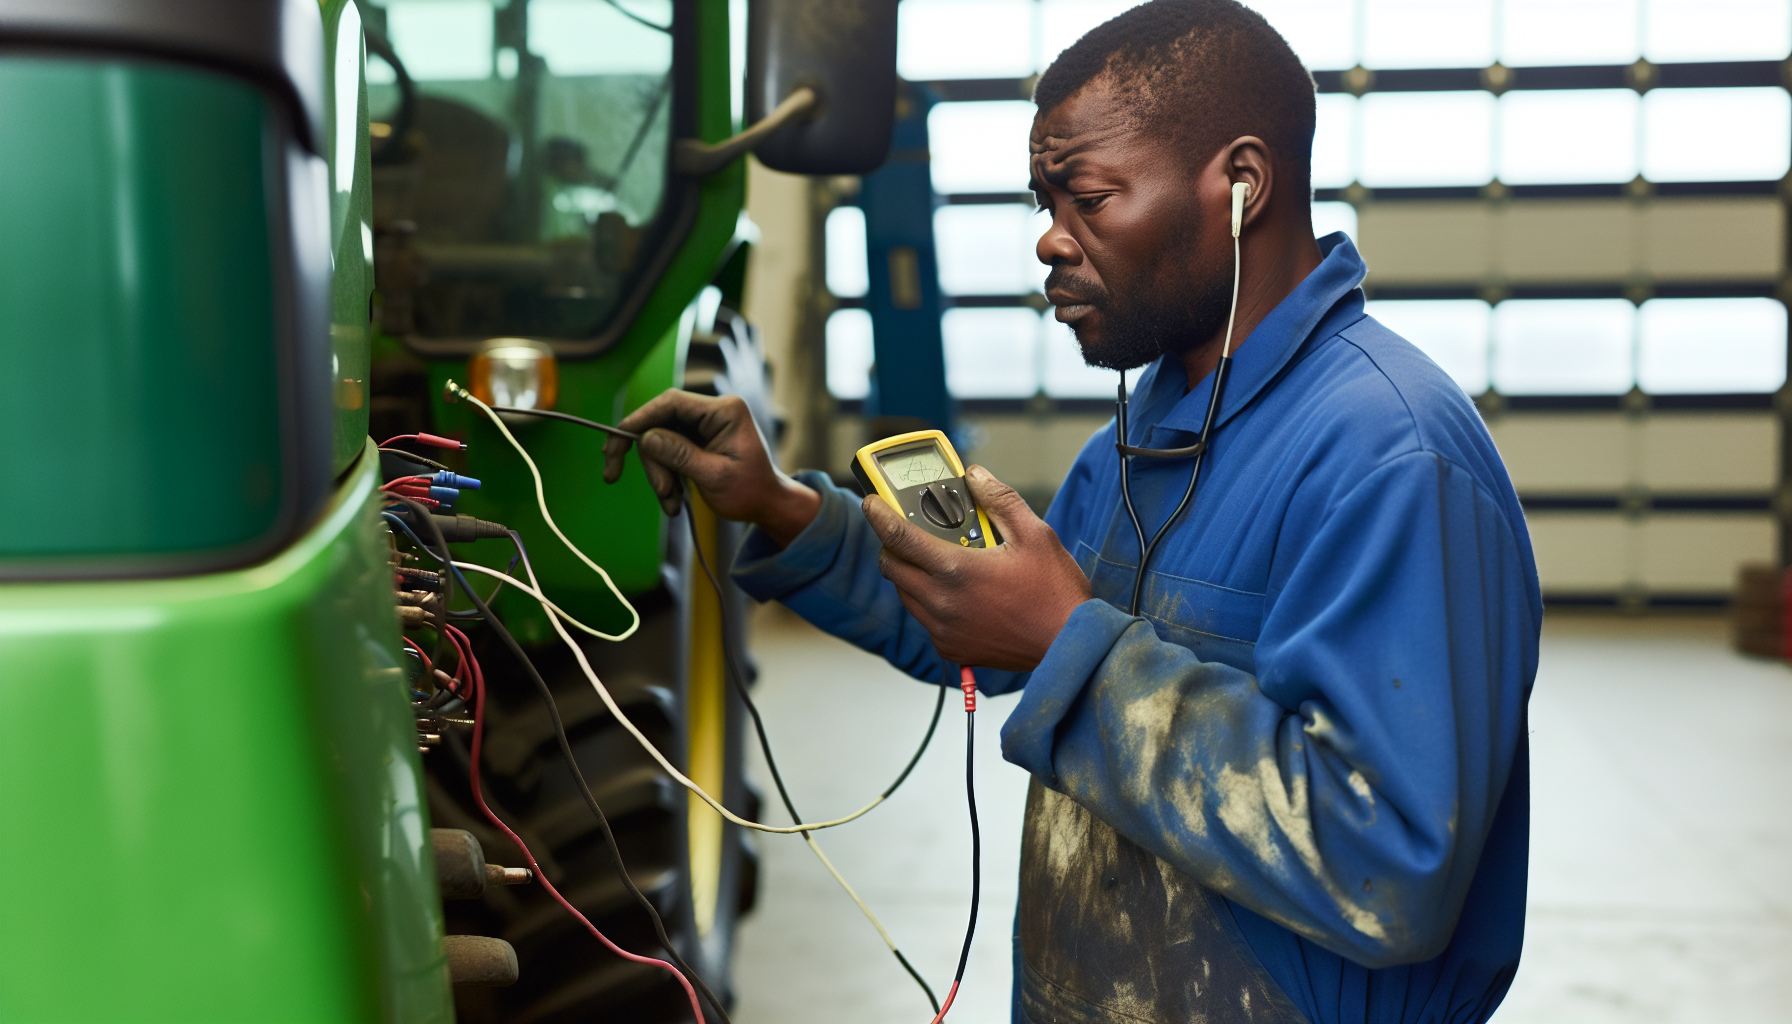
Initiate by examining the functionality of the fuel stop solenoid. This is a crucial phase when addressing ignition problems in a Kubota tractor equipped with an HST transmission. Arm yourself with a multimeter for this task—it’s invaluable. With it at hand test battery voltage as well as verify wiring continuity while also gauging current being drawn by the starter motor in efforts to unearth any underlying complications.
Safety Switches: Their Role and How to Check Them
The operation of a tractor is heavily dependent on the integrity of its safety switches, which serve to prevent engine ignition if they detect an issue. Consider these switches as diligent protectors that certify all systems are go before allowing the tractor’s engine to roar into life. When your tractor seems unresponsive, it’s prudent to investigate these protective devices – especially focusing on the four main safety switches.
One particularly prevalent type among these is the seat switch positioned beneath the seat of the tractor. To ascertain whether they’re operating correctly or not, you might bypass (jump) this switch temporarily for diagnostic purposes or employ an ohm meter to verify electrical continuity within this component. Should any one switch appear functional after testing, continue examining each remaining one in turn until you isolate and identify where exactly things have gone wrong.
Seat Safety Switch

The safety switch located in the seat of your tractor is crucial for its proper functioning. This switch’s main function is to halt any operation of the tractor unless it confirms that an operator is seated, acting as a safeguard to ensure presence before commencing work.
On occasion, certain Kubota tractors may experience inadvertent activations of this safety feature. Such nuisances can be largely mitigated by fine-tuning the tension on the seat. A minor tweak could significantly enhance your chances of successfully starting up your tractor.
PTO Lever Safety Switch
Inspect the safety switch connected to the PTO lever as well, since problems with its engagement sensitivity can hinder starting your tractor.
For example, on a Kubota BX2360 tractor, it’s possible to modify the contact quality of the PTO lever safety switch by bending the tab. Ensuring that all interlock switches related to the PTO are regularly serviced for cleanliness and adjustment is crucial for optimal performance of Kubota tractors. Should these issues continue, it might be required to replace a faulty safety switch.
Transmission and Brake Safety Switches
If your tractor refuses to start, it’s crucial to inspect the safety switches related to both the transmission and brakes. Confirm that you have placed the gearshift lever of the transmission in neutral. Failing to do so can inhibit the starting process.
To test whether a brake safety switch is functional, an assistant should apply pressure on the brake while also activating the emergency brake. Subsequently, one should locate and examine this switch for proper operation. Specifically for Kubota B7800 tractors, you’ll find under its left floorboard a clutch safety switch which becomes operational by way of contact with a tab from the clutch pedal. Should this become stuck—which might occur in dusty environments—applying lubricant may free up both rod and switch.
Should these efforts fail to address issues concerning Kubota HST safety switches known for sticking or malfunctioning, crafting a makeshift jumper using wires with low-voltage spade connectors offers an interim solution until more permanent repairs are made.
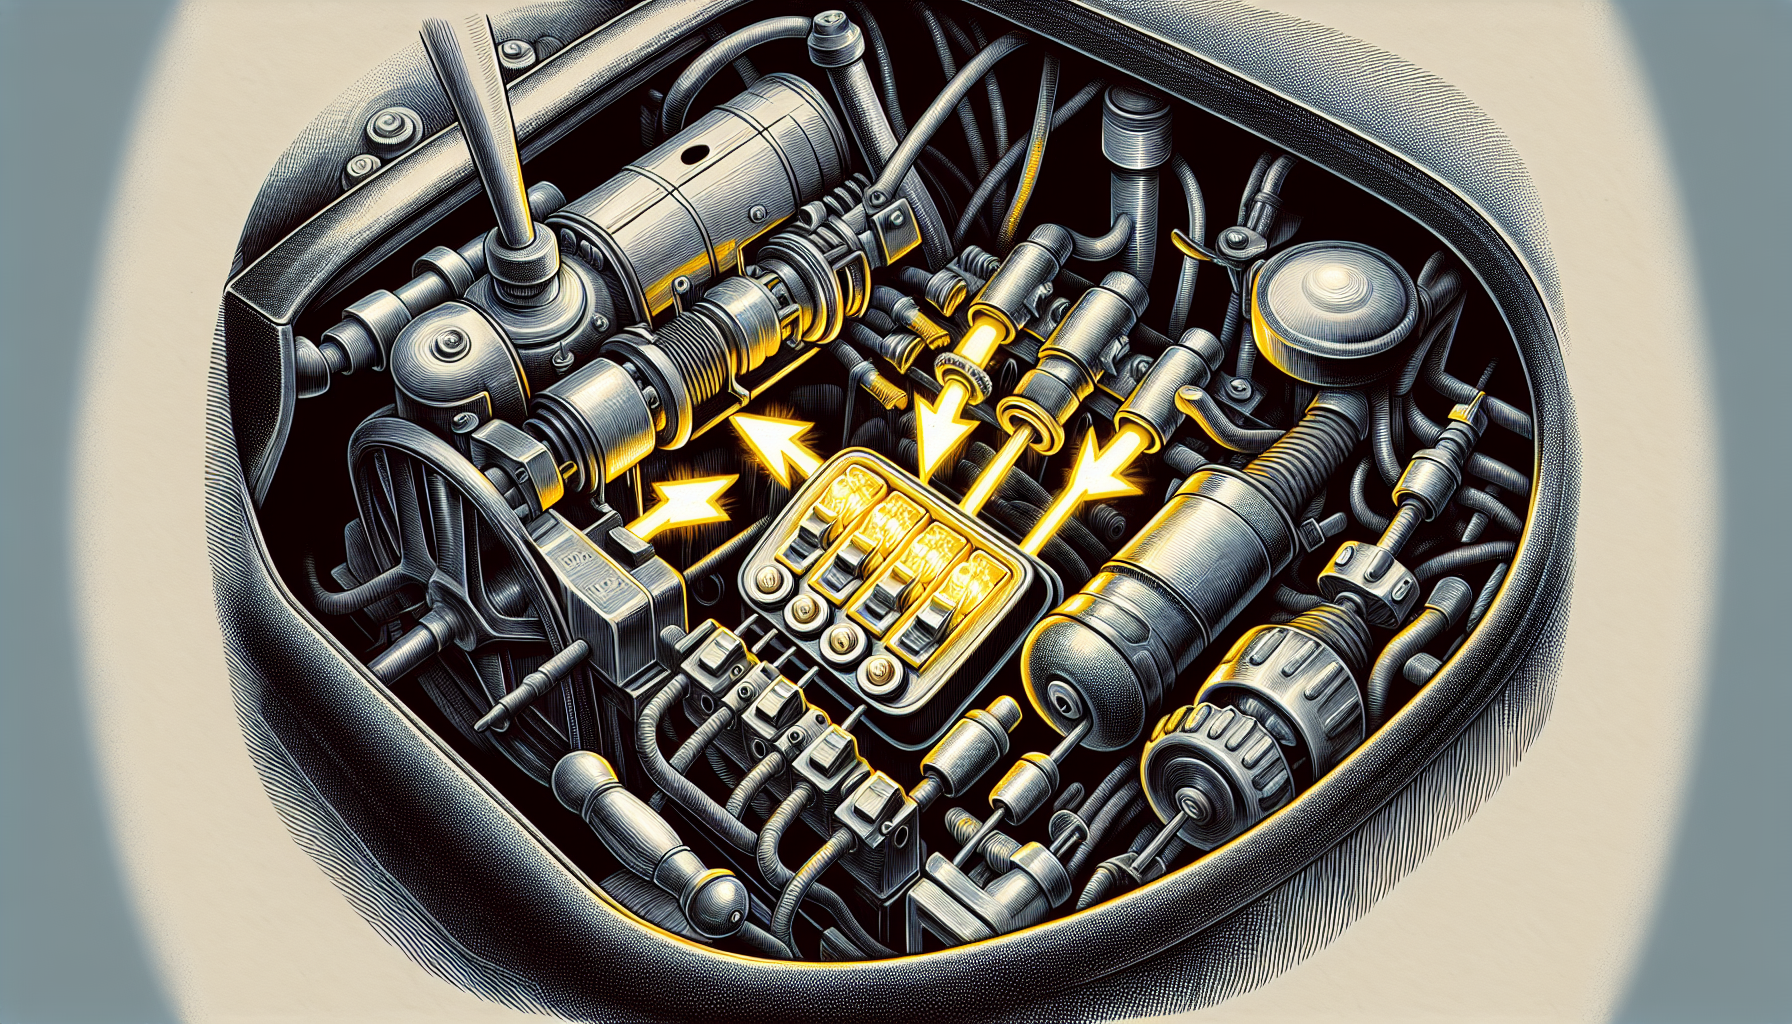
Electrical System Inspection
After examining the safety switches, our next step is to assess the electrical system. This examination should encompass tests for battery load, checks for voltage drops, and an evaluation of the wiring harness integrity.
Initiate a load test by aligning the tester’s amperage with that of the battery’s specified rating, then apply this specific load over a duration of 15 seconds. Should there be a decline in battery voltage under these conditions to anything less than 9.6 volts, it indicates that the battery needs replacement. Investigate within the electrical framework for any wires exhibiting signs of burns or corrosion as well as connections that may have become loose. All contacts should be meticulously cleaned and devoid of contaminants. A voltmeter can facilitate a drop test on voltages across various connections—any substantial deviation exceeding 0.0 volts would suggest an unreliable connection.
Scrutinize both individual wires and those housed within wiring harnesses looking out for evidence indicating damage or deterioration which might lead to complications electrically speaking.
Systematically identify chafed or worn sections including places where two wires are interlaced without appropriate insulation – these must be substituted following guidelines provided by manufacturers regarding specification adherence.
Wiring and Fuses
The electrical system of a tractor relies heavily on the proper functioning of its wiring and fuses. If a fuse has blown, it may halt the tractor’s ability to start. This necessitates not only a visual inspection for any signs such as burn marks, melted materials or broken filaments, but also testing with a multimeter to verify continuity.
It is essential when replacing any blown fuses that one strictly adheres to using replacements with an identical amperage rating. This helps safeguard against damage to the electrical components and diminishes fire risk potential. Careful examination of all wiring connections, including quick disconnects, is important—they must be secure and undamaged—as compromised connections could disrupt electrical functions and subsequently prevent starting operations.
Proper installation of fuses in their respective slots within the tractor’s fuse box cannot be overstated. If they are not correctly seated, one might encounter sporadic electric issues along with challenges in getting the tractor started.
Alternator and Voltage Regulator
In the electrical system of your tractor, both the alternator and voltage regulator are essential parts. You can verify if the alternator is producing an adequate output by using a voltmeter to check the battery voltage when: 1) the engine is not running. 2) at idle speed. And 3) while operating at approximately 1500 RPM. The readings should start in the range of 11-12 volts and increase to around 14 volts under load – this confirms that your battery is receiving charge from the alternator.
A physical examination of both components may show signs like wear or corrosion which could provide insight into their state and effectiveness.
To determine whether there are issues with your voltage regulator:
- Take measurements across your tractor’s battery terminals with a voltmeter.
- Look out for fluctuations on these readings since they could indicate malfunctions.
- Ensure it keeps a steady output between about 13.8 to14.2 volts as this helps avoid situations where you either overcharge or undercharge your battery.
Tips for Specific Tractor Brands

After discussing the basic methods for diagnosing a tractor that won’t start, it’s time to focus on particular strategies suited for well-known brands like John Deere and Kubota. Different types of tractors obviously have different systems to consider. Each of these brands possesses distinct features and nuances which necessitate tailored troubleshooting tactics to resolve starting problems.
John Deere Tractors
John Deere is well-known in the tractor industry. If you’re experiencing difficulty starting your John Deere tractor, first check that the transmission gearshift lever is properly set to neutral. This position is essential for initiating the engine. If the fuel shutoff valve at the water separator has been turned off, it could be a reason why your tractor isn’t starting.
To tackle potential issues with starting your tractor, undertake these measures:
- Check your battery for corrosion, tightness of the connections, and proper charge of the battery
- Drain any old or degraded fuel and replenish your tank fully with new fuel.
- Replace the engine oil with an appropriate viscosity type as specified by John Deere guidelines.
- Examine whether there’s proper fuel flow, inspect air filter quality and make sure there’s an accurate air-to-fuel ratio, this becomes particularly important when operating in colder environments.
By following these troubleshooting steps specifically designed for getting a non-starting John Deere running again—addressing concerns ranging from inadequate fluid levels to clogged filters—you should find success in resolving start-up problems wherein the engine turns over but fails to ignite.
Kubota Tractors
Kubota is a favored choice among those who own tractors. The Kubota L Series stands out with its critical safety switch positioned directly beneath the seat, playing a pivotal role in securing operator safety while the tractor is running. Within the Kubota B Series, such as on the B7800 model, there are various important safety switches that include ones for the seat, PTO (Power Take-Off), rocker pedal and transmission. These must all be set to neutral before starting up the tractor.
In regards to adjusting sensitivity of such switches on models like BX2360 from Kubota’s BX Series, it might necessitate actions such as tweaking tabs near the PTO lever to ensure proper activation. On another model from this series—the BX2370—the HST (Hydrostatic Transmission) neutral switch can be found behind the right rear tire and sometimes requires calibration if initiating start-up proves problematic. Fine tuning involves aligning the linkage tab accurately against the plunger connected to said neutral switch. Should it need Adjustment for correct engagement level or contact pressure isn’t sufficient due process includes loosening attachment screws followed by shifting position of unit until suitable alignment achieved finally secured back into place through re-tightening procedures applied upon screws keeping securement intact.
When to Seek Professional Help
Troubleshooting may address numerous problems, yet there are instances when the guidance of a professional is imperative. Should you encounter any of these symptoms, seeking expert assistance should be your next step.
- The engine emits abnormal noises
- Peculiar odors arise
- Leakage occurs
- Equipment gears such as brakes or accelerator malfunction or fail to respond properly
These indications might point to grave concerns that necessitate the knowledge of professionals adept in advanced video technology.
Individuals possessing tractors can seek out proficient mechanics at dealerships for support concerning issues with safety switches and other difficulties related to initiating the engine.
Summary
Troubleshooting a non-starting tractor might seem daunting at first, but with a systematic approach, understanding of your tractor’s systems, and a little patience, you can diagnose and even fix many common issues. From checking the throttle lever, engine oil viscosity, and fuel quality, to inspecting the battery, filters, safety switches, and electrical system, you now have the knowledge to tackle the common causes of a non-starting tractor. Remember, every tractor is unique, especially between brands, so always refer to your owner’s manual for specific instructions. And when in doubt, don’t hesitate to seek professional help. Happy troubleshooting!
Frequently Asked Questions
Why is my tractor engine not turning over?
It’s possible that the reason your tractor’s engine isn’t starting is because it doesn’t have enough fuel. Add a gallon of fuel and then try to start the tractor once more.
Also check for excessive water in the separator and empty it if necessary.
Should this solution fail, examine the electrical system next. Confirm that a spark is being transmitted from the electrical system to ignite the engine properly.
Why has my tractor stopped working?
Your tractor may have ceased to operate because there’s no fuel left in the tank. If the engine is turning over without starting and no smoke is coming out of the pipe, you likely just low on fuel. Inspect the fuel gauge and if it appears empty, refueling could be a solution to get your tractor running again.
Funny note, you might also want to check your fuel guage. Mine just stopped working recently and I was wondering why my tractor would not start with a 1/4 tank of fuel.
Should that not be the case, you might encounter a malfunction within the electrical system where it fails to deliver a spark to initiate combustion in the engine.
Why does my tractor just click when trying to start?
The clicking noise emanating from your tractor and its failure to start are probably caused by an issue with either the battery or the starting circuit. Specifically, this sound is being produced by the starter solenoid.
To resolve this problem, it will be necessary to inspect both the battery for charge and the starting circuit thoroughly.
How can I troubleshoot safety switches on my tractor?
When embarking on troubleshooting the safety switches of your tractor, you should first identify their positions. An example is the seat switch which could be situated beneath the tractor’s seat. To ascertain if they’re operational, attempt bypassing the seat switch to exclude it from the electrical circuit or employ an ohmmeter to verify continuous electrical connectivity.
How can I inspect the electrical system of my tractor?
To ensure the electrical system of your tractor is functioning properly and to avoid possible problems, conduct a battery load test along with voltage drop tests. Examine the wiring harness for any signs of burnt wires or corrosion and verify that all connections are secure, not loose.