The Complete Guide to Growing Peas (Pisum sativum) in Your Garden
Summary
Welcome, fellow gardener. Growing your own peas, botanically known as Pisum sativum, is one of the true joys of the spring and fall garden. Beyond providing a sweet, nutritious harvest, these remarkable legumes enrich your soil by fixing atmospheric nitrogen, a process that benefits subsequent crops. With a clear understanding of their needs—from soil pH to proper support—you can cultivate a bountiful crop that far surpasses the quality of anything found in a store. This guide will walk you through every step, ensuring your success from seed to supper.
Key Takeaways
- Timing is Crucial: Peas are a cool-weather crop. Plant seeds as soon as the soil can be worked in early spring (soil temperature above 45°F / 7°C) for a summer harvest, or in late summer for a fall crop.
- Soil Health is Paramount: Peas thrive in well-drained soil with a neutral pH between 6.0 and 7.5. Amending your soil with compost and using a rhizobia inoculant on the seeds will significantly boost plant health and yield.
- Vertical Support is Essential: Most pea varieties are climbers and require a trellis, fence, or other support structure installed at planting time to keep vines off the ground, improve air circulation, and make harvesting easier.
The Deep Dive
Understanding the Pea Plant: Choosing Your Variety
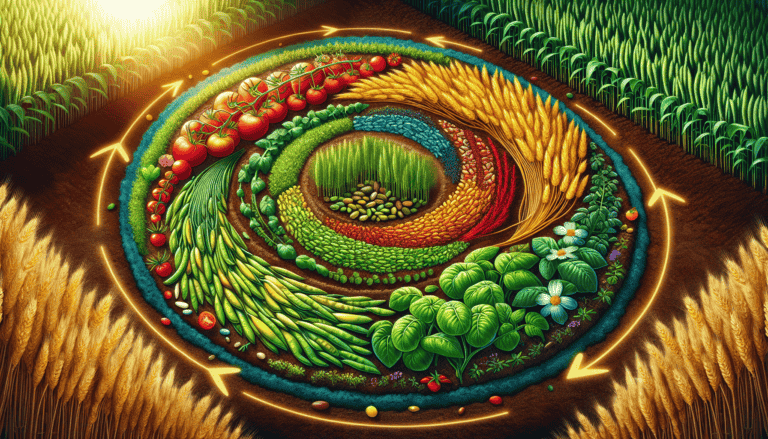
Before you plant a single seed, it’s vital to understand the three main categories of Pisum sativum. Each has a unique culinary use and growth habit. Selecting the right one for your garden and kitchen is the first step toward a successful harvest.
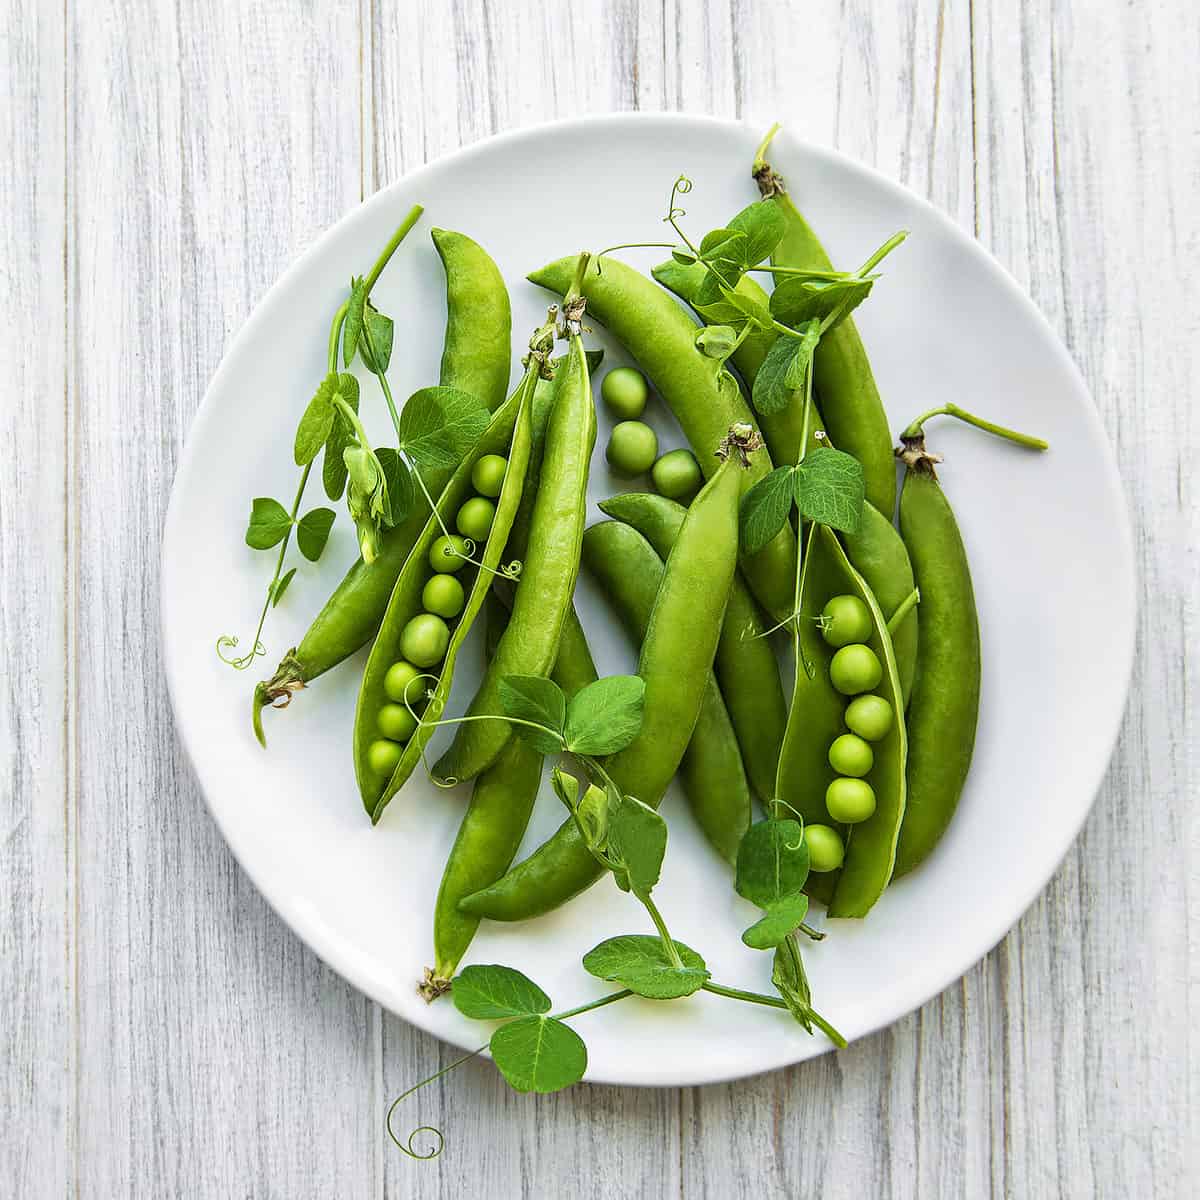
1. Shelling Peas (English Peas)
These are the classic peas you imagine, with sweet, round seeds (the peas themselves) inside an inedible, fibrous pod. They must be shelled before eating. They are perfect for steaming, adding to soups, or freezing for later use.
2. Snow Peas (Pisum sativum var. macrocarpon)
Known as mangetout in French, meaning “eat-all,” snow peas have flat, tender pods with very small peas inside. The entire pod is edible and prized for its crisp texture, making it a staple in stir-fries and salads.
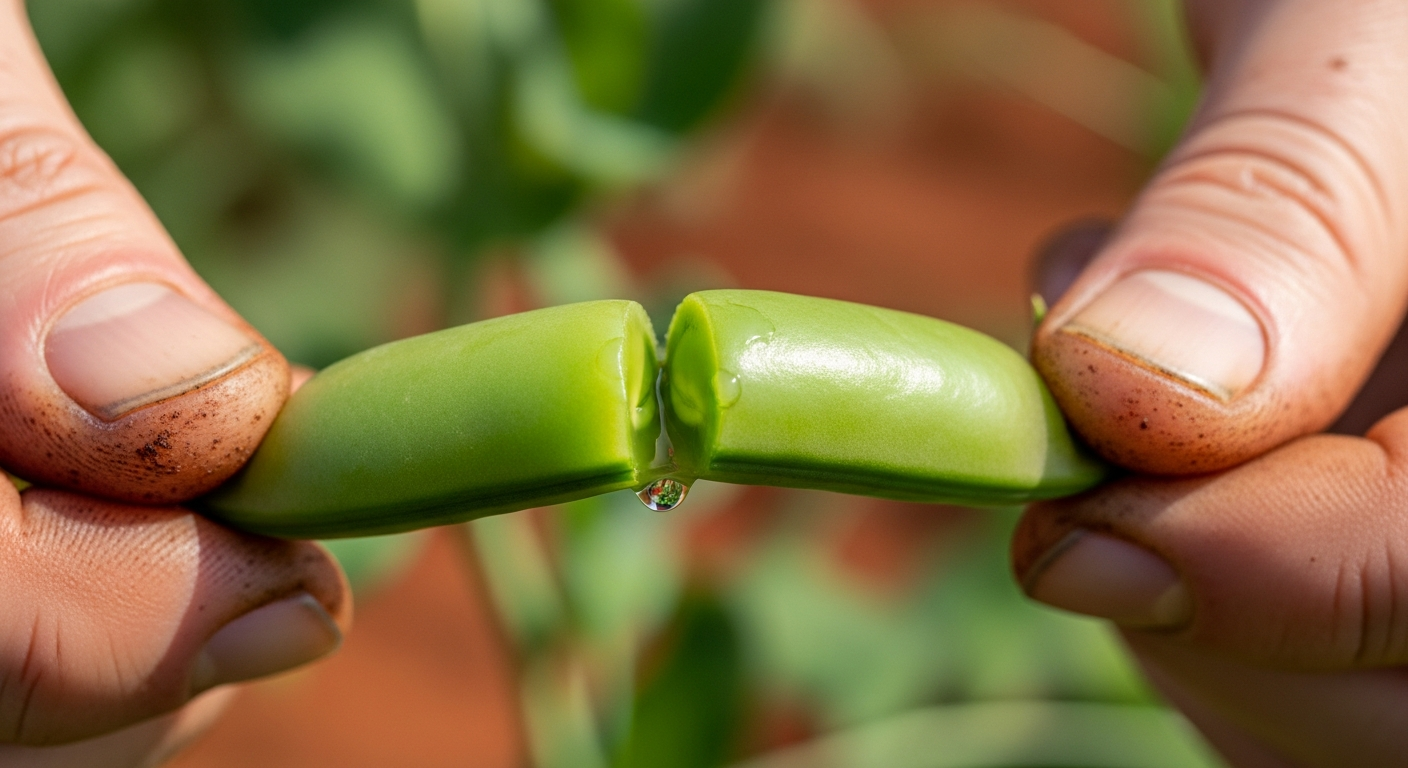
3. Snap Peas (Pisum sativum var. macrocarpon ser. cv.)
A cross between shelling and snow peas, snap peas (or sugar snap peas) have plump, juicy, and entirely edible pods. They offer a satisfying “snap” when broken. They are delicious eaten raw, steamed, or lightly sautéed.
Step 1: Preparing the Perfect Pea Patch
Success with peas begins long before the seeds are sown. Proper site selection and soil preparation are non-negotiable for healthy, productive plants.
Choose The Right Location
Peas require a minimum of six to eight hours of direct sunlight per day. In warmer climates like my own Zone 8a, providing some afternoon shade can be beneficial, as it protects the plants from the intense heat that can hinder pod production. Ensure the location has good air circulation to help prevent fungal diseases like powdery mildew.
Prepare The Soil
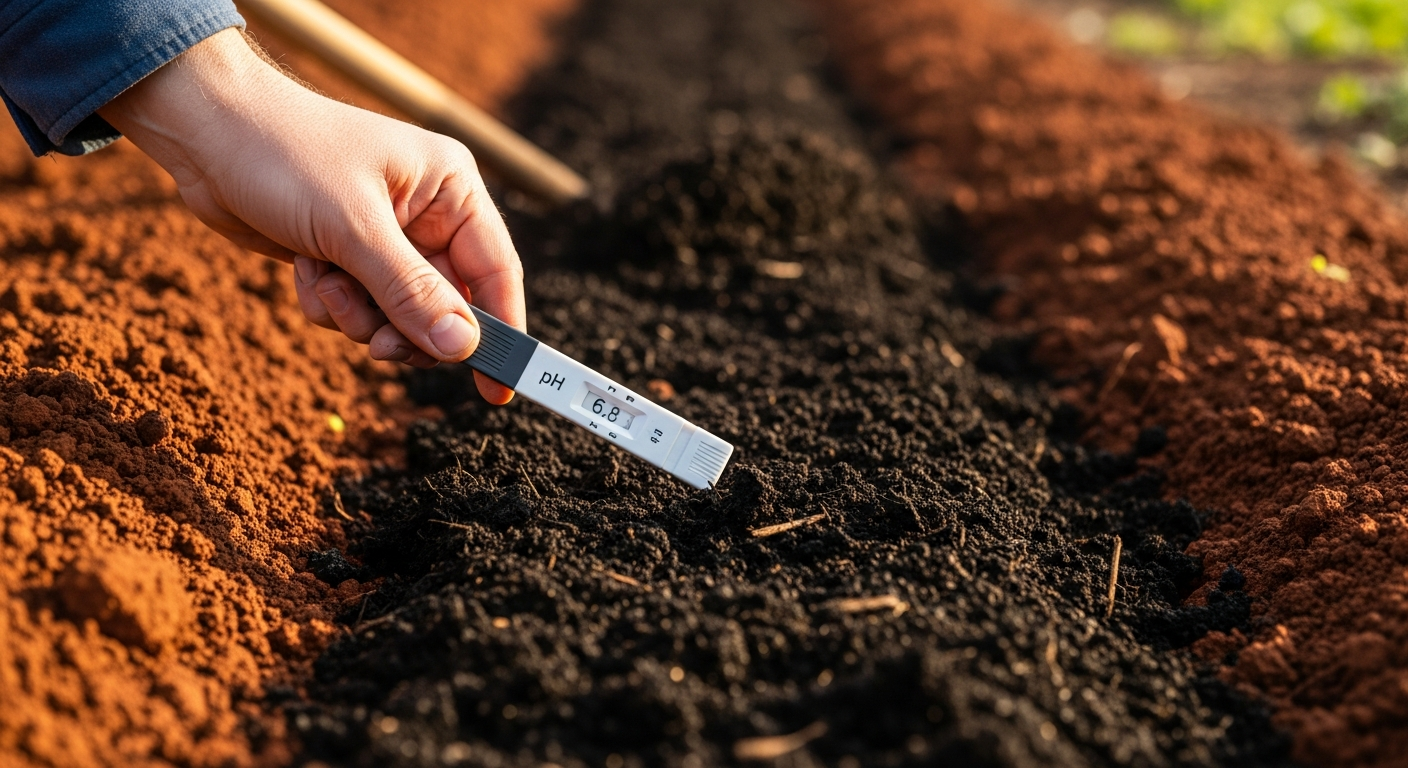
Peas demand well-draining soil. If you have heavy clay, as many of us do, it’s essential to amend it. Work a 2-3 inch layer of mature compost or well-rotted manure into the top 6-8 inches of your soil. This improves drainage, adds vital nutrients, and encourages a healthy soil ecosystem. The ideal soil pH for peas is between 6.0 and 7.5. A simple soil test can tell you your pH; you can amend with lime to raise pH or sulfur to lower it, if necessary.
Inoculate Your Seeds
This is a professional tip that makes a world of difference. Peas have a symbiotic relationship with Rhizobium leguminosarum bacteria, which form nodules on the plant’s roots and fix atmospheric nitrogen into a form the plant can use. While this bacteria may be present in your soil, you can guarantee its availability by coating your seeds with a powdered rhizobia inoculant just before planting. Simply moisten the seeds and toss them in the powder until coated.
Step 2: Sowing and Germination
With your site prepared, it’s time to plant. Proper timing and technique will ensure strong germination and vigorous seedlings.
Plant At The Right Time
Peas are a cool-season crop. The primary planting window is in early spring, as soon as the soil can be worked and has reached a temperature of at least 45°F (7°C). This is typically 4-6 weeks before your last average frost date. For a second harvest, you can plant a fall crop about 8-10 weeks before your first average fall frost date, allowing the plants to mature as the weather cools.
Plant The Seeds Correctly
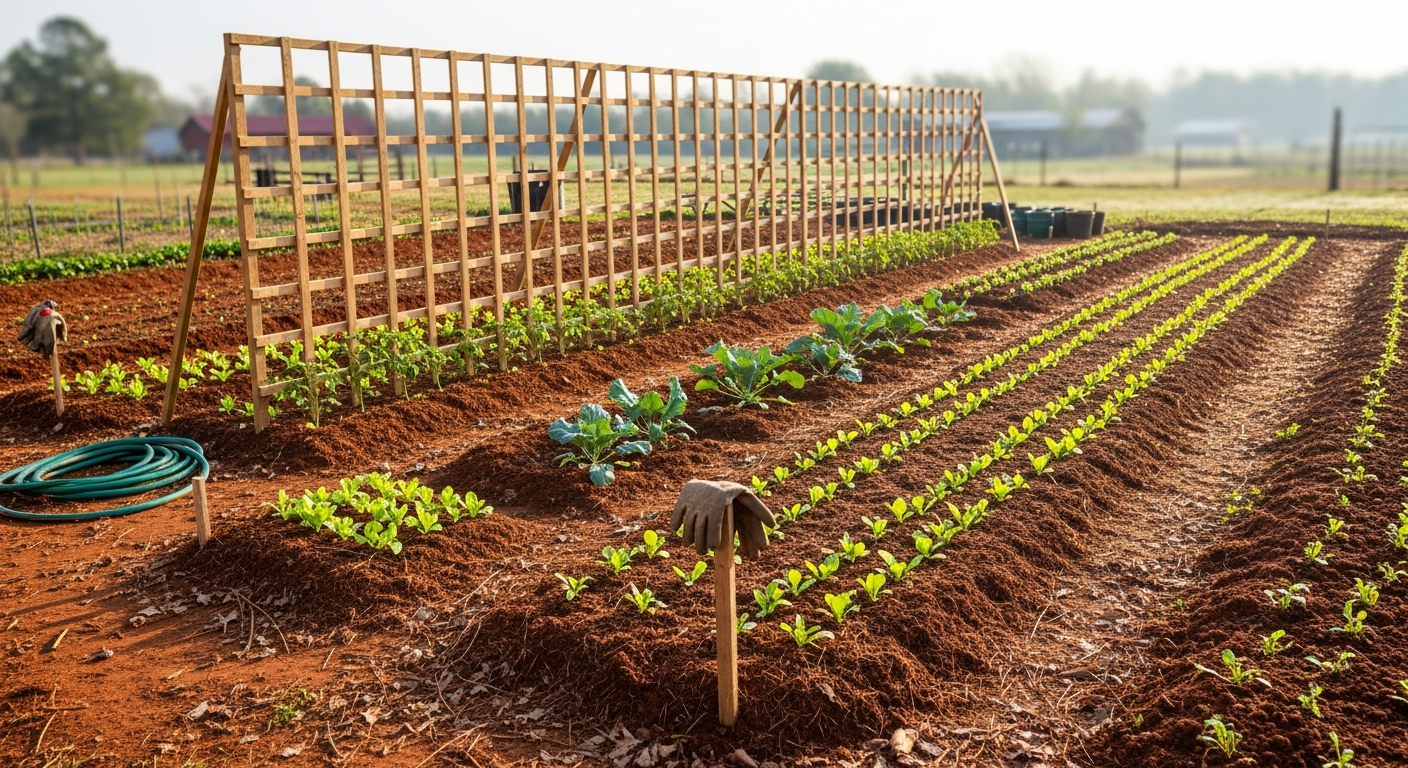
Sow seeds 1 to 1.5 inches deep and about 2 inches apart. A common and highly effective method is to plant in double rows, with each row in the pair about 6 inches apart. This allows you to place a trellis between the two rows, providing support for both. Leave about 18-24 inches between each double row. After planting, water the area gently but thoroughly to settle the soil around the seeds.
Step 3: Caring for Your Growing Pea Plants
Once your peas have sprouted, consistent care will ensure they grow into strong, productive vines.
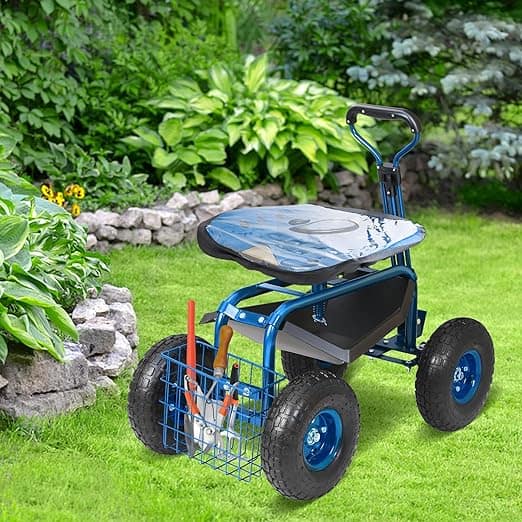
Install Support Structures Early
It is crucial to install your trellis or support system at the time of planting. This avoids disturbing the delicate root systems later. As soon as the seedlings are a few inches tall, their tendrils will begin searching for something to climb. Options include bamboo stakes with twine, nylon netting, or a simple wire fence. The support should be at least as tall as the variety’s mature height (check your seed packet).
Watering and Mulching
Keep the soil consistently moist, but not waterlogged. Peas require about one inch of water per week, either from rainfall or irrigation. Water at the base of the plants to keep the foliage dry and reduce disease risk. Once the plants are several inches tall, apply a 2-inch layer of organic mulch (such as straw or shredded leaves). Mulch helps conserve soil moisture, suppress weeds, and keep the soil cool.
Pest and Disease Management
Vigilance is key. Check your plants regularly for common pests like aphids, which can be dislodged with a strong spray of water. Powdery mildew, a white dusty coating on leaves, is the most common disease. Prevent it by ensuring good air circulation, watering at the soil level, and choosing resistant varieties. If it appears, organic fungicides based on potassium bicarbonate can be effective.
Step 4: Harvesting Your Bountiful Crop
The reward for your efforts is a delicious harvest. Knowing exactly when and how to pick your peas ensures the best flavor and encourages the plant to continue producing.
When to Harvest
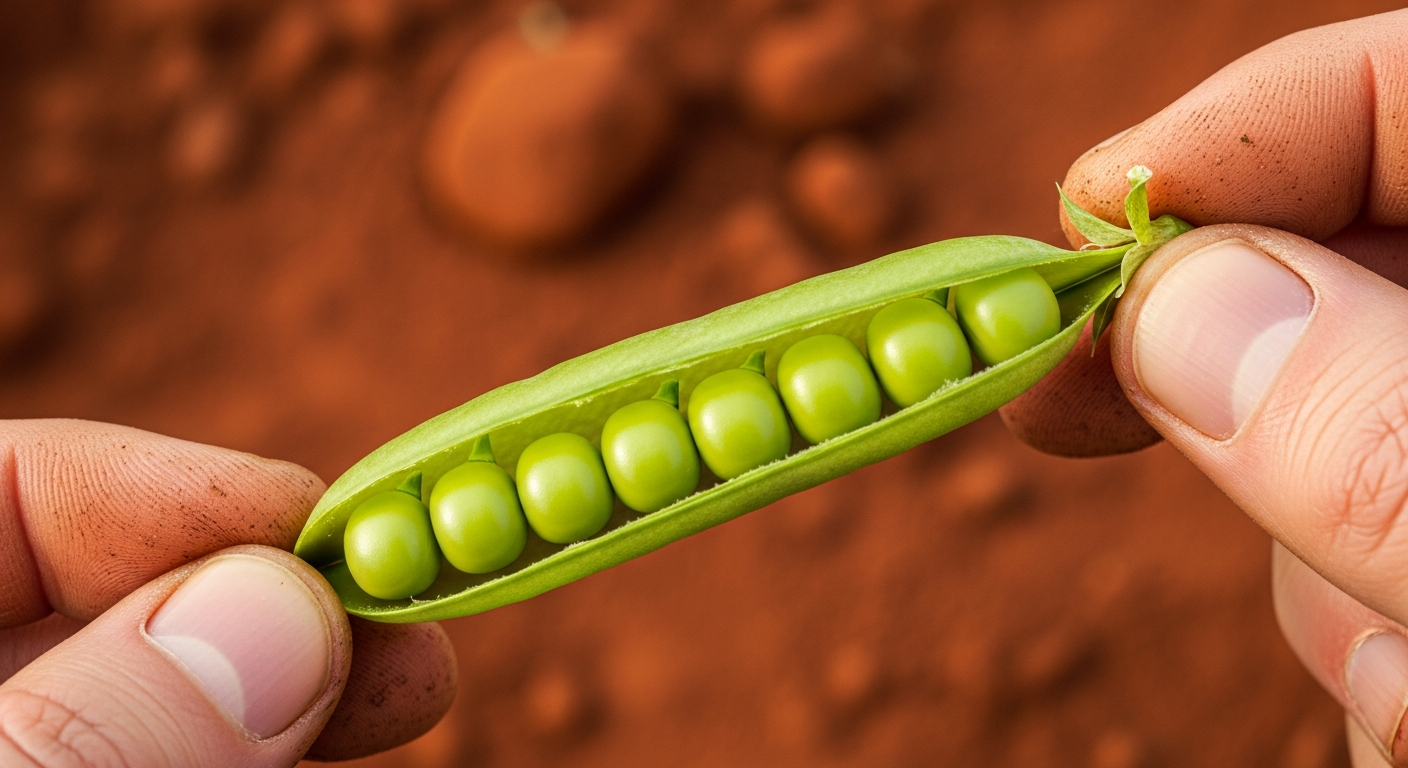
- Shelling Peas: Harvest when the pods are plump, rounded, and feel full to the touch. The color should be a vibrant green.
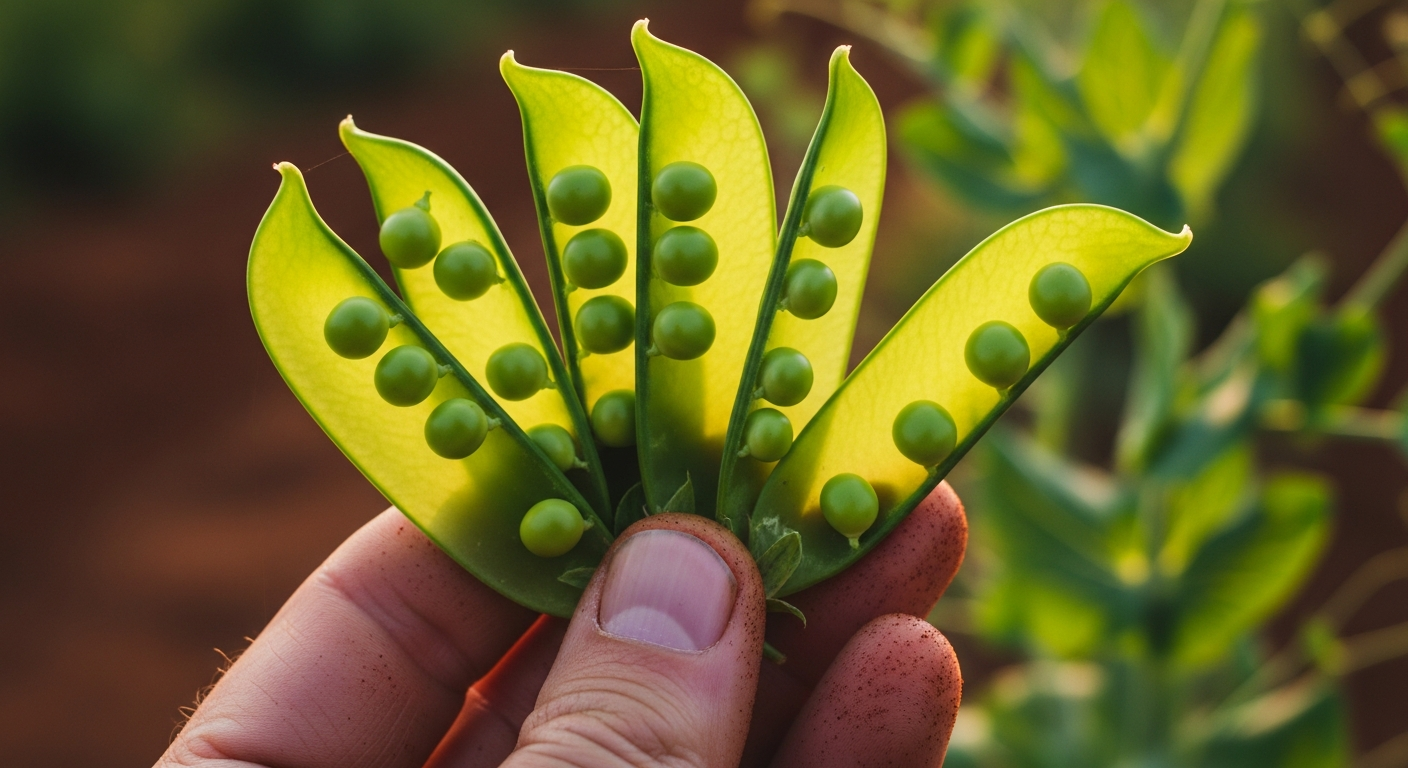
- Snow Peas: Harvest when the pods have reached their full length but are still flat, before the peas inside begin to swell significantly.
- Snap Peas: Harvest when the pods are plump and crisp but before the individual peas inside become too large and tough.
Harvest regularly (every one to two days) once production begins. The more you pick, the more the plant will produce.
How to Harvest
Use two hands to harvest. Hold the vine steady with one hand and gently pull the pea pod off with the other. This prevents you from accidentally tearing the fragile vine, which can damage the plant and reduce your overall yield.
Conclusion
Growing Pisum sativum is a deeply rewarding experience that connects you to the rhythm of the seasons. By selecting the right variety, meticulously preparing your soil, providing sturdy support, and harvesting with care, you are not just cultivating a vegetable; you are participating in a beautiful botanical process. The sweet flavor of a freshly picked pea, eaten right in the garden, is a simple pleasure that every gardener deserves to experience. Happy growing!
Frequently Asked Questions (FAQ)
1. Why are my pea plant leaves turning yellow?
Yellowing leaves, especially lower ones, can be caused by several factors. The most common are overwatering (which leads to root rot), nitrogen deficiency (unlikely if you’ve inoculated your seeds and have good soil), or fungal diseases like Fusarium wilt. Check your soil moisture first; let it dry out slightly between waterings.
2. Do I need to fertilize my peas?
Generally, no. As legumes, peas fix their own nitrogen. If you’ve amended your soil with plenty of compost, they should have all the nutrients they need. High-nitrogen fertilizers will encourage lush foliage at the expense of flowers and pods.
3. Can I grow peas in containers?
Yes, you can! Choose a dwarf or bush variety and a large container (at least 5 gallons) with excellent drainage holes. You will still need to provide a small trellis or support for the vines.
4. How long does it take to grow peas from seed to harvest?
This depends on the variety, but most peas mature in 60 to 70 days from sowing.
5. What is a rhizobia inoculant and is it truly necessary?
It’s a powder containing beneficial bacteria that helps peas convert atmospheric nitrogen into a usable form. While not strictly necessary if you’ve grown peas or beans in the same spot before, it’s a very inexpensive insurance policy that almost always leads to healthier plants and higher yields.
6. Why are my pea plants flowering but not producing pods?
This is often caused by heat stress. Temperatures consistently above 85°F (29°C) can cause flowers to drop without setting fruit. It can also be a sign of poor pollination or, less commonly, a nutrient imbalance (too much nitrogen).
7. Can I save seeds from my pea plants for next year?
Absolutely, as long as you are growing an open-pollinated or heirloom variety (not a hybrid). Let the pods mature and dry completely on the vine until they are brown and brittle. Shell the dried peas and store them in a cool, dry, dark place.
8. What’s the difference between bush peas and vining peas?
Bush peas grow to a more compact height, typically 2-3 feet, and require less support. Vining peas, or pole peas, can grow 6 feet or taller and require a sturdy, tall trellis. Vining types generally produce for a longer period.